How to Fix Facebook Not Sending a Security Code
Are you having problems authenticating your Facebook account? Here’s how to fix problems with Facebook not sending a security code.
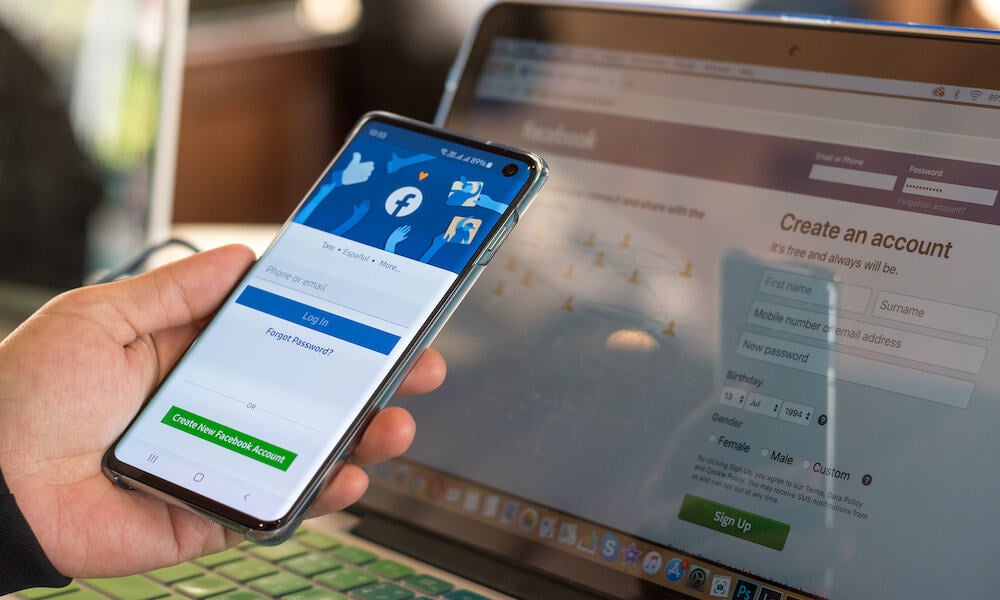
If you sign in to your Facebook account on a new device, Facebook may ask for some additional verification, such as sending a security code. This is intended to stop people from maliciously gaining access to your account if they get hold of your login details.
The majority of the time, this process is very simple. Facebook sends the security code to your linked email or phone number. When you receive the code, you enter it and can log in to Facebook. This ensures that to access your Facebook account, hackers will need not only your login details but also access to your email or your phone.
Sometimes, however, the code may not come through, preventing you from signing in to your account. Here’s what to try if you’re having issues with Facebook not sending a security code.
Check Your Unknown Senders Folder on iPhone
If you have an iPhone, you have the option to filter messages from unknown numbers. Depending on your phone’s settings, the security code from Facebook may have ended up in the Unknown Senders folder. You can easily check this folder on your iPhone to see if the Facebook security code is there.
- Open the Messages app on your iPhone.
- Tap Filters at the top left of the screen.

- Select Unknown Senders.

- Check for the security code from Facebook.


Turn Off Spam Protection on Android
If you’re an Android user, you have the option to block spam messages as well as calls. However, this may stop your security code from coming through. You can try turning this feature off to see if the Facebook security code will then be delivered.
- Open the Messages app on your phone.
- Tap the Three Dots icon.

- Select Settings.

- Tap Spam Protection.

- Toggle Enable Spam Protection off.


Check Your Spam Folder
If you’ve requested your Facebook security code via email, it may have been sent to your spam folder by mistake. You can try checking the spam folder to see if the security code email is there.
The method for viewing your spam folder will differ depending on the email provider and client that you’re using, but it’s usually the case that the spam folder is shown as one of the folder options in the menu to the side of the screen.
Check Your Network Connection
If your security code hasn’t come through, it may simply be due to a lack of network connection. If you’re using a computer, try making a web search in a browser to see if the results appear. If they do, you have an internet connection, so your security code email should come through.
If you’re using a mobile device, make sure that you’re connected to Wi-Fi or that you have a mobile network connection. You can try a web search in your browser, or you can ask a friend to send you a message to test if your mobile connection is working.
Ensure Facebook Isn’t Down
Another possible reason that you’re not receiving your Facebook security code is that the Facebook servers are temporarily down. You can try using a site such as downdetector.com to see the current status of the Facebook servers. If they’re down, you’ll need to wait until they’re back up again before requesting your security code.
Check Your Contact Details Are Correct
A simple reason why you may not be receiving your security code is that your details aren’t correct on Facebook. When you select the option for receiving your code, Facebook will show you a portion of your phone number or email address. If these don’t match your phone number or email, then Facebook will be sending your code to the wrong number or address.
Even if the partially displayed information matches, there may be a typo in your details on Facebook. However, you can’t check these details unless you’re able to sign in to your account. You may need to wait until you’re back on a device that is currently signed in to your Facebook account, or that you’ve used to sign in before. You will then be able to check the details of your recovery email and phone number.
How to Check Your Facebook Contact Details on Mobile
If you’re able to access Facebook on the mobile app, you can check the email address and phone number that are currently stored.
- Open the Facebook app and tap the Menu icon.

- Tap the Arrow next to your account name.

- Tap Go To Accounts Center.

- Select Personal Details.

- Under Contact Info, you’ll see your registered email and phone number.

- To change the details, tap Contact Info.
- Tap Add New Contact to add a new email or phone number.


How to Check Your Contact Details on Desktop
If you’re able to sign in to Facebook on a desktop, you can check your email address and phone number in the Accounts Center.
- Click your Profile icon.

- Select Settings & Privacy.

- Click Settings.

- Click See More in Accounts Center at the left of the screen.

- Select your Facebook account.
- In the left-hand menu, click Personal Details.

- Under Contact Info, you’ll be able to see the email and phone number you currently have saved.

- If these are wrong, click Contact Info.
- Click Add New Contact to add a different email or phone number.


Change How to Receive Your Facebook Security Code
Depending on the security options that you have set up on your Facebook account, you may have more than one way to receive your Facebook security code. For example, if you have an email address and phone number saved to your account, you should see both options for receiving your code.
If you’ve tried one of the options, such as receiving the code via phone, and this isn’t working, then try a different option instead, such as receiving the code via email. You may find that while one method isn’t working, another method does.
Restart Your Device
If you can’t get Facebook to send a security code no matter which method you choose, you may need to try restarting your device. Restarting your mobile or computer may clear whatever issue is stopping the request for a security code from working. Restart your device and try signing into Facebook again.
Try a Different Method of Accessing Facebook
If you’re unable to get Facebook to send a security code when you’re using the mobile app, try seeing if it will work when using Facebook in a browser. If you’ve tried it on a browser first, try seeing if it will work on mobile. It may be the case that while you’re unsuccessful on one device, it may work on another.
Recover Your Facebook Account
If all else fails and you’re completely unable to receive the security code that you need to sign in, you can resort to recovering your Facebook account. You’ll need to contact Facebook support who will get you to confirm your identity. It will take some time, but once you’ve done so, you should be able to gain access to your account again.
Generating Facebook Security Codes
If you’re having issues with Facebook not sending a security code, hopefully, one of the fixes above will help. If you find any other successful ways to get Facebook to send your security code, please let us know in the comments.
It’s usually the case that you’ll be able to sign in to Facebook using a device that you’ve previously used without the need for a security code. You may also still be signed in to your account on other devices. Once you can sign in, be sure to check your email address and phone number are up to date and consider setting up two-factor authentication to stop having this problem in the future.