How to Determine User Account Type on Windows 11

If you have multiple users on the same PC, you need to know the account types. Learn how to determine user account type on Windows 11 using this guide.
When setting up a new PC, you can add Standard or Administrator accounts. The difference is determined by the user’s access level to the system and apps.
An Administrator account allows unrestricted access to the global system settings and apps, changes settings for Standard users, install apps, runs PowerShell with elevated privileges, adds new users, and more.
A Standard account has rights to run apps, change select settings that affect the account only, and run the command line without elevated privileges. For example, if you need to check the accounts, here is how to determine user account types on Windows 11.
How to Use Windows Settings to Check User Status
On Windows 11, it only takes a few clicks to check if a user’s account status is set as Standard or Administrator. Once you know a user account access level, you can change it accordingly if you need to.
To use settings to check if a user account is Standard or Admin via Settings:
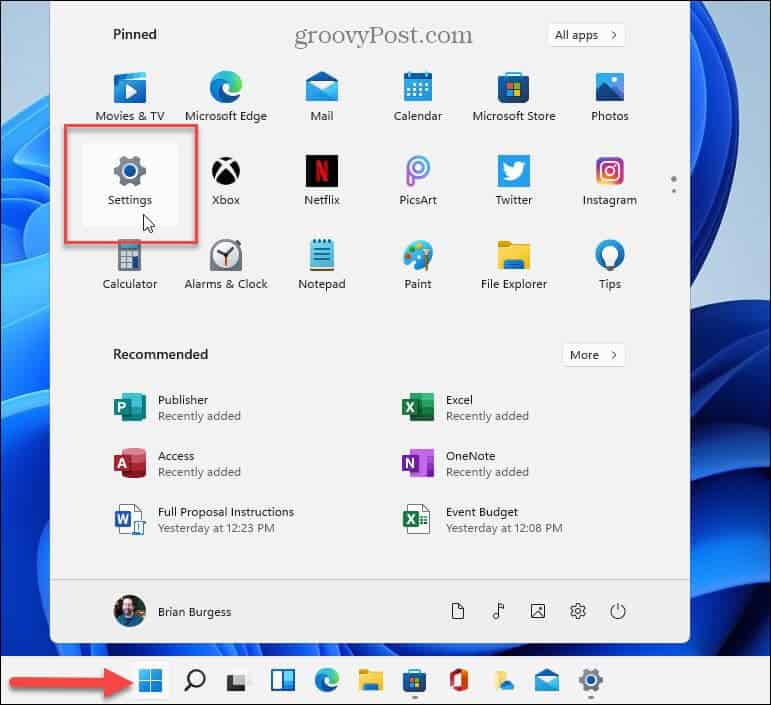
- Press the Windows key or click the Start button, and open Settings.
Note: Alternatively, you can use the Windows key + I keyboard shortcut.
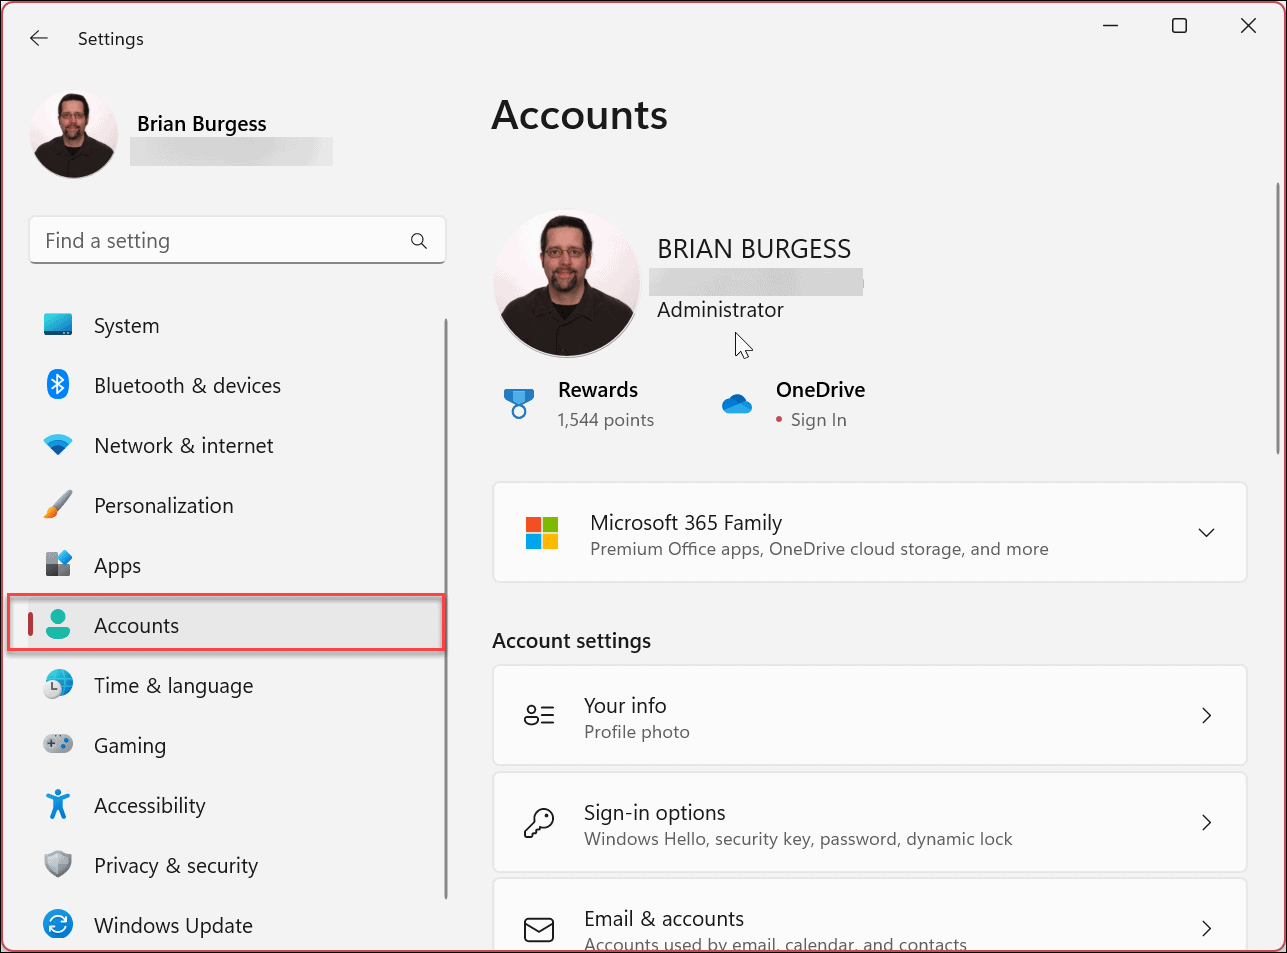
- When Settings opens, click Account from the column on the left.
- Check the page’s header on the right. Under the User Name section, it will show if it is an Administrator or Standard user account. In this instance, we are looking at an Administrator account.

- To view other user accounts on the system, scroll down to the Account settings section and click Other users.

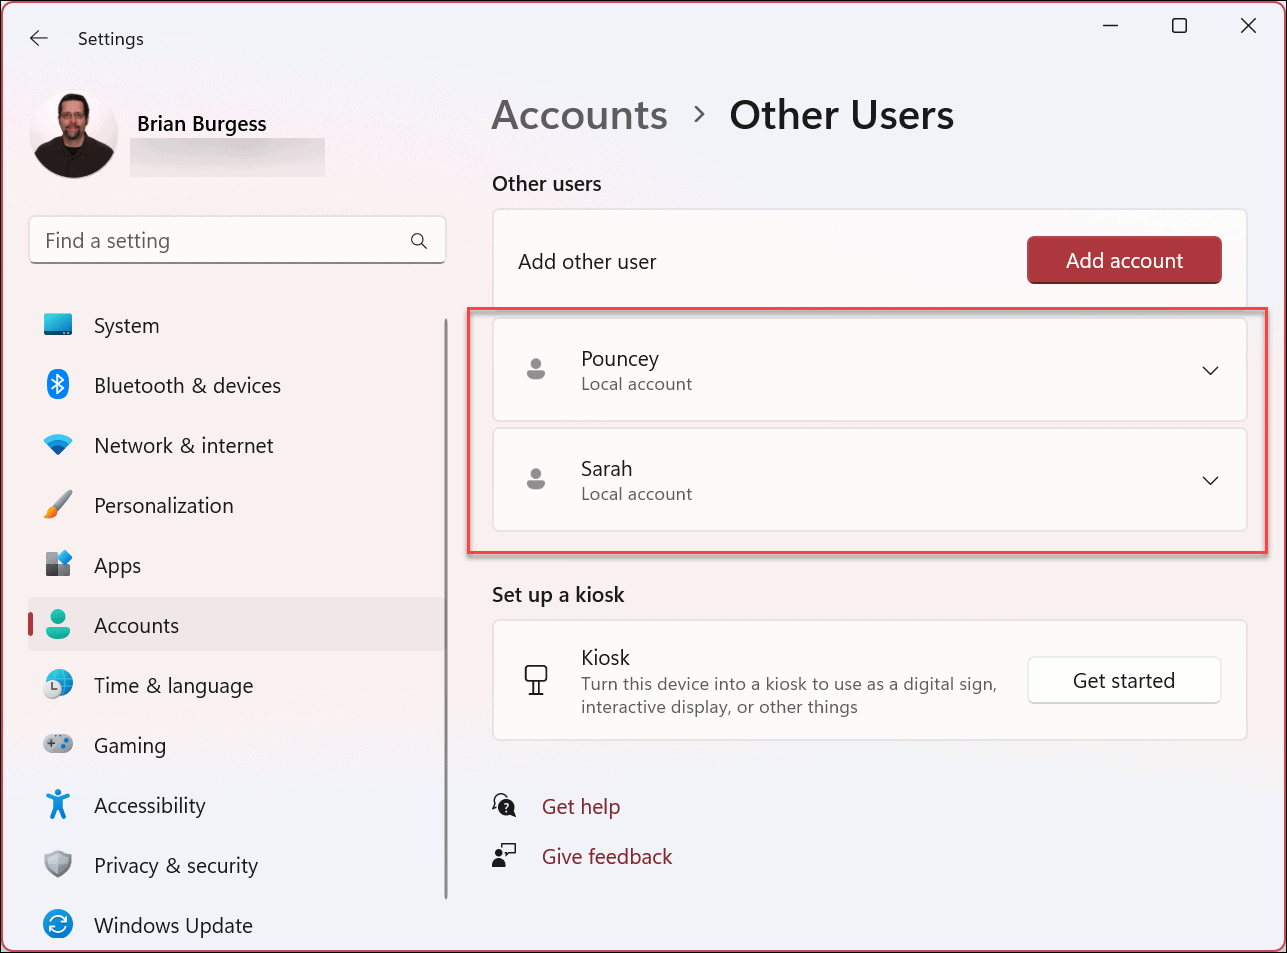
- You can also verify the type of user rights (Standard or Administrator) other user accounts have. In this example, both user accounts are set to Standard local accounts.

How to Check User Account Status Using Computer Management on Windows 11
While using Settings to check an account type is straightforward, you might want to use the Computer Management utility instead.
To use Computer Management to check account status on Windows 11:
- Press the Windows key and type Computer Management.
- Choose the top result.

- When the Computer Management console opens, navigate to the following path:
System Tools > Local Users and Groups > Groups
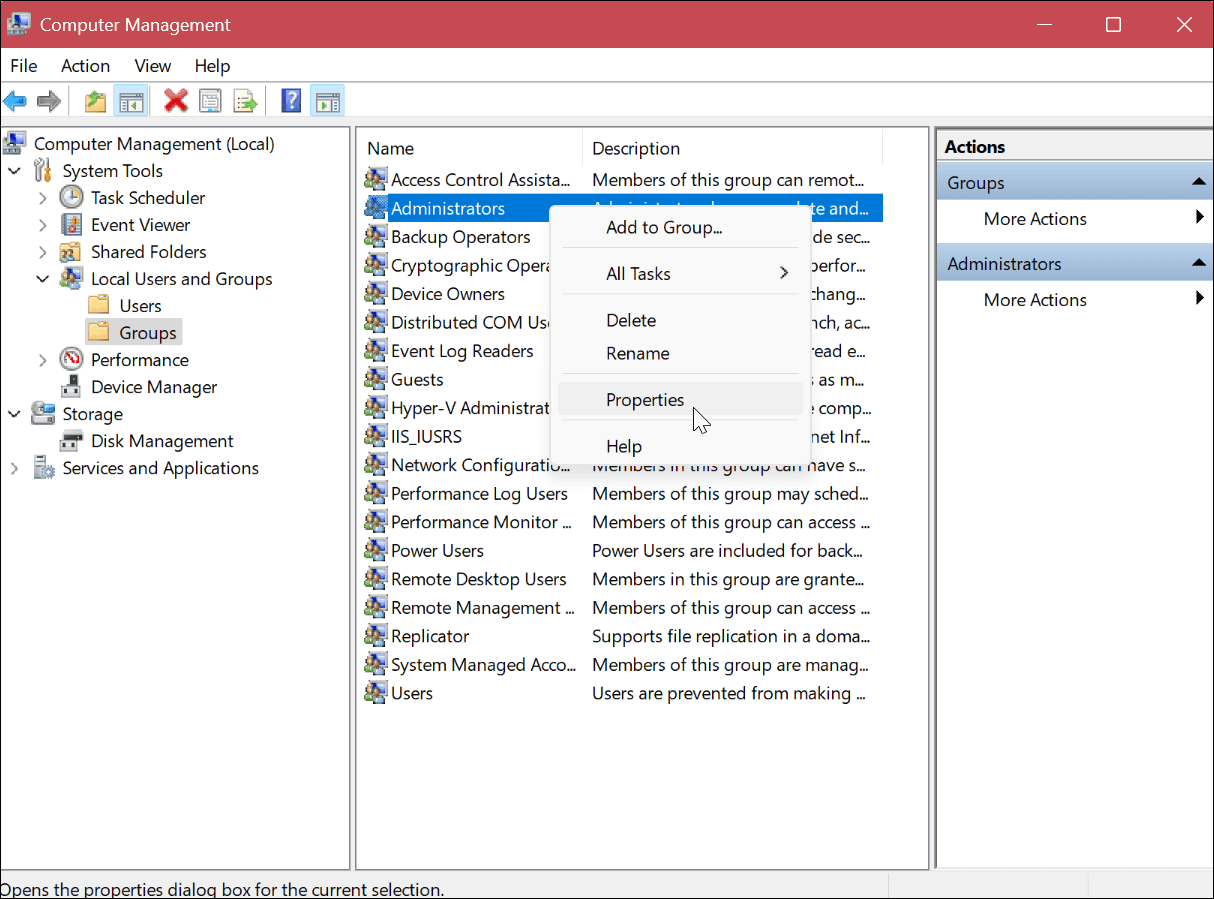
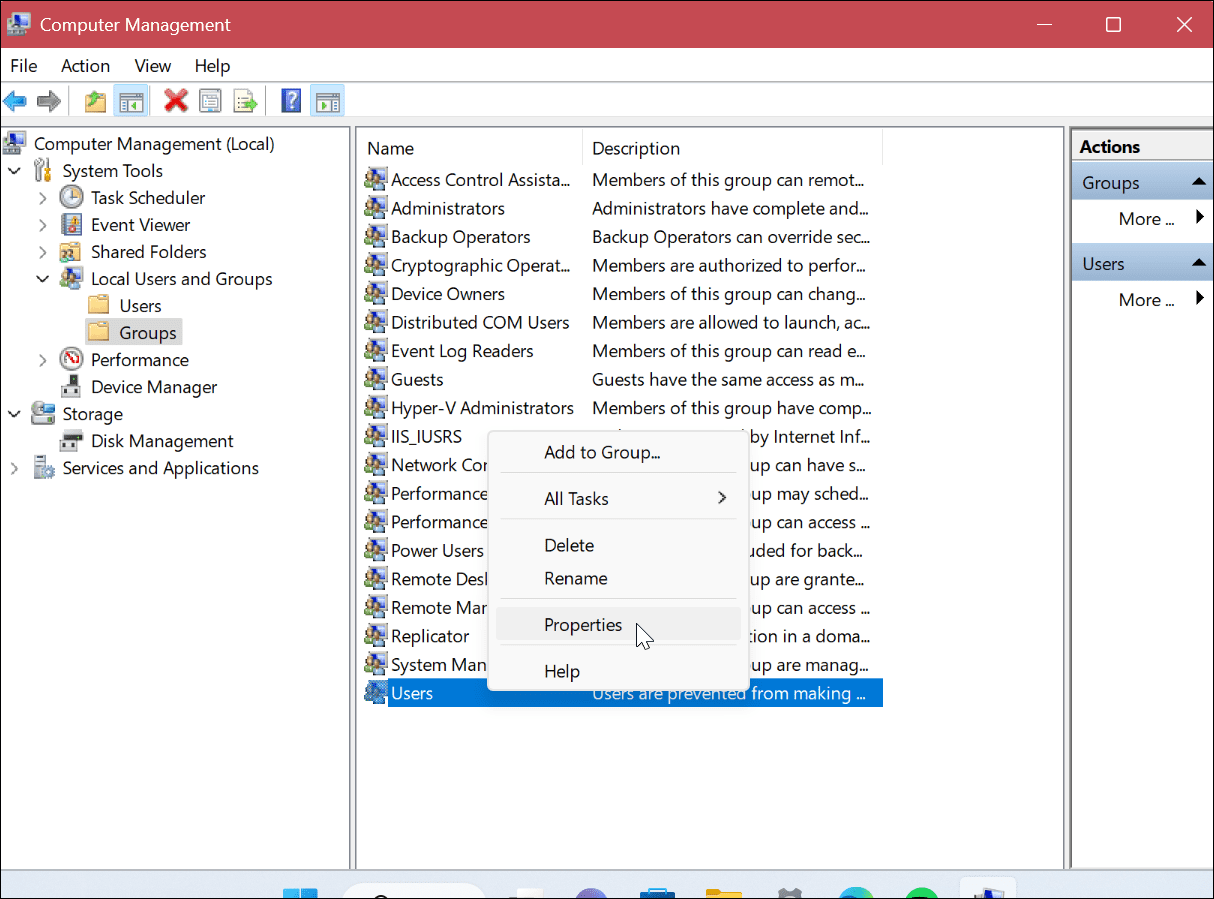
- Right-click the Administrators group and select Properties from the menu.

- Verify the user accounts in the Members section that is part of the Admin group.
- Right-click the Users group and choose Properties from the menu.
- Verify the correct user accounts are displayed in the Members section.


How to Check User Account Status Using Control Panel
In addition to using the two above options, you can also verify user account status from Control Panel.
To verify user account status on Windows 11 in Control Panel:
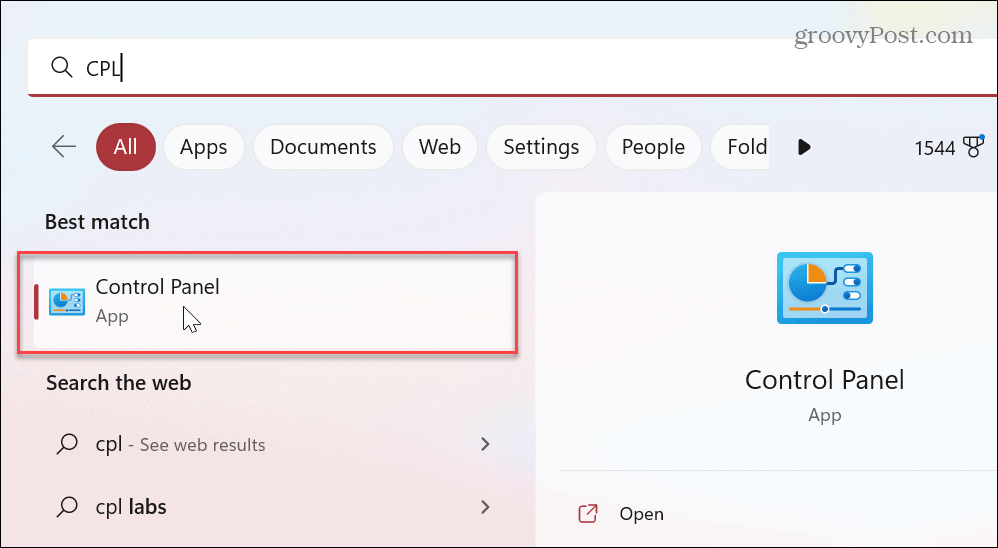
- Press the Windows key and type CPL or control panel.
- Click the Control Panel app under the top result.

- When Control Panel launches, ensure that View by: Category is selected.
- Select the User Accounts option.
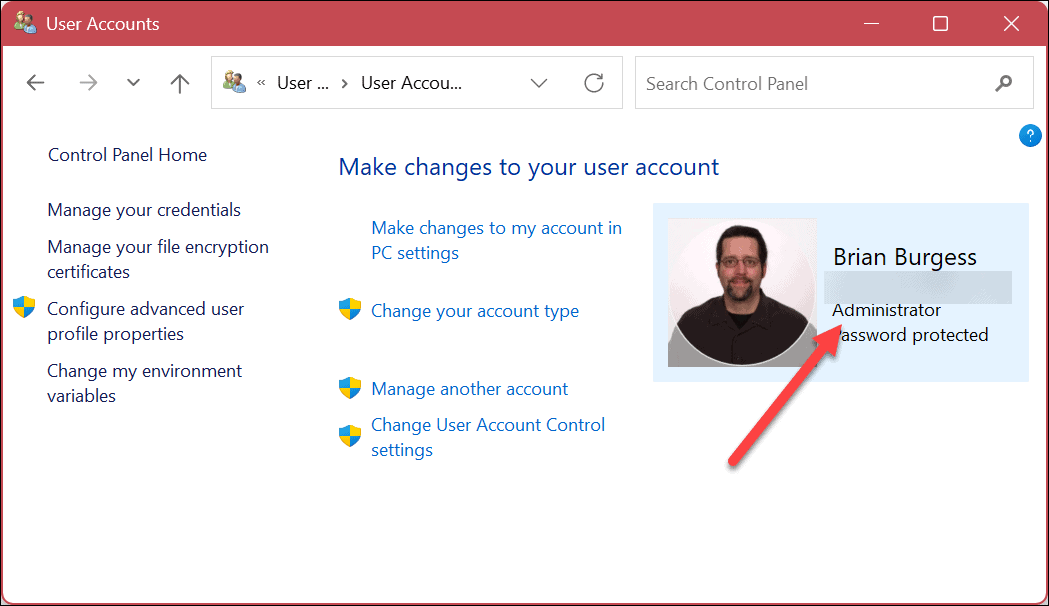
- Choose User Accounts on the following page.

- Check the account information on the right and verify if the account is Standard or Administrator.

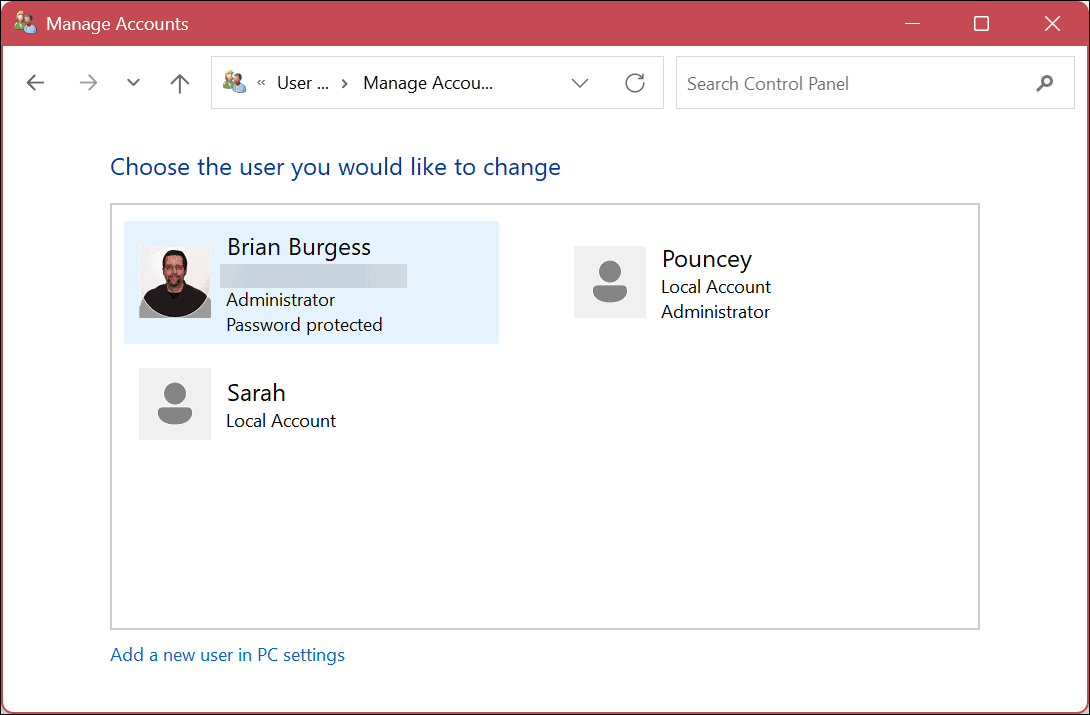
- To check the other user account type, click the Manage another account link.

- Check the information next to each account to learn if it’s a Standard or Administrator account and whether it’s a Local account or not.


Use PowerShell to Determine Account Type on Windows 11
If you prefer to use the command interface, you can pull up PowerShell to run various commands in the terminal to check user account types.
You can also use the newer Windows Terminal app for these steps.
To use PowerShell to check account type on Windows 11:
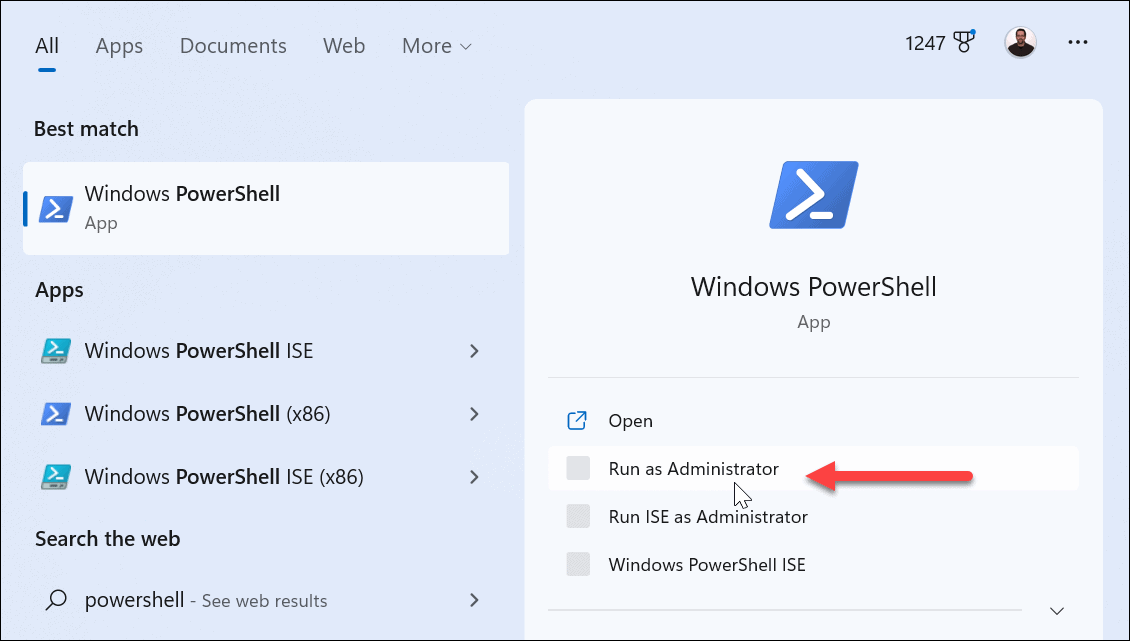
- Press the Windows key and type PowerShell.
- Click Run as Administrator from the Start menu.

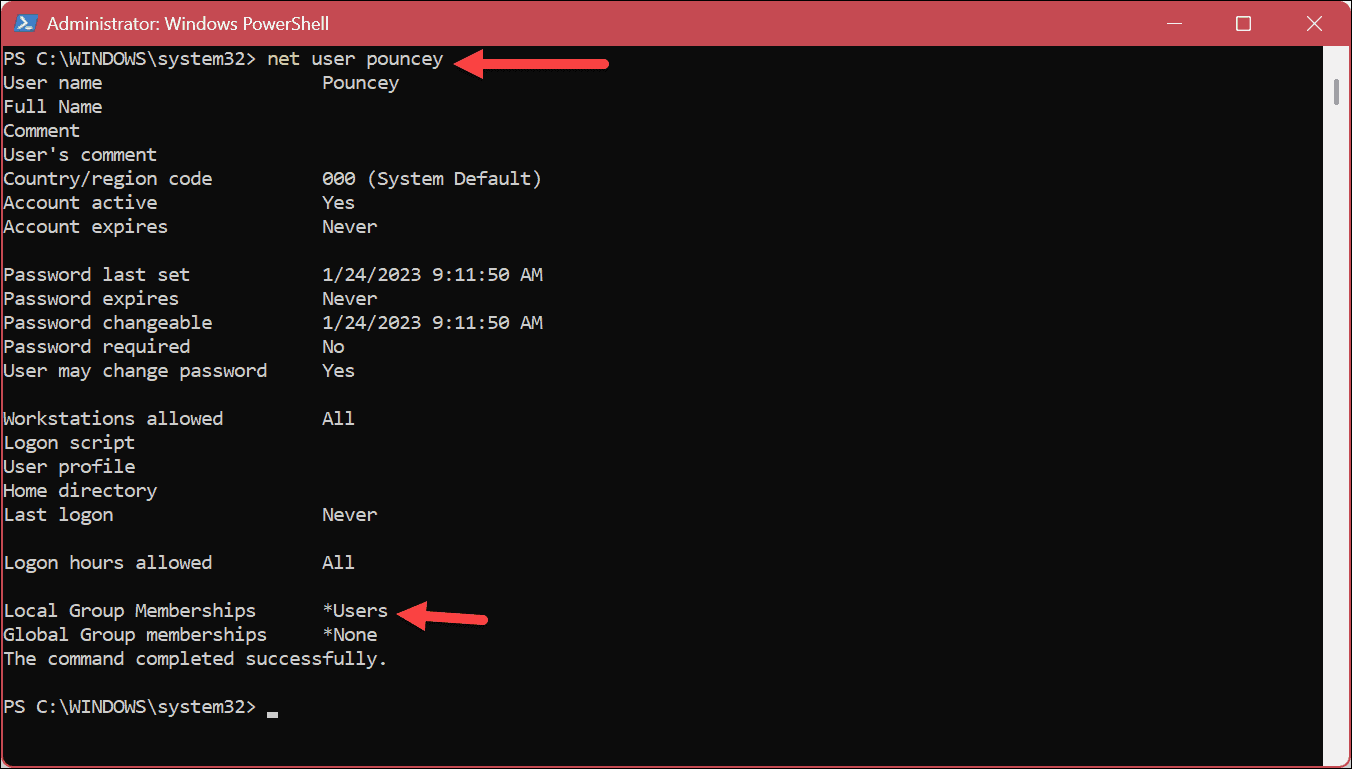
- To view all accounts, run the following command:
net user

- To check a specific account, run the following where “Account-Name” is the actual name of the account on your system.
net user Account-Name
- For example, here we are pulling up the information and properties of a Standard local account.

- Another command you might want to run will only show you the Administrator accounts. To do that, run the following:
net localgroup administrators

- In addition, you can use the following command only to pull up Standard account users.
net localgroup users


Managing User Accounts on Windows 11
If you have a PC with multiple user accounts, it’s helpful to know their account type. So, for example, if you share your system with an inexperienced user, you probably don’t need them making global system changes and installing sketchy apps.
There are other ways you can manage user accounts on Windows 11. For example, you might need to add a new user account or add a local user account instead of a Microsoft one.
When you have multiple accounts, you’ll need to move between them. For example, learn to switch user accounts on Windows 11, or if you no longer need one, you can delete a user account on Windows 11.
If you aren’t on Windows 11 yet, check out the instructions to create and manage user accounts on Windows 10. Or you might need to learn how to rename a local user account on Windows 10.


