Windows 8: Create Tile Groups On the Start Screen
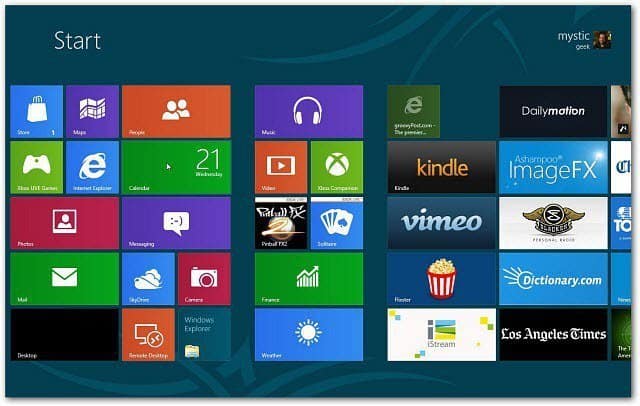
Currently, all apps in the Windows app store are free, while Windows 8 is in the Consumer Preview stage. If you download a lot and pin desktop items to the Metro Start screen, things get messy in a hurry. Here’s how to create groups of Metro tiles for clean organization.


From the Metro start screen, hover the mouse pointer in the lower right corner and click the magnifying glass icon.
![]()
![]()
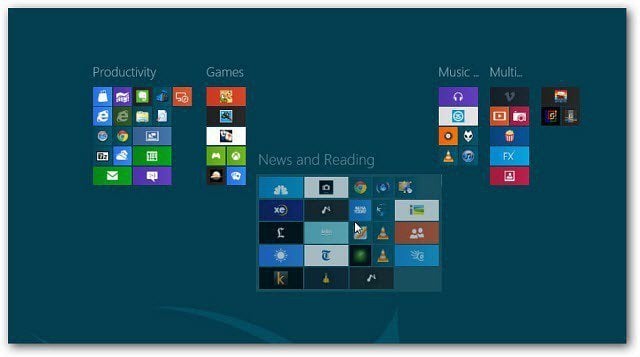
The icons on the Metro start screen are minimized. Right-click any of the existing groups. A green checkmark appears in the upper right corner of the group. A menu bar appears at the bottom, too; click Name Group.


Now name the group whatever you want it to be called.


Then long press or click the icons you want to move into the groups you’ve created.
![]()
![]()
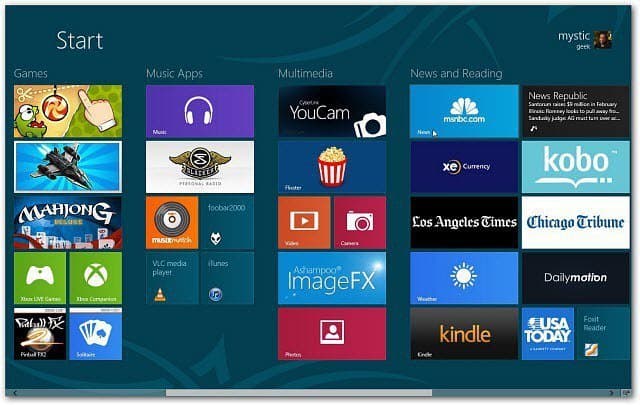
Click the Magnifying glass icon again, and you can move complete groups around for easier access.


After moving Metro tiles around, you’ll find that you can make as many different groups as you need. Having the ability to move complete groups around really helps to get faster access to them.


Organizing apps on the Metro start screen is great on a laptop or desktop PC. This comes in handy on a Windows 8 tablet, too.
This process is similar to keeping iOS apps organized with folders on an iPad, iPhone, or iPod touch.
6 Comments
Leave a Reply
Leave a Reply


Jamill
June 4, 2012 at 8:25 pm
I dont have that magnifing glass at the bottom right-hand corner
Brian Burgess
June 5, 2012 at 3:35 pm
@Jamill — you should. What resolution is the screen you’re using? The minimum is 1024×768
https://blogs.msdn.com/b/b8/archive/2012/03/21/scaling-to-different-screens.aspx?Redirected=true
Defoe
June 2, 2013 at 2:57 am
Jamill,
Me and you have not a magnifing glass but we have instead of that a symbol of minus. A functionality is the same.
Charlie Skipp
February 10, 2013 at 10:19 am
Hello how do you define column widths?
Brian Burgess
February 10, 2013 at 10:22 am
The amount of tiles you add in each column, and whether you have a large tile or small one, will determine the width.
Charlie Skipp
February 10, 2013 at 10:45 am
I get it now only even numbed