How to Use Virtual Desktops on Windows 11

Microsoft introduced the Virtual Desktops feature with Windows 10. Now, it has been improved on Windows 11. Here’s how to create, move, and manage them.
Microsoft introduced the Virtual Desktops feature with Windows 10. It’s something that has been part of Linux for years. It lets you set up different desktop experiences and switch between them, and get things done. And while it is a welcome feature on Windows 10, Microsoft has improved the experience. Here is a look at how to use virtual desktops on Windows 11.
Add a Virtual Desktop on Windows 11
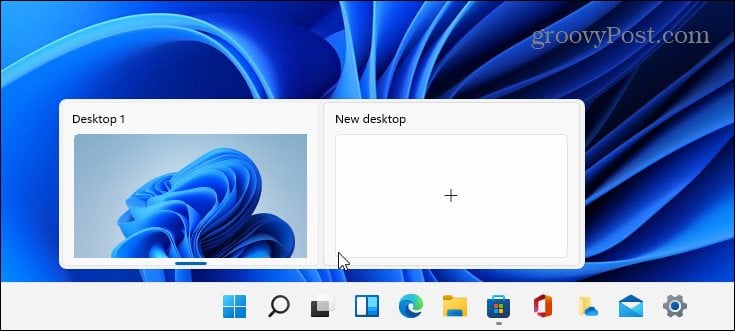
To create a new virtual desktop, hover the mouse over the Task View button on the taskbar. It’s the button between the Widgets and Search icons. Then click Add Desktop from the menu that pops up.
Do that each time you want to create a new virtual desktop. When you have a new desktop, you can create a work environment for it. For example, you can create different desktops for various projects you’re working on. Or create a work environment and a “multimedia or gaming desktop” and switch between them.
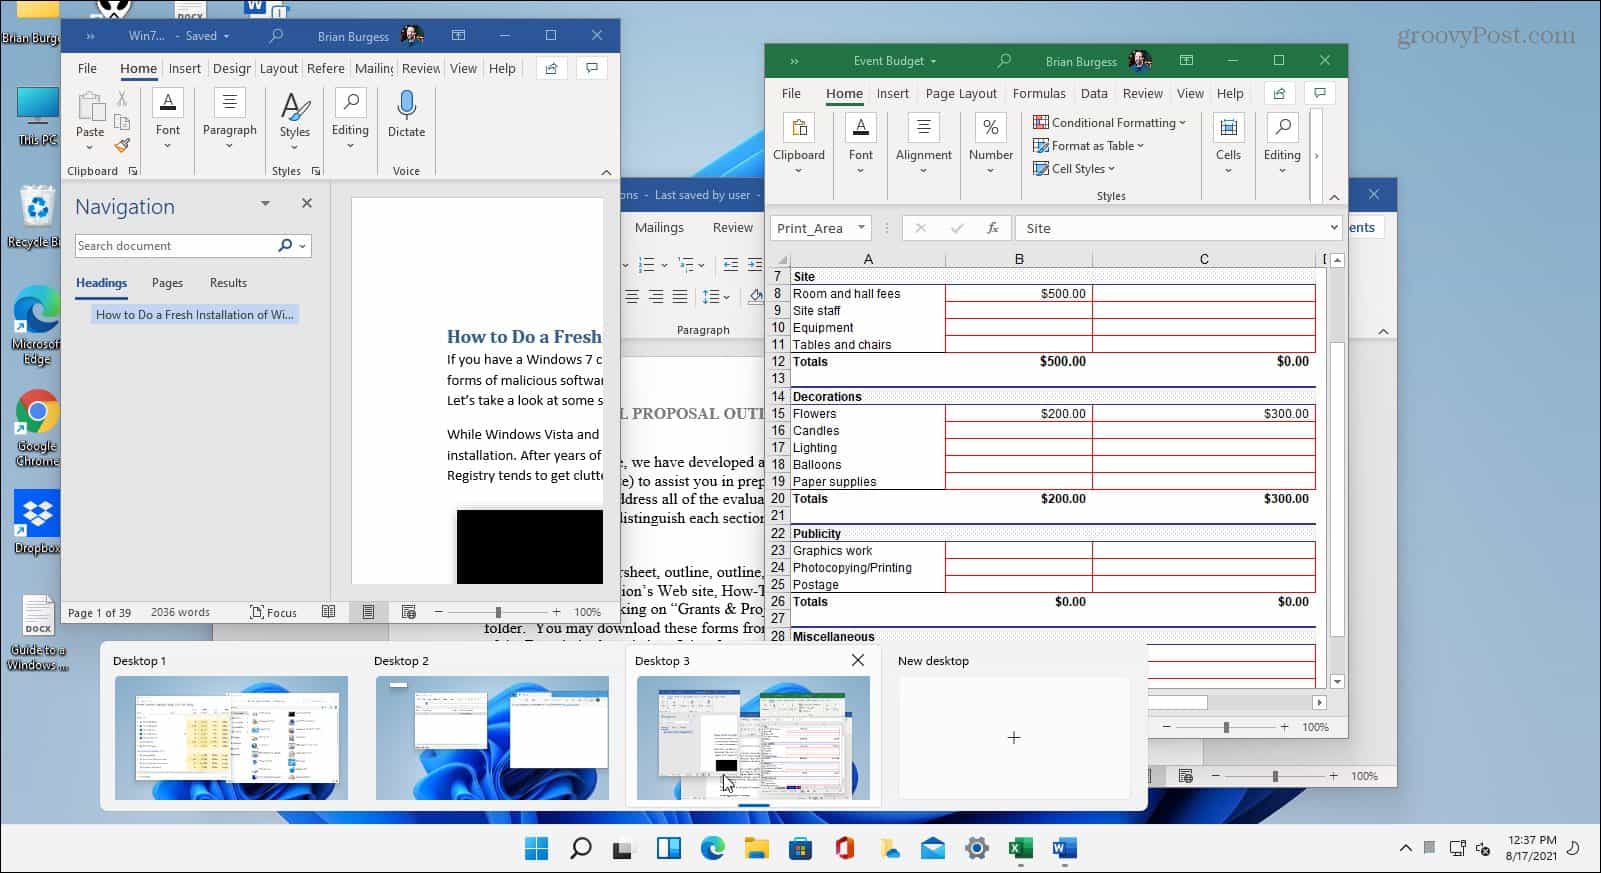
To view what’s going on with each virtual desktop you create, hover the mouse over the “Task View” button and then each desktop. For example, here, I have three virtual desktops running with different apps running on each.
Rename a Virtual Desktop
By default, Windows gives each desktop a generic name. But you can create specific names for each one. Hover over the Task View button, right-click a desktop, and select Rename.

Then type in the name you want to give the desktop. Do that for each one you want to rename.

Move Windows Between Desktops
Sometimes you might want to move an app’s window from one desktop to another. To do that, click the Task View button and hover over the desktop with the window you want to move. Then right-click the window and click Move to and then select the desktop.

Close a Virtual Desktop on Windows 11
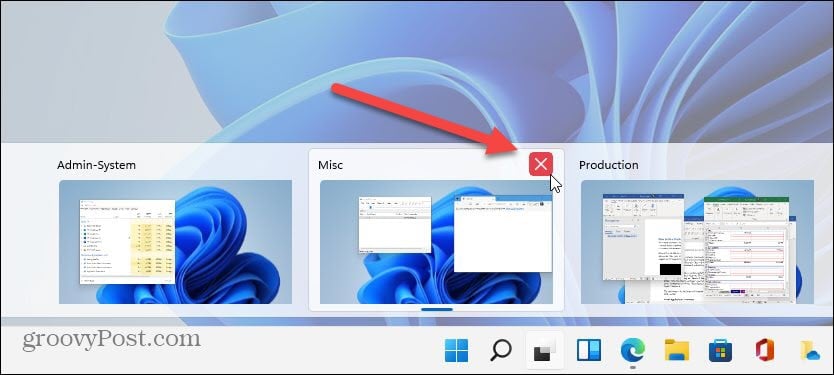
To close out of a virtual desktop, click the Task View button, hover over the desktop you want to close and click the X in the upper-right corner of the preview.
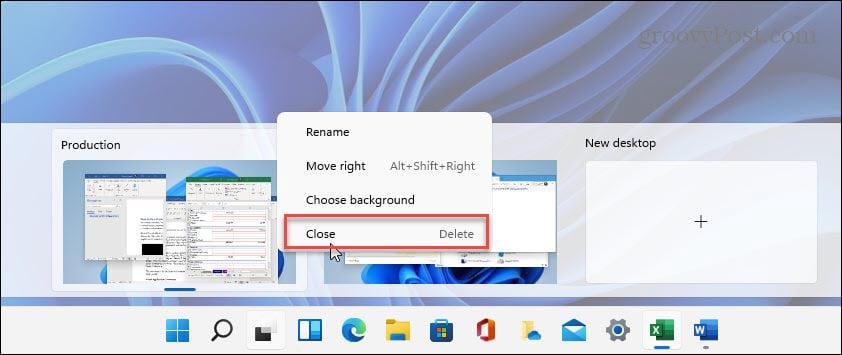
You can also right-click the virtual desktop preview thumbnail and click Close. And it’s worth noting that you can close out of a desktop using the keyboard shortcut Windows key + Ctrl + F4.
When you close out of a virtual desktop and have created more than two, its content will move to the desktop to its left. Closing a desktop doesn’t close open apps; it just moves them over one spot.
Summing Up
The Virtual Desktop feature on Windows 11 seems to be a more fluid and responsive experience than Windows 10. Creating, managing, and maintaining desktops is intuitive. It has other options like showing a window on all desktops, showing windows from an app on all desktops, and more. It’s a nice feature to have if you prefer different environments for various tasks and workflows.

And if you don’t think you’ll ever use the virtual desktop feature, you can always hide the Task View button. For more on the new OS, make sure to check out our article on moving the Start button to the left. Or take a look at the new way to open Task Manager on Windows 11.


