How to Switch Windows Insider Channels on Windows 11

If you are in the Windows 11 Insider program there may come a time when you want to change channels. Here’s how to do it through Windows 11 settings.
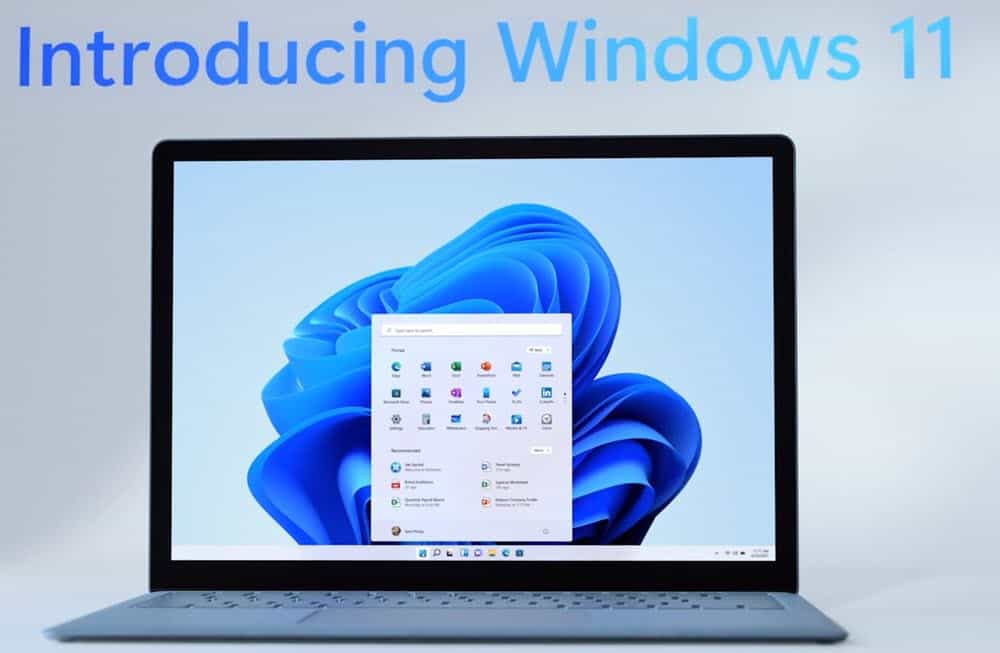
Microsoft announced a new version of Windows that is coming soon, and it’s called Windows 11. Currently, the only way to test it is by joining the Windows Insider Program (Dev Channel). If you want to test out the new OS on a secondary PC or in a virtual machine, check out our article on downloading and installing Windows 11. But just like with Windows 10, you might want to switch to the slower beta channel (or vice-versa).
What’s the Difference Between Insider Channels?
Starting with Windows 10, Microsoft launched the Windows Insider Program. Currently, the company rolls out updates to three separate groups or “channels.” There is the Dev Channel, Beta Channel, and Release Preview Channel. However, the Windows 11 Insider program doesn’t include a Release Preview Channel at the time of this writing.
In fact, when Windows 11 was initially launched for testers, you had to enroll in the Dev Channel. But since the initial release, it’s offering the Windows 11 Insider builds through the Beta channel. The main difference is the rate at which you will get new builds or versions of the operating system. Here is a look at what Microsoft says about each channel:
- Dev Channel: Ideal for highly technical users. Be the first to access the latest Windows 11 builds earliest in the development cycle with the newest code. There will be some rough edges and low stability.
So, while you get the latest features faster, your testing machine is going to be less stable.
- Beta Channel: Ideal for early adopters. These Windows 11 builds will be more reliable than builds from our Dev Channel, with updates validated by Microsoft. Your feedback has the greatest impact here.
This is the channel you want if you’re not worried about having the latest features first. But you want a more reliable build of the OS to test on a secondary PC.
Change to Insider Channel on Windows 11
Changing the Insider channel through Windows 11 is a straightforward process. Click the Start button and then click Settings. Alternately, you can use the keyboard shortcut Windows key + I to launch Settings.
When the Settings page opens, click on Windows Update at the bottom of the list on the left panel. Then click Windows Insider Program on the right.


Next, click on the Choose your Insider settings dropdown menu under your current build number.


Now, click on the channel you want to be in. Note that you will need to restart your machine for the changes to take effect.


Again, it’s important to note that you should only be installing Insider builds on secondary PCs or a test VM. Not your main production box. Even if you are in a slower channel, it’s still OS code that’s in development. Still, testing out new features and possible future work scenarios (for admins) is great. And having the ability to change the rate at which your PC receives the code is important.
Once you get Windows 11 installed on your test machine, read up on some of our tips, like how to move the Start button and taskbar or how to add a user account to Windows 11.
Leave a Reply
Leave a Reply


