How to Use BitLocker to Go on Windows 11

Worried about sensitive files on portable drives? You’ll need to encrypt it. You can do this on Windows 11 with BitLocker to Go by following this guide.
Microsoft introduced BitLocker with Windows 7 as a security feature to encrypt data on your local and removable drives. The encryption prevents unauthorized access to your files and documents on your drive.
When you use BitLocker to Go on Windows 11, the data on a portable USB drive is scrambled using Advanced Encryption Standard (AES) encryption. A person can only access the drive with the password or recovery code. If you want to use BitLocker to Go on Windows 11, you’ll need to follow the steps below.
Note: The BitLocker encryption feature is only available on a Windows 11 Pro, Enterprise, or Education PC. If you want the BitLocker feature on Windows 11 Home, you’ll need to upgrade from Home to Pro first.
How to Encrypt a USB Drive with BitLocker to Go on Windows 11
To enable and start the encryption process on your Windows 11 PC using BitLocker to Go:
- Click the Start button or press the Windows key to open the Start menu, then click Settings. Alternately you can use the keyboard shortcut Windows key + I to open Settings directly.
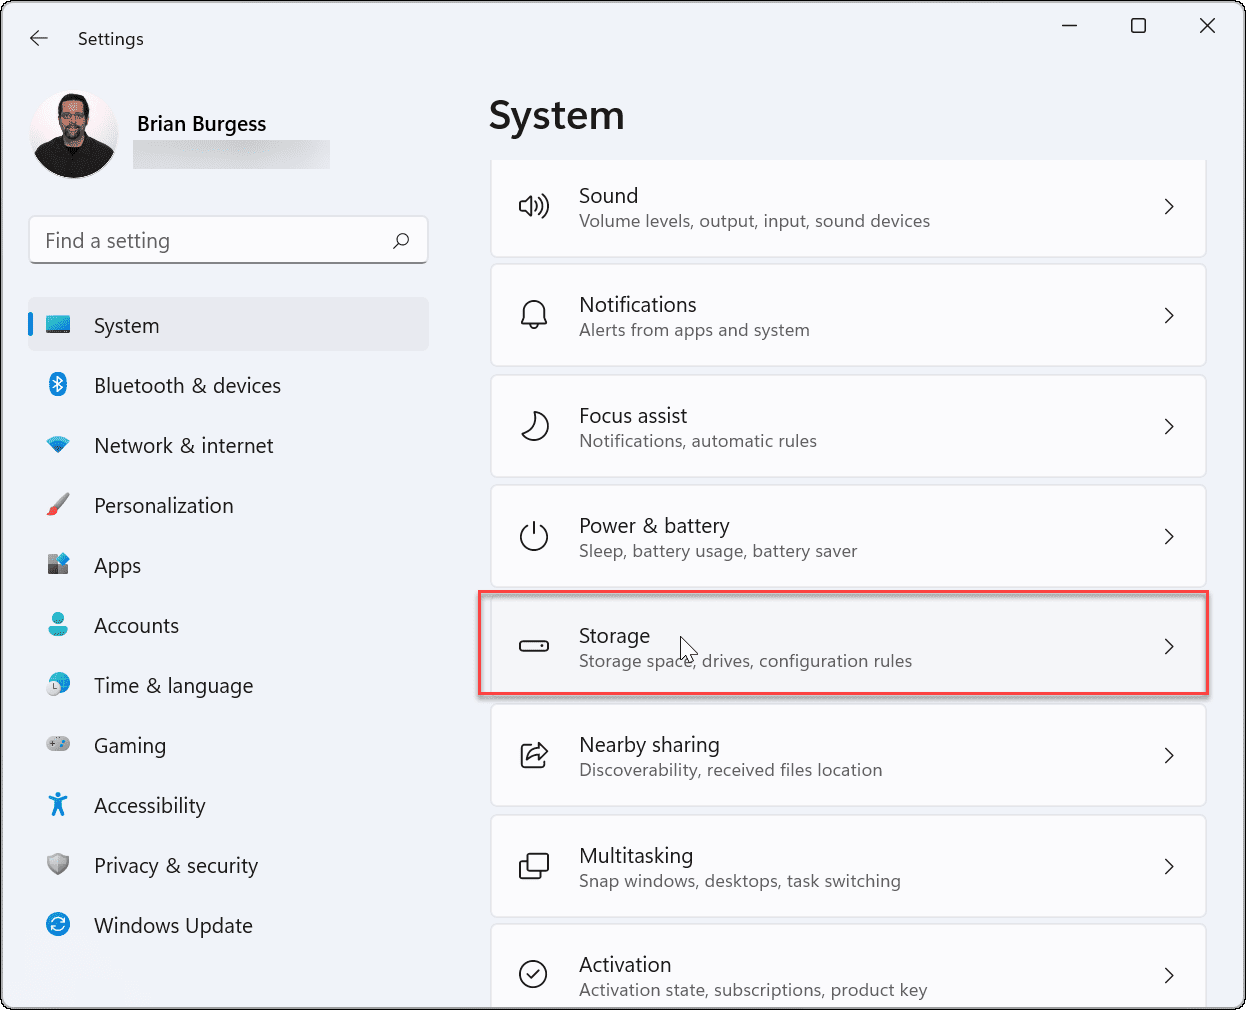
- When Settings opens, click on System > Storage.
- Scroll down and click Advanced storage settings.
- When the menu expands, click Disks & volumes.

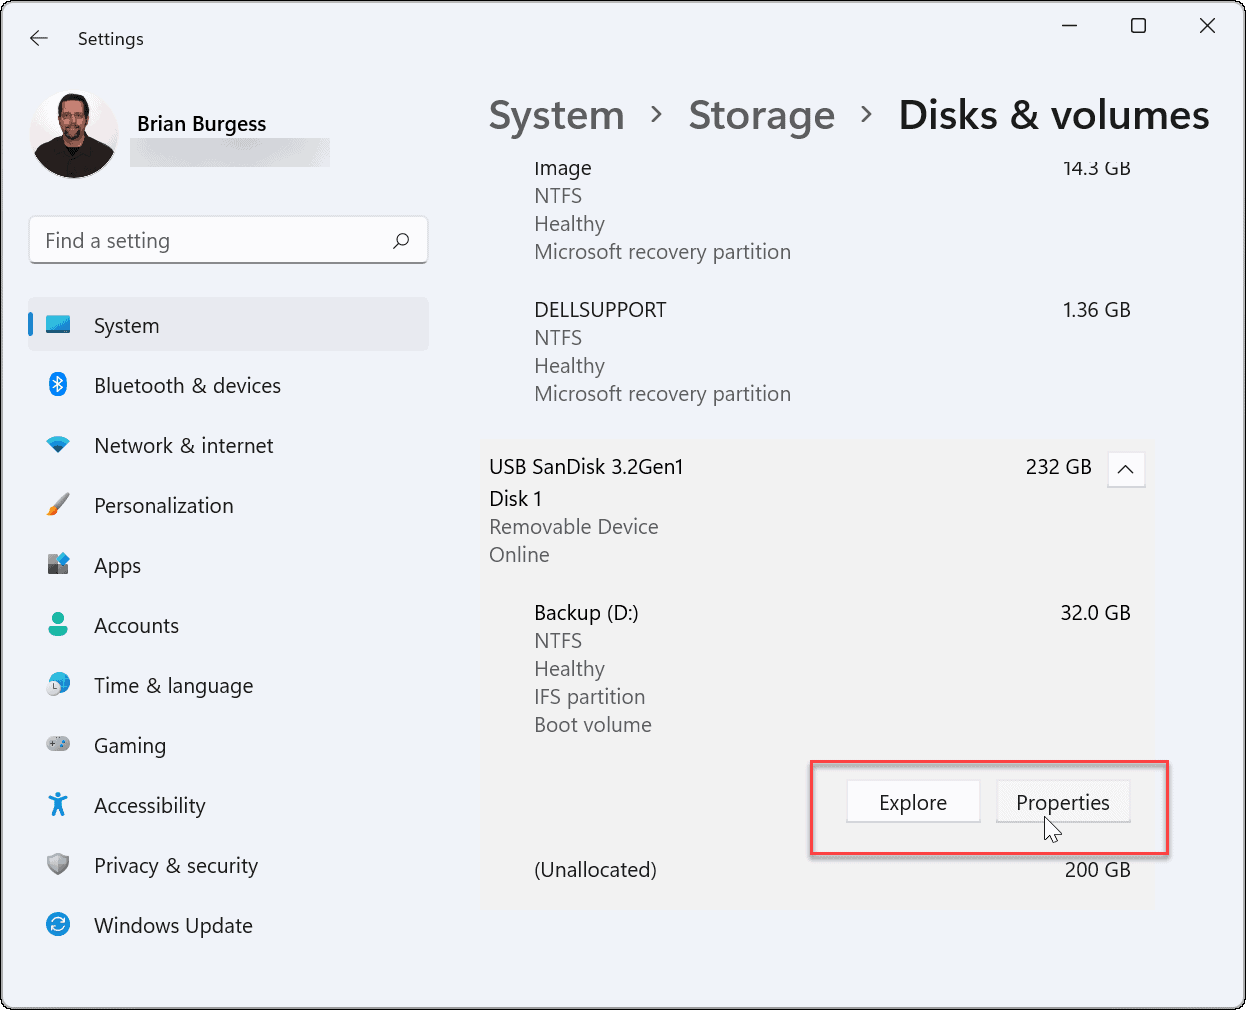
- In the Disks and Volumes menu, select the drive you want to enable BitLocker encryption on, then click the Properties button.
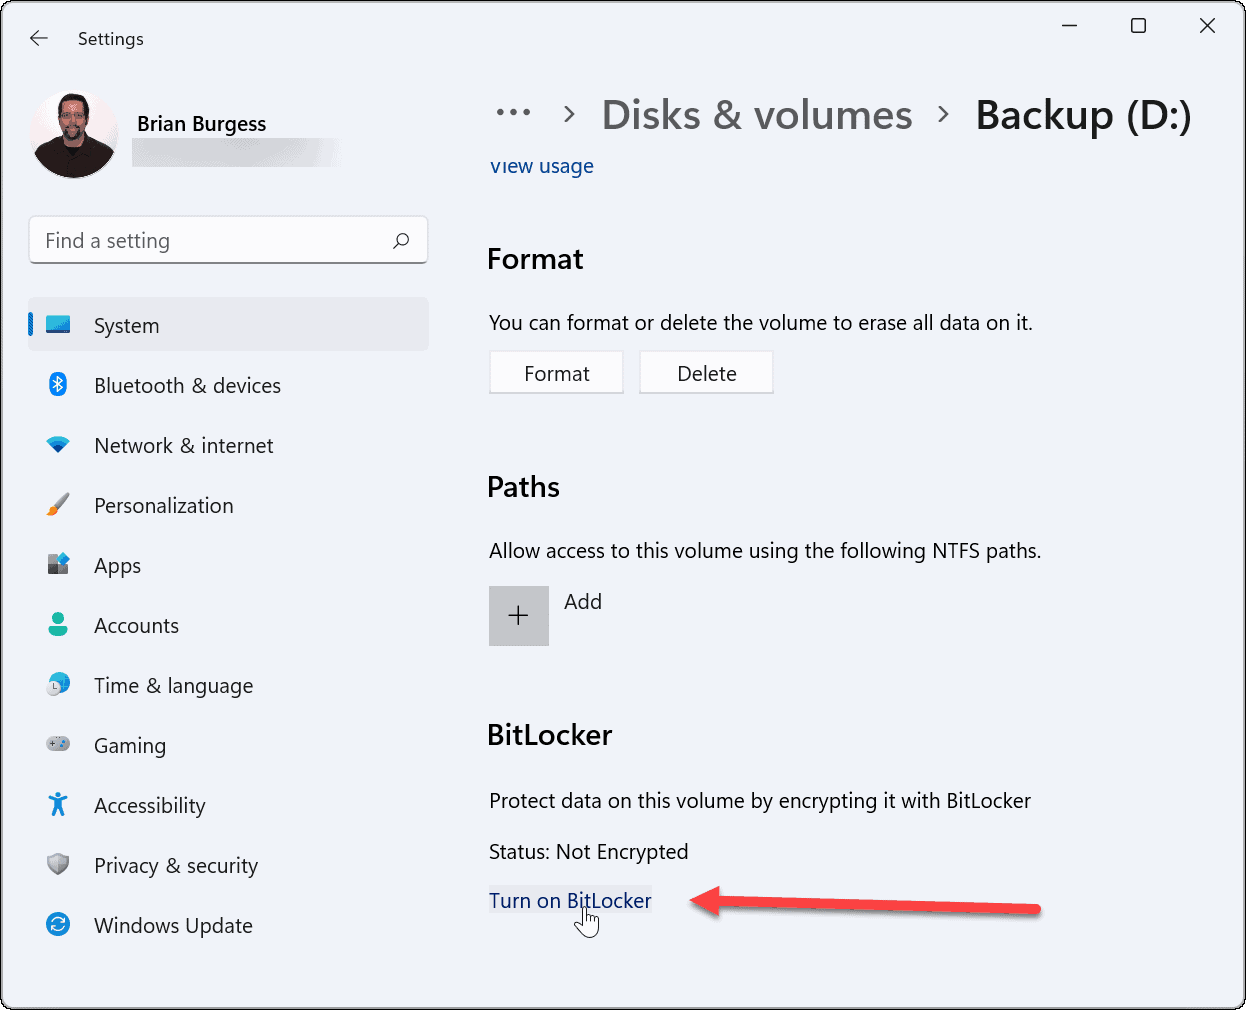
- Scroll down and click the Turn on BitLocker link on the following screen.
- Find your chosen drive in the BitLocker Drive Encryption menu and click the Turn on BitLocker link.

- Select the Use a password to unlock the drive box, type in the password you want to use twice, then click Next.

- Choose a location to save your recovery key. The recovery key will allow you to get into the drive if you forget your password. You can choose to Save to your Microsoft account, Save to a file, or Print the recovery key.
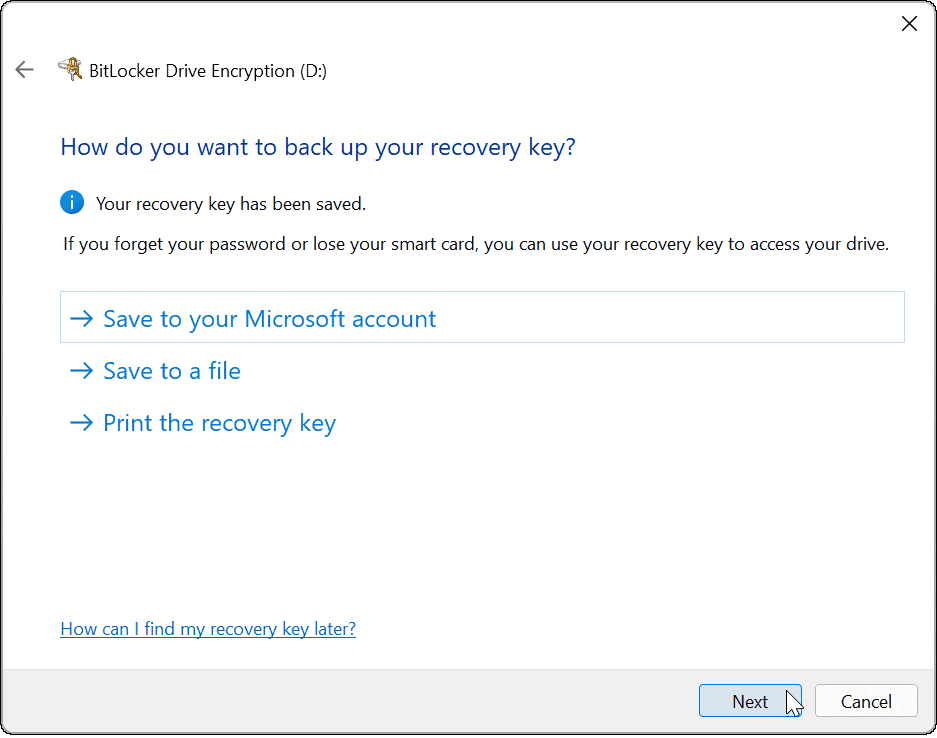
- After you’ve backed up your recovery key, click Next.
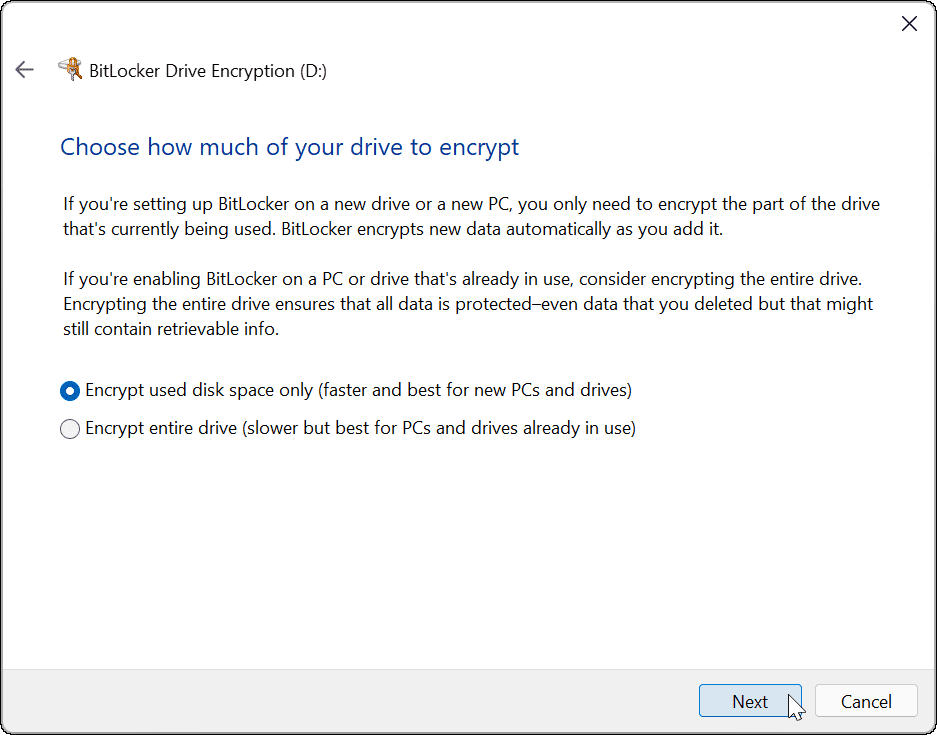
- Click the Encrypt used disk space only (faster and best for new PCs and drives) option and click Next.
- Select the Compatible mode (best for drives that can be moved from this device) option and click Next.

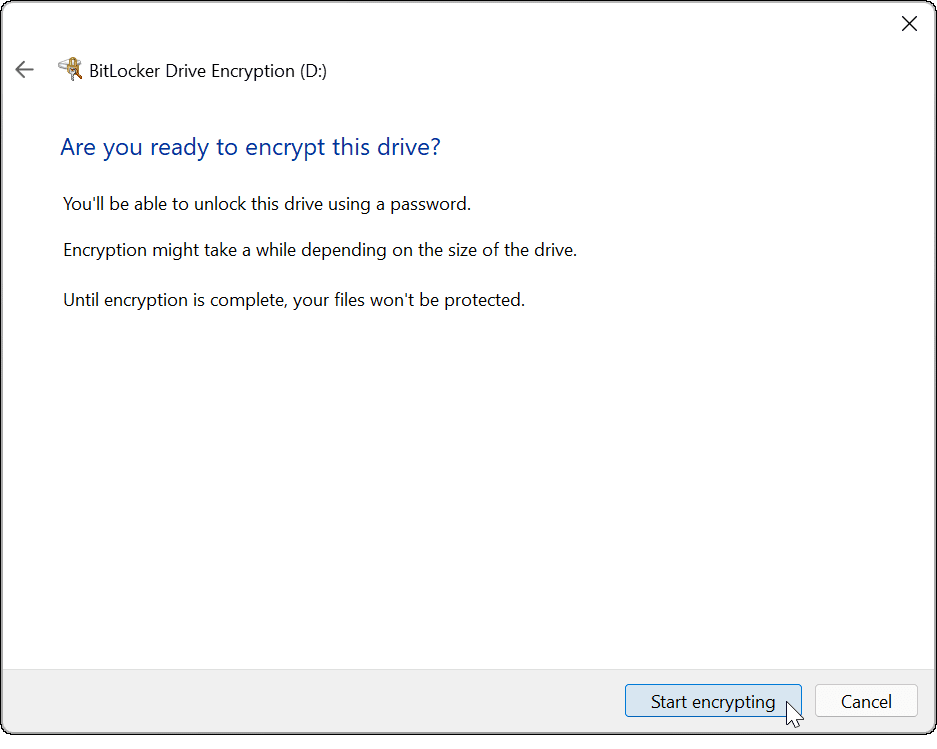
- Now select the Start encrypting button to begin the encryption process.
- You’ll see a progress dialog while the encryption completes. The amount of time it takes will vary based on the amount of data and the size of the drive.

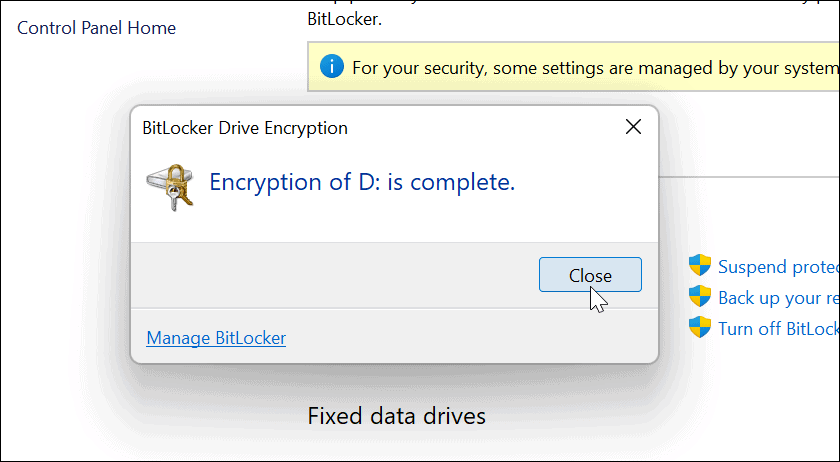
- When the encryption process has completed, you’ll get a notification to confirm—click the Close button.
Using a BitLocker Encrypted USB Drive
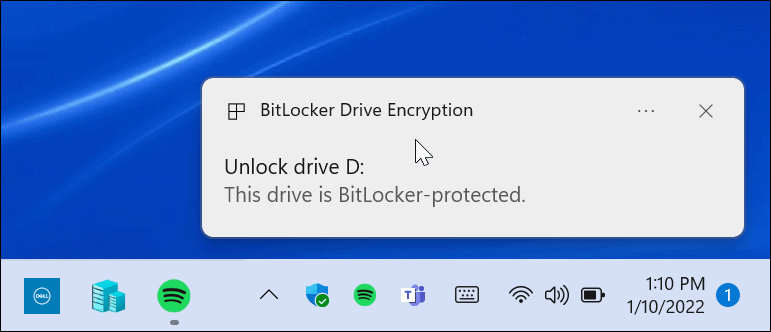
If you’ve followed the steps above to enable BitLocker to Go on Windows 11, your drive should be encrypted. When you plug in a BitLocker-encrypted drive, you’ll get a notification telling you that it’s protected with BitLocker.
Also, if you open File Explorer, you’ll find a yellow lock icon next to the encrypted drive.
![]()
To open the drive and access its data, you’ll be required to enter the password you used to set up BitLocker encryption.

If you forgot the password, select More options and enter the recovery key you saved when creating the encrypted drive.
How to Disable BitLocker on Windows 11
After using your encrypted drive, you might not find it necessary to disable encryption. You may want to do this if you decide to use the drive for non-encrypted files or with another operating system.
If you want to disable BitLocker encryption on any drive:
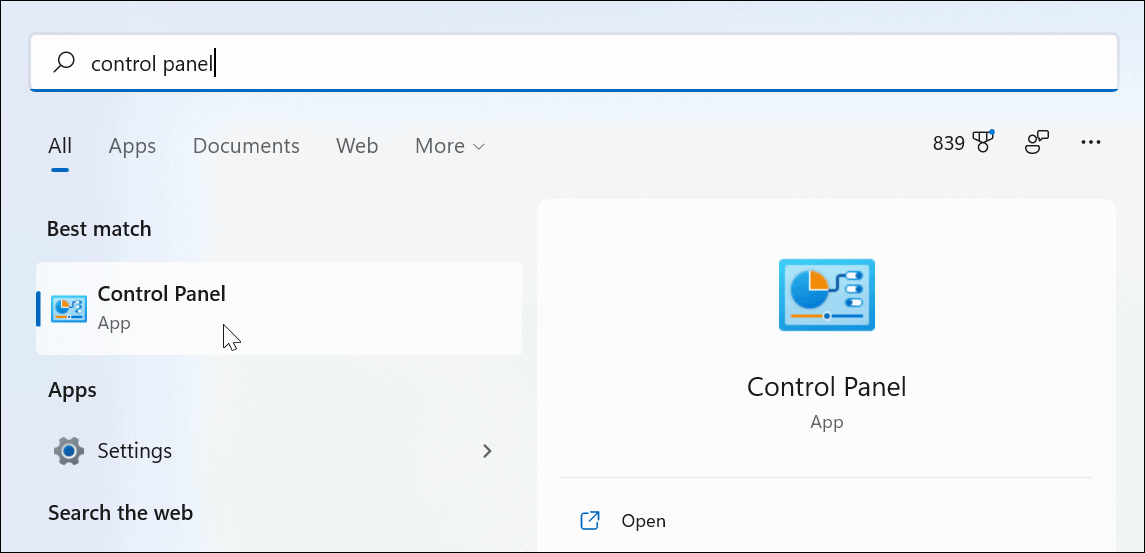
- Click the Start button, type in Control Panel, and select the top result.
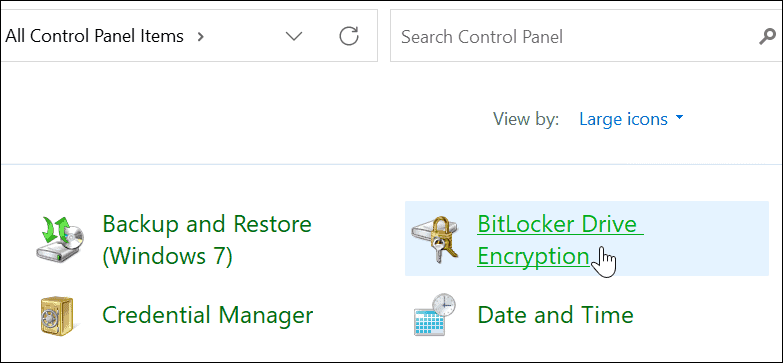
- When the Control Panel opens, click the BitLocker Drive Encryption option.
- Find your encrypted drive under the BitLocker to Go section and click the Turn off BitLocker link beside it.
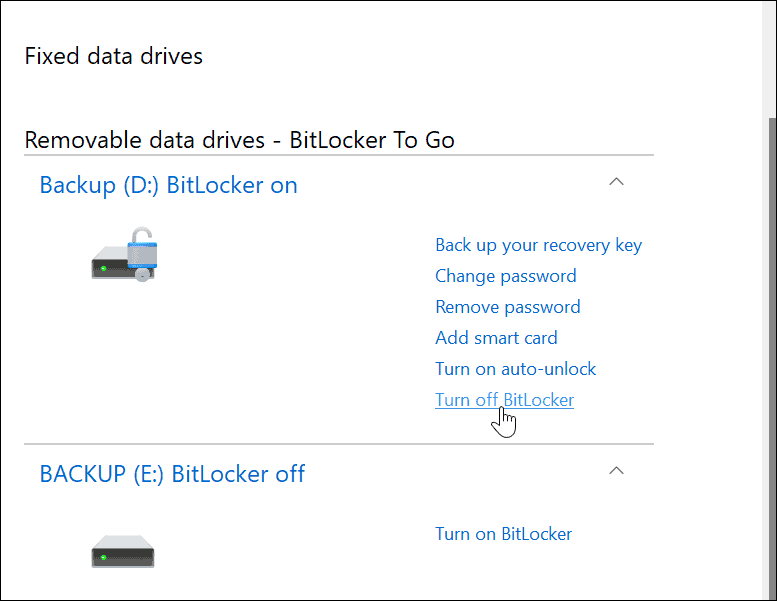
- When the confirmation dialog appears, click the Turn off BitLocker button to confirm.

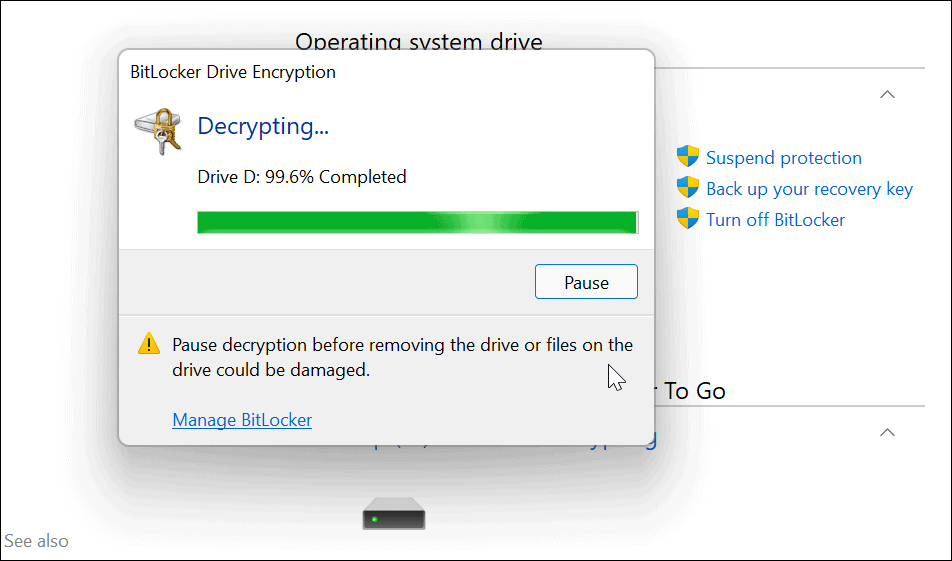
- A progress dialog will display while the drive is decrypting.
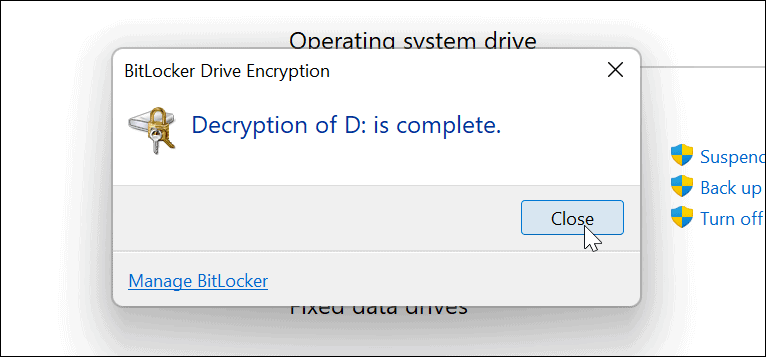
- Once the drive is fully decrypted, you’ll get a confirmation message—click the Close button to exit.
- At this point, your drive will work like any unencrypted drive you plug into your PC.

Protecting Files on Windows 11
If you decide to use BitLocker to Go on Windows 11, you can protect your important files on portable drives without worrying about theft or malware. Keeping your data safe (particularly while you’re on the go) is important, and using BitLocker is a great way to ensure it’s protected.
If you accidentally misplace a drive, or if it gets stolen, you don’t need to worry. Your data can’t be accessed without the BitLocker password or decryption key.
If you’re interested in beefing up your security, read about why TPM is important on Windows 11. If you want to quickly recover your system, create a full system backup of your Windows 11 PC first.
Still running Windows 10? You can also use BitLocker to Go on Windows 10 to protect your drives.


