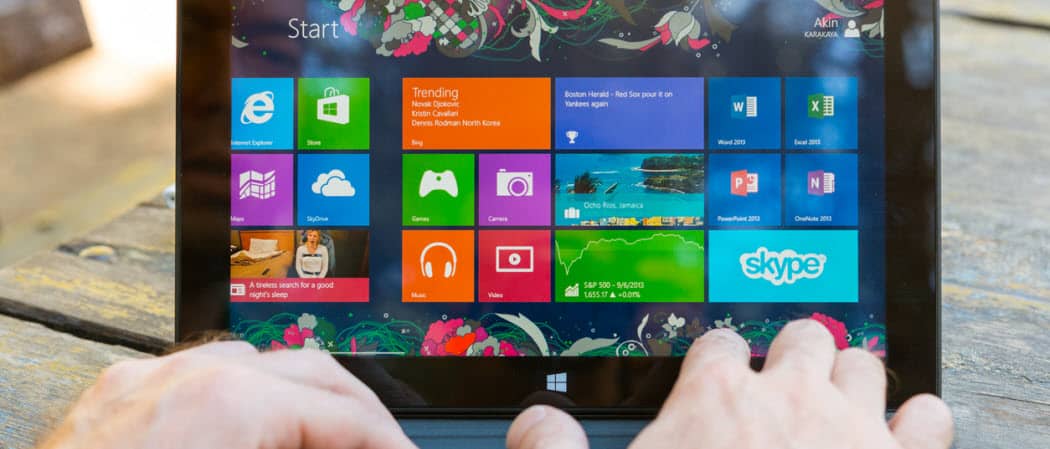
How to Upgrade Windows 7 to Windows 8.1 with Upgrade Assistant
So, you’re running Windows 7 and want to upgrade to the latest version. Using the Windows 8.1 Upgrade Assistant makes it an easy process. Here’s a look.
So, you’re running Windows 7 and want to upgrade to the latest version — Windows 8.1. Using the Windows 8.1 Upgrade Assistant makes it easy, and here’s a look at making the transition as seamless as possible.
Back-Up Your Important Personal Files
With this upgrade, Windows will retain your files…ideally, that is. If something goes awry during the upgrade process, you’ll definitely want to make sure all of your personal files – music, photos, documents, pictures—are safe. Backing up your data is the most important thing to do before you start. Hopefully, you’re already using an off-site backup solution like CrashPlan, so your data is already taken care of. In fact, even if you have your data backed up to the cloud, I recommend having it backed locally up to an external drive, NAS, or other network location.
Here are the basic system requirements to run Windows 8.1:
- Processor: 1 gigahertz (GHz) or faster
- RAM: 1 gigabyte (GB) (32-bit) or 2 GB (64-bit)
- Hard disk space: 16 GB (32-bit) or 20 GB (64-bit)
- Graphics card: Microsoft DirectX 9 graphics device with WDDM driver
Since your computer is already running Windows 7, it should be good to go with Windows 8.1. For more detailed info, check out Microsoft’s Additional Requirements to Use Certain Features.
Upgrade to Windows 8.1 with Upgrade Assistant
If you’re unsure about the specs, download and run Windows 8.1 Upgrade Assistant. It’s a free utility from Microsoft that will scan your computer hardware and peripheral devices (make sure they’re all plugged in) and let you know what’s compatible with 8.1 and what isn’t. If something comes up that needs your attention, just click the More info link.

Upgrade Assistant also allows you to purchase either 8.1 or 8.1 Pro and do the upgrade over the web. The process is easy following the onscreen instructions. Microsoft has also made the physical versions of the new OS available too.
Windows 8.1 “core” is $119, and the Pro version is $199. If you’re not sure which version you should get, check out our guide on the differences. If you’re currently a student, you can get 8.1 Pro at the student price of $69.99. It’s also worth noting that if you’re a Windows 8 user, the upgrade to 8.1 is free.

You’ll be taken to the Microsoft website, where you can purchase 8.1 following the onscreen instructions. Remember that after getting your product key to keep it backed up in case you need it later. You’ll download a Windows set up executable file. Run that and follow the setup wizard. Make sure to get important updates, enter the product key, and the new OS will be downloaded.

After it’s done downloading, you’ll get the following install screen. Suppose you want to keep a physical copy of 8.1, select to create media. For more on this process, check out my article on how to install Windows 8.1 from a USB flash drive.

After agreeing to the License Terms, select to keep personal files only if you want your data to come with you.

During the install process, your system will reboot a couple of times. When it’s complete, you’ll need to select a personalized background color and connect to your network.

I recommend using Express Settings and entering your Microsoft Account info. It’s the easiest way to get started and makes sure your apps and settings follow you to different Windows 8.1 devices.
If you would rather it be local, check out our article on how to Install Windows 8.1 with a local account only.

That’s about all there is to installing Windows 8.1 on top of Windows 7; your PC will restart a few times while it’s upgrading. You’ll be prompted to select some personalization settings, and start using the new version of Windows and reinstall all of your desktop programs. If you use a lot of freeware and open source apps — make the reinstall process easier using Ninite.com.
One of the first things you’ll want to do after installing 8.1 is run Windows Update and make sure you have all of the patches that have been released for the new OS.
For more, make sure to subscribe to our email newsletter and check out all of our Windows 8.1 tutorials.


