How to Record Webcam Video and Sound Quickly on Windows 10

In this guide, you’ll learn how to set up and enable your webcam and microphone so you can record video and sound on Windows 10.
So you’ve bought a new webcam, but you’re not sure how to get started with recording webcam video and sound. Thankfully, on Windows 10, this is very easy, and you don’t even need any third-party apps to do it.
In this guide, you’ll learn how to set up and enable your webcam and microphone so you can record video and sound.
Enable Your Webcam and Microphone
Before you can start recording, you’ll need to make sure the webcam and microphone you want to use are enabled.
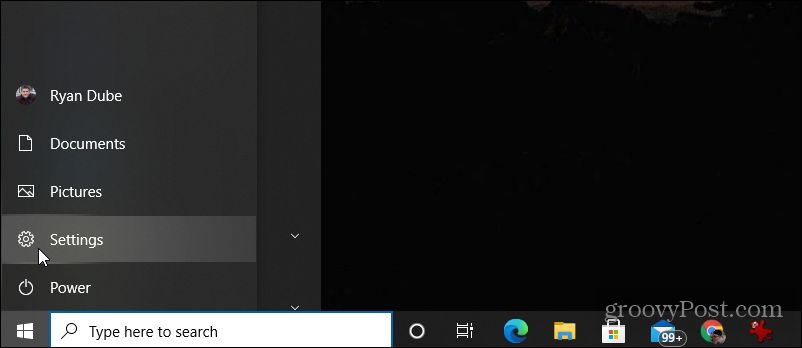
1. Select the Start button and select the Settings gear icon.
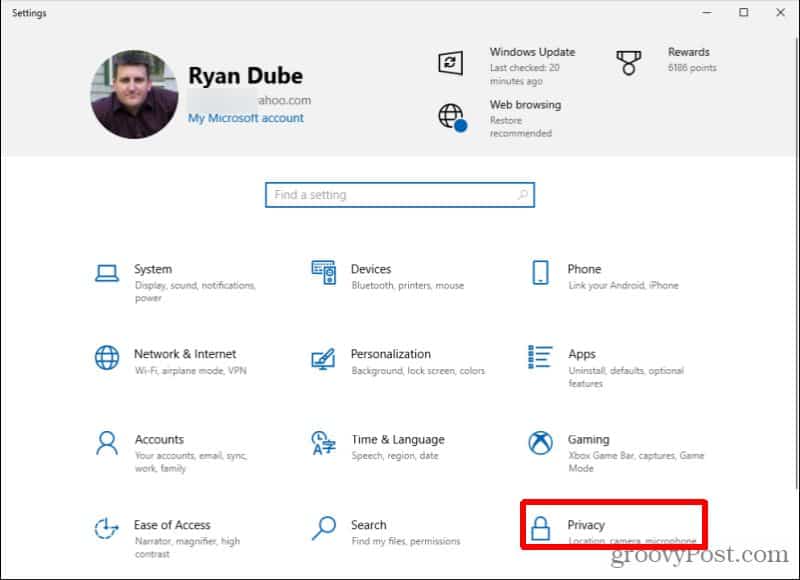
2. Select Privacy from the Settings window.
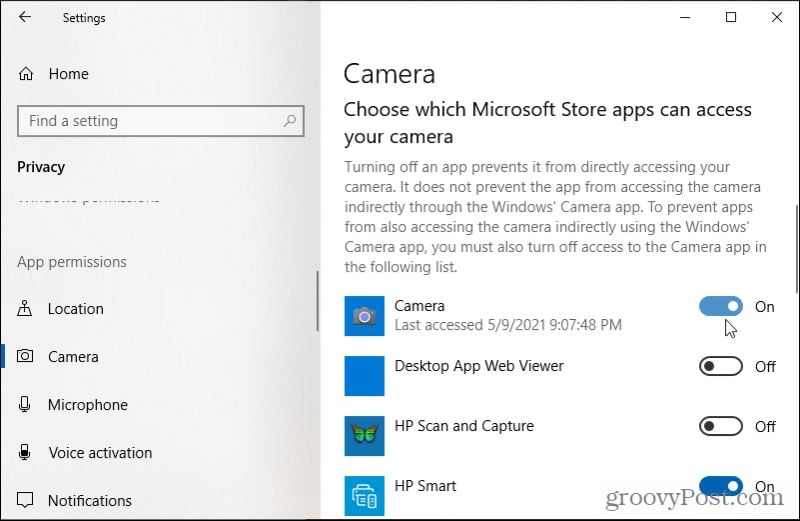
3. Scroll down to the App Permissions section in the left navigation menu and select Camera.

4. In the right pane, scroll down to Allow apps to access your camera and make sure the toggle is set to On.

5. Scroll down to Choose which Microsoft Store apps can access your camera and make sure the Camera toggle switch is set to On.
6. To also enable the microphone, select Microphone from the left navigation pane.
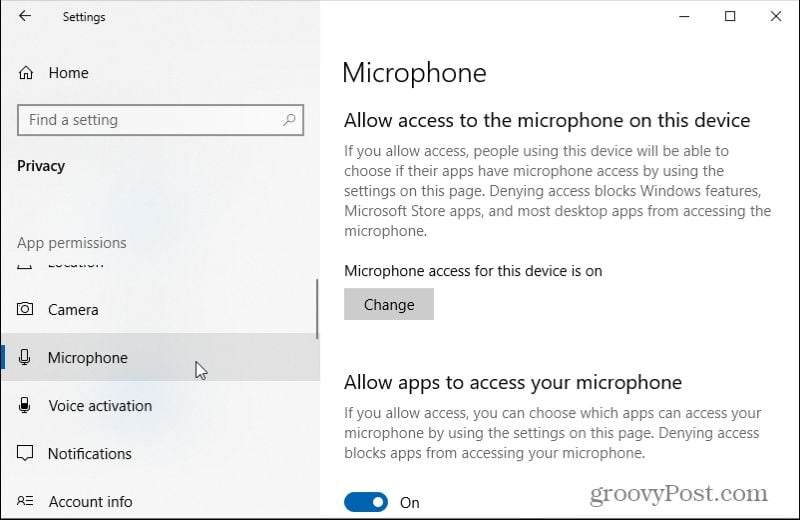
7. Scroll down to Allow apps to access your microphone and make sure the toggle is set to On.

8. Scroll down to Choose which Microsoft Store apps can access your microphone and set the toggle next to Microphone to On. If you don’t see Microphone, look for Voice Recorder.

If your webcam has a built-in microphone, enabling only the webcam may be enough for everything to work properly. So don’t worry if you can’t find the Microphone app.
Record Webcam Video and Sound Quickly With the Camera App
So you’re ready to record video and sound with your webcam, but you’re not sure where to start. Use this quick guide to get started.
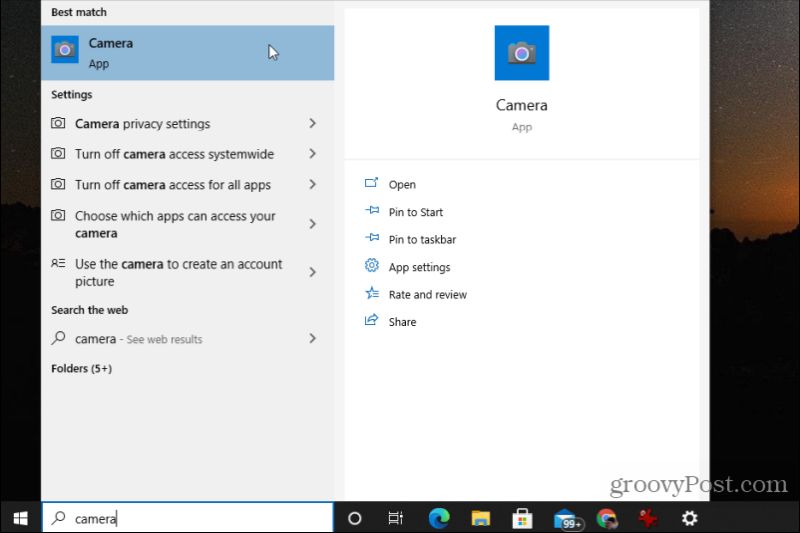
1. Select the Start menu, type Camera, and select the Camera app.
2. When you first launch the Camera app, it’ll use your default camera. If you’re using a laptop with a built-in webcam, it’ll likely default to that one first. If you’re trying to use a new, higher-quality webcam, this may come as a surprise. To switch to your new USB camera, select the small icon of a camera with a circle around it at the upper right corner of the Camera app.

Note: Even though you’ve enabled your webcam, unless you’ve set it as your default camera, the camera app won’t immediately use it when you first launch the Camera app. To do this, open Device Manager, select Cameras in the tree menu to see the internal webcam. Right-click this and select Disable device.
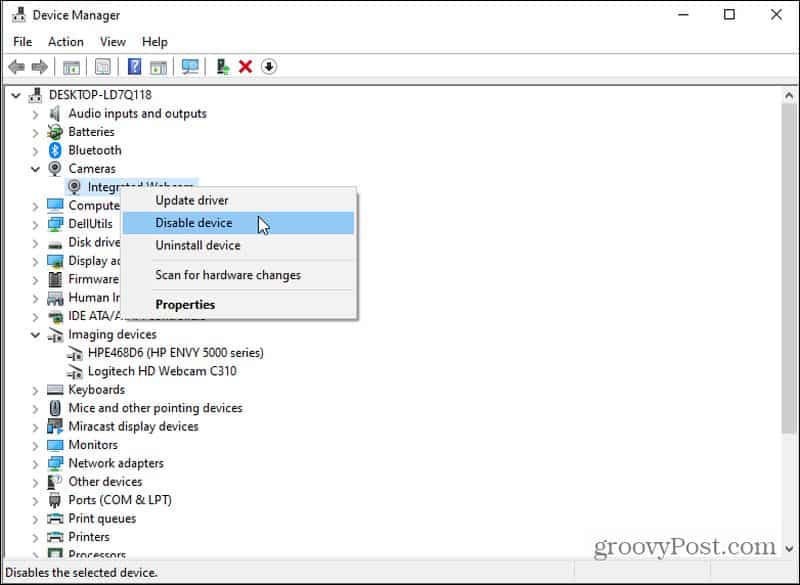
Now your computer will default to the only other camera device available when you use any camera app, which is your USB webcam. Remember to re-enable the internal webcam if you ever need to use it again.
3. You won’t need to select the camera from any list. When you select the camera icon, the app will cycle through other available camera devices attached to your computer. You’ll see the name of your webcam flash on the screen as the app switches to the video input for that device. If your webcam is a higher resolution than your internal camera, you’ll likely see a better resolution video now.

4. To quickly capture video, select the small icon of a video camera on the right side of the screen.

You’ll see these icons change to a pause button and a red indicator to stop recording. Just record your video and then select the stop button when you’re done. You’ve now captured your first video (hopefully including sound!) with your Windows 10 computer! Easy, right?
How to Select a Different Microphone Input
If your sound isn’t recording from the microphone you wanted it to, or it’s not recording any sound at all, it’s time to look at your microphone input settings. If you hadn’t used any other external microphone before and just plugged in your new webcam, the Camera app may still be using your computer’s built-in microphone. This is because it’s likely set as default.
It’s also possible that your webcam’s microphone is disabled. Use the following steps to check both of these settings and correct them.
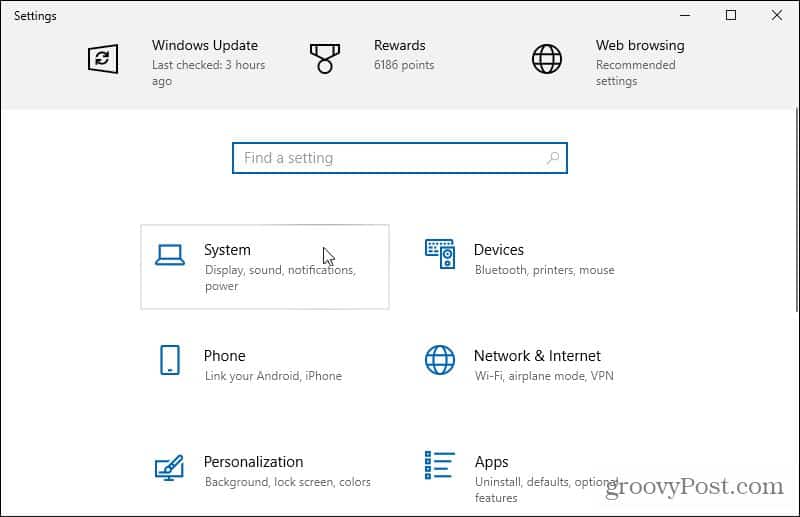
1. Select the Start menu and select the Settings gear to open the Settings menu.

2. In the Settings menu, select System.
3. Scroll down the System list in the left menu and select Sound.
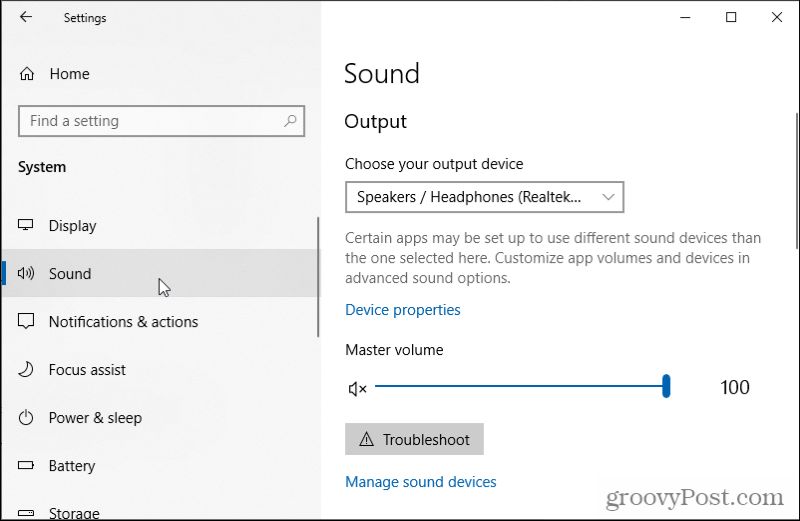
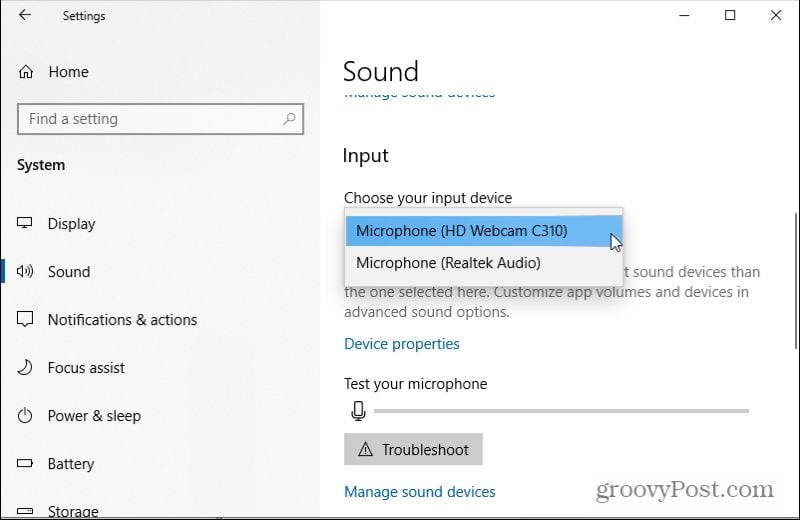
4. In the right pane, scroll down and select Manage Sound Devices.

5. Under Input Devices, make sure the microphone that you want to use is listed here. For example, if your webcam has a microphone, you should see it here.

Note: If the microphone you want to use as your input audio device is listed under the Disabled section, select it and then select the Enabled button to ensure it’s enabled.
6. To select the default audio input you want to use, select the back arrow at the upper left corner of the window. Instead of selecting Manage Sound Devices, select the dropdown menu and choose the default input microphone you want to use.
Now close the Settings window. At this point, when you use the Camera app to record your video using the webcam, it should use the default microphone you’ve also selected to record sound.
Other Free Apps to Record Webcam Video and Sound
If the native Camera app lacks features, there are also a few free videos and sound recording apps you can install on your Windows 10 PC.
The following are some of the best to choose from.
- Active Webcam: Installing this software sets up a web server on your PC, which lets you record video and sound from your webcam and broadcast the same stream to other devices on the network.
- VLC Media Player: While VLC is marketed as a media player, it also offers an ad-free webcam recording feature. This comes with subtitles as well as video and audio features.
- Free2X: This software is one of the best webcam recorders available. You can connect your digital video camera or webcam and save all recorded files in MP4, WMF, or AVI video format.
- SplitCam: Not only can you record video and audio from your webcam using this software, but it also includes features to flip the video orientation, filters like bubbles and diffuse, and even audio effects to garble or distort the sound to add a little fun.
If you use any of these other applications to record webcam video and sound in Windows 10, remember to check the app settings and choose the correct video and audio inputs to use for your recordings.


Ben
July 15, 2022 at 6:23 am
Thanks for your great post, it finally allowed me to enabled sound recording in Camera application, whereas I have been unable to find a fix in tens of other posts…
Steve Krause
July 17, 2022 at 9:27 pm
Great to hear. I’m glad we were able to help Ben.