How to Manage Webcam Settings on Windows 11

If you use a webcam on your PC, there are ways to manage it. So, here’s how to manage webcam settings on Windows 11.
If you use your webcam a lot on Windows 11, there are some different settings to consider. For example, if you use it for Zoom, WhatsApp, or Skype, you may want to adjust brightness and contrast.
However, it’s worth noting that the number of available settings will vary between webcams. For instance, some cameras include High Dynamic Range (HDR) or the eye contact feature that lets the system project your face as though you were looking directly into the camera.
Other features to consider are privacy and security that allows or denies access to the camera. So, here, we’ll show how to manage webcam settings on Windows 11.
Manage Webcam Settings on Windows 11
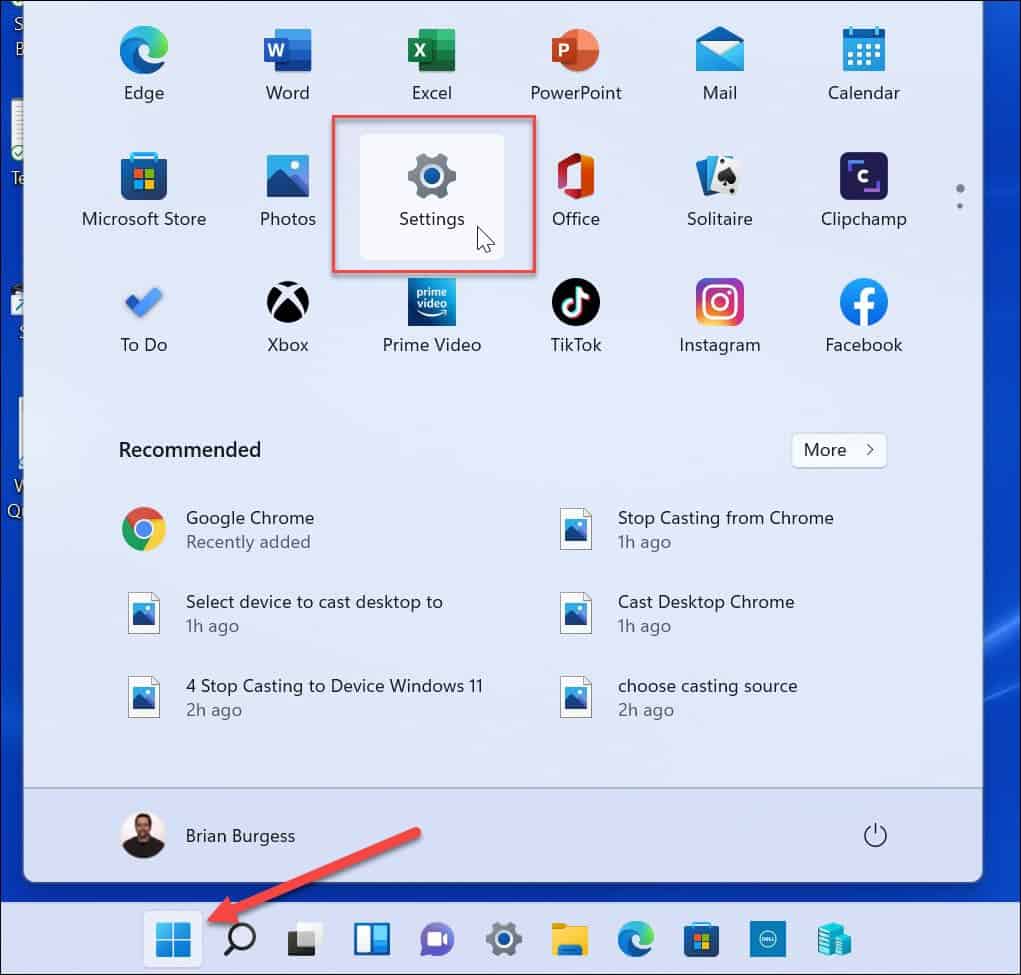
To figure out the settings available, connect your webcam to your Windows 11 PC and go into Settings.
To manage the camera settings on Windows 11, use these steps:
- Click the Start button, or press the Windows key. After that, select Settings from the menu.

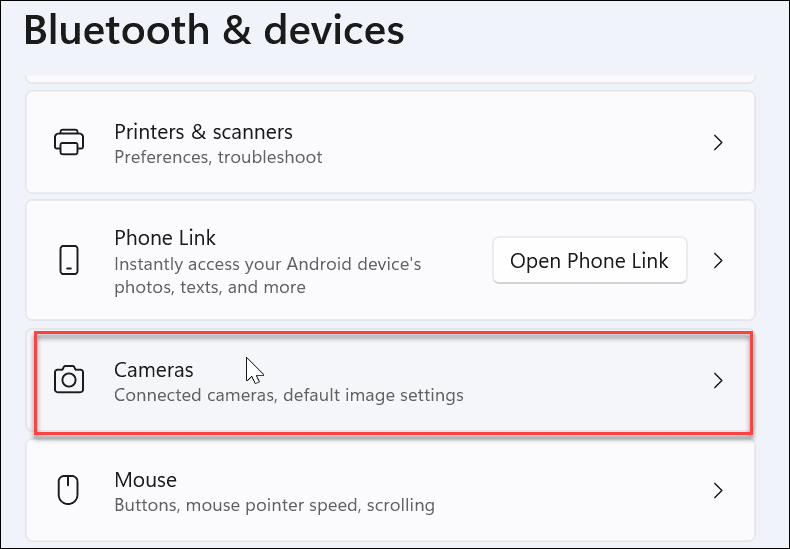
- When the Settings page opens, click Bluetooth & devices from the left side.
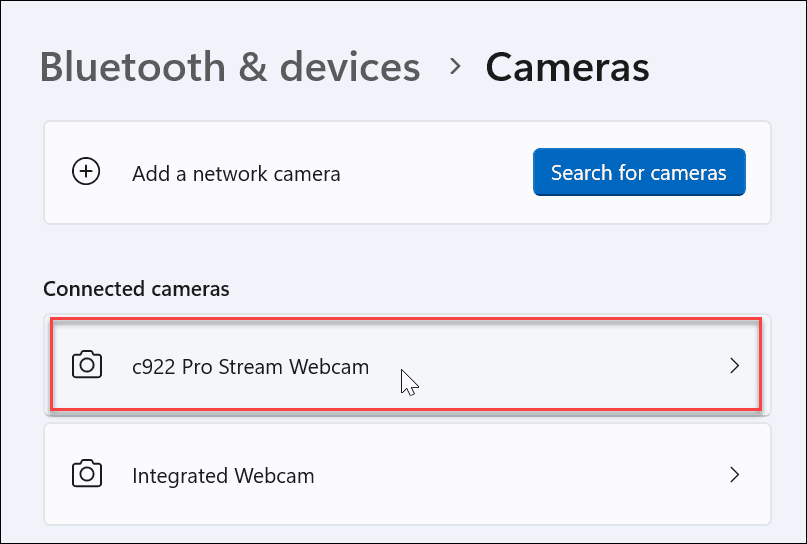
- From the Bluetooth & devices screen, click on the Cameras option on the right.

- Click the webcam installed on your PC under the Connected cameras section.

- Now you should see your image from the webcam in the Settings section.

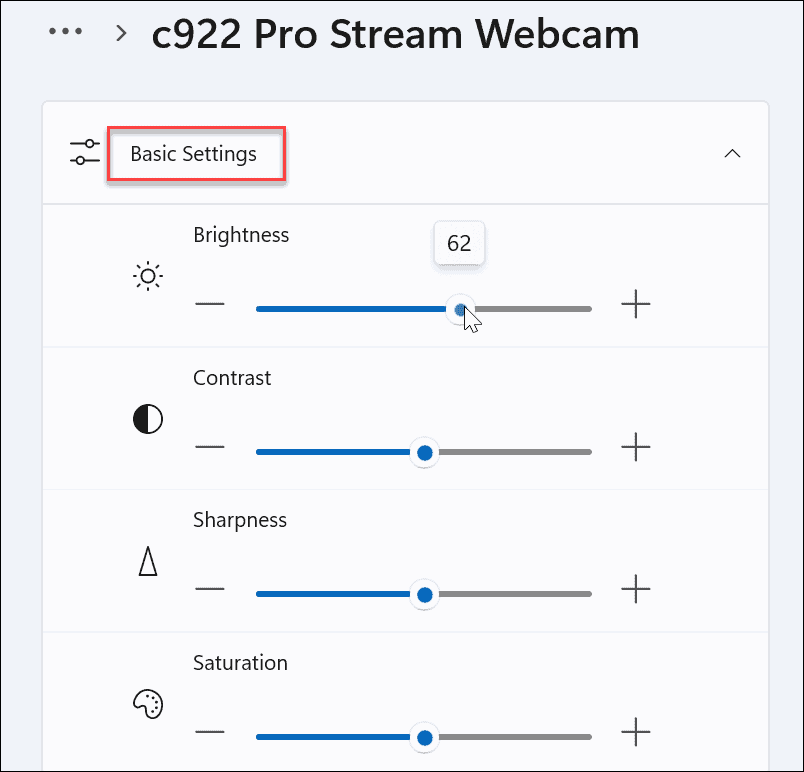
- Expand the Basic settings section to adjust the Brightness, Contrast, Sharpness, and Saturation of your webcam image.

- Keep scrolling down the webcam section; you’ll find options to rotate the video and reset existing settings so you can start over.

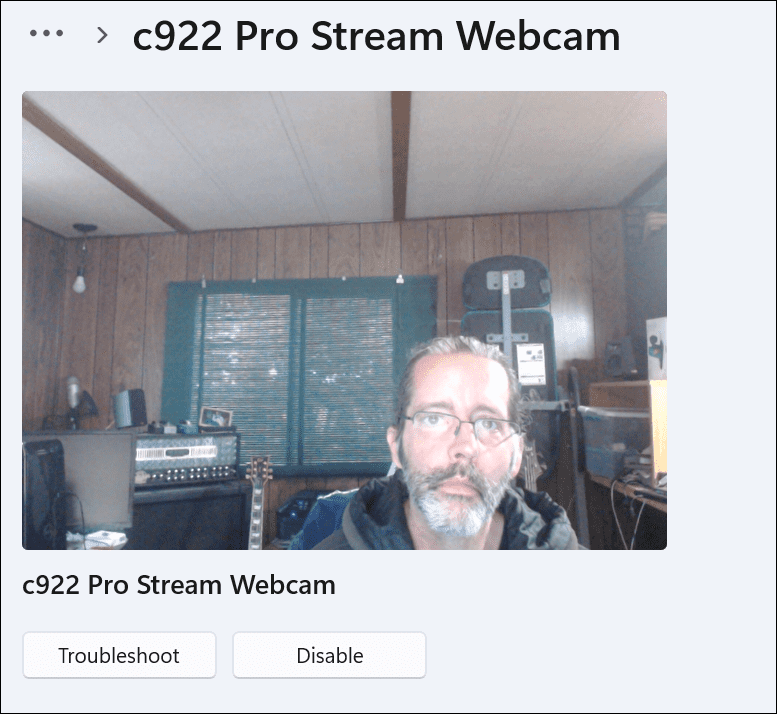

Again, note that the features available on your system will vary based on the webcam you have connected. At least you will know what to look for if you need to manage the camera’s settings on Windows 11.
Use Security Settings on Windows 11
When you’re using a webcam on Windows 11, there are specific security settings you may want to manage.
To manage webcam security settings on Windows 11, do the following:
- To allow or disable users and apps from using the webcam, open Start > Settings.
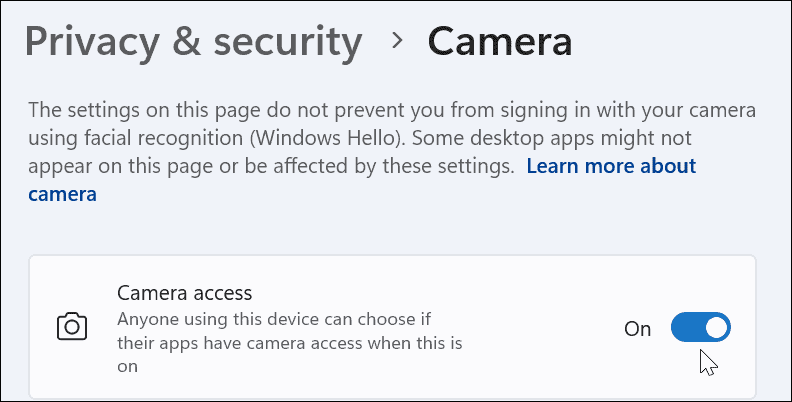
- Click on Privacy & security and click Camera on the right side.

- Turn on or off the Camera access toggle switch to allow or deny user access to the webcam.

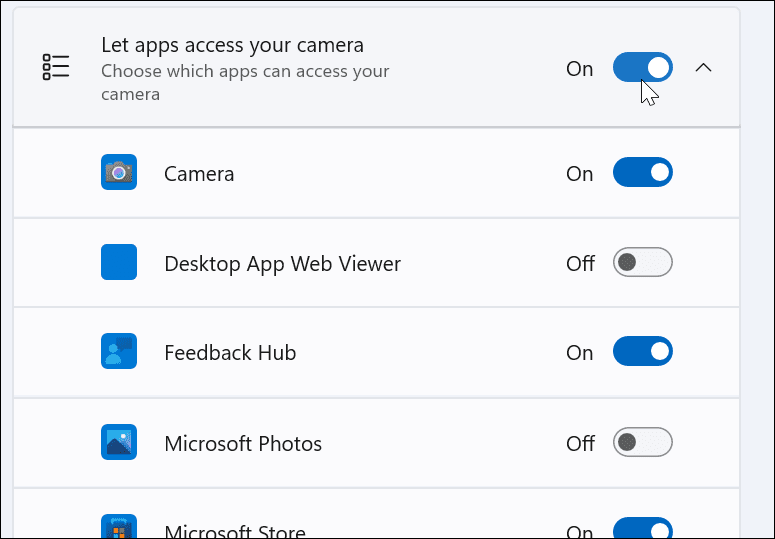
- To allow or deny camera access to apps, scroll through the apps and turn access on or off. You can also disallow all apps by turning off the Let apps access your camera option.


Managing Webcam Settings on Windows 11
Managing your webcam on Windows is much easier than on Windows 10, including easy-to-access options. Luckily, you can manage app access to your webcam on an individual app and user option or deny access to users and apps on an individual or group level with Windows 11.
If you’re not on Windows 11 yet, no worries; read about recording webcam video and sound on Windows 10. Or, if you have a Logitech webcam, you might be interested in updating Logitech webcam firmware.
And if you enjoy using VLC for your video needs, check out how to record your webcam with VLC Media Player. Once you get your webcam footage, you can edit it with Clipchamp on Windows 10 & 11.


