How to Delete Windows 10 System Error Memory Dump Files

If you have a low-capacity storage drive or are close to running out of space, you can delete Memory Dump files to get some room back.
When you get a Blue Screen of Death (BSOD) on your Windows 10 PC, the OS creates memory and mini dump files. The files can end up taking up a lot of space on your limited SSD, though, for example. And you might want to delete them from time to time. So here’s how to do it.
Memory Dump Files
Memory Dump and “Minidump” files are the results of BSOD errors. It generates a crash file that contains a lot of system information like running apps, active drivers, event timestamps, and more. The files are typically kept in the local system folder, and it overwrites it every time you get a BSOD. It has information that can be helpful to developers and IT admins, but the average person can gain significant drive space by clearing them out.
Minidump files are smaller that contain fewer BSOD error issues. But, again, unless you plan to use them for troubleshooting your PC, the average person can safely delete them to clear up storage space on the drive.
Note: If your system is getting a lot of BSOD errors, don’t delete these files. They can be invaluable in troubleshooting the issue.
Remove Memory Dump Files
Click the Start button hit the Windows key on your keyboard, and open Settings. Alternately, you can use the keyboard shortcut Windows key + I to open Settings.
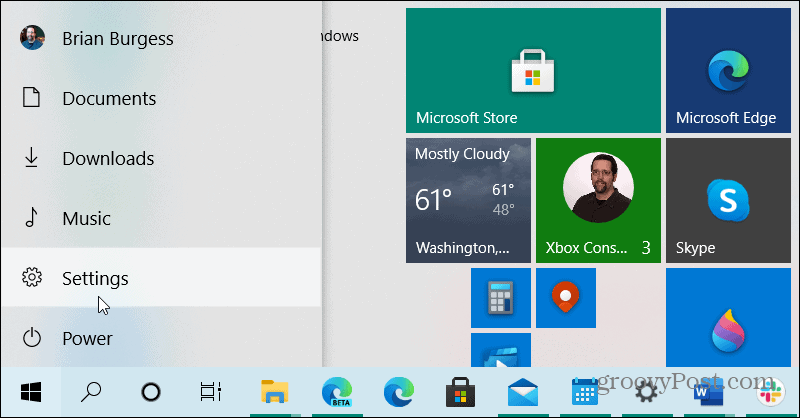
From the Home screen, click on System.
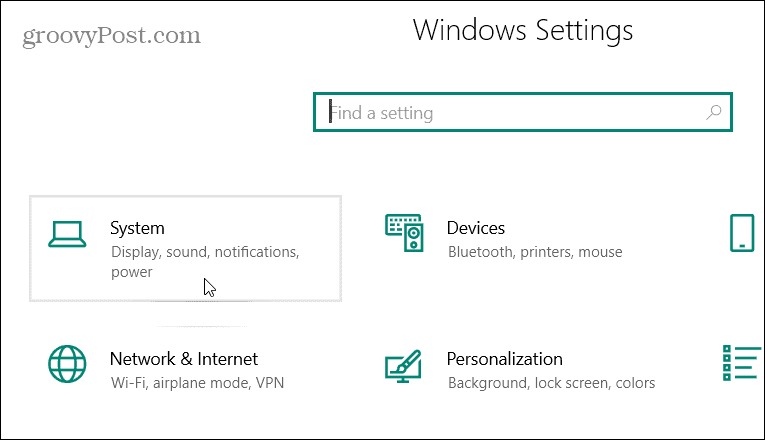
Next, on the following screen, click on the Storage option from the list on the left. Then on the right panel, click on the Temporary files options.

When the next screen comes up, check the box labeled “System error memory dump files” and then click the Remove Files button. That’s all there is to it. Windows will remove the system error memory dump files from your system.
Keep in mind that while you are in the System Storage section of Settings, you can manually run Storage Sense to clear up even more unnecessary files on your system.
Use the Classic Disk Cleanup Tool
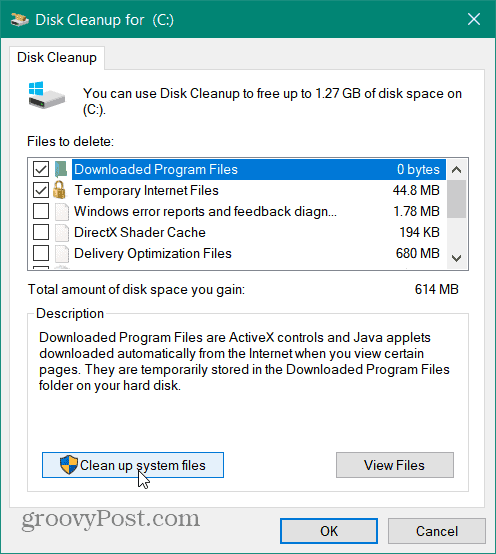
You can still use the traditional (and now classic) Disk Cleanup tool to achieve the same results. Hit the Windows key and type: disk cleanup and launch the app from the results at the top.

Choose your local drive – it is typically going to be (C:) and click OK.

Give Disk Cleanup a second while it scans your drive for unneeded files. Then click the Clean up system files button.
Once it’s done, scroll down and check the “System error memory dump files” and “System error minidump files” boxes and click OK.
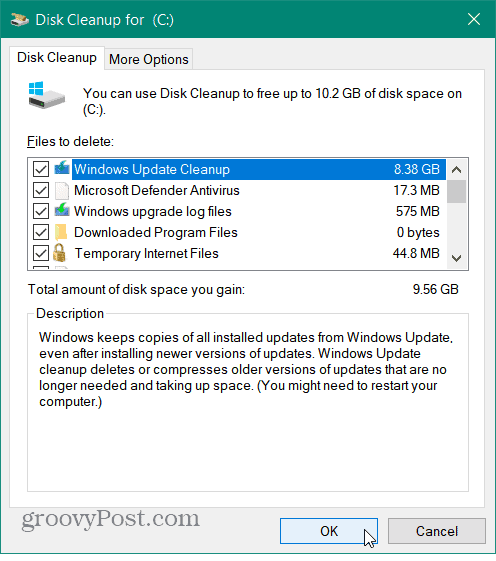
That’s all there is to it. The chosen files will be deleted from your system. Note that while in Disk Cleanup, you might want to select other items like “Windows Update Cleanup” and clean up old OS files after a major upgrade.
For example, in the image above, you can see that I can save nearly 10 GB in drive space by checking everything. Regaining drive space comes in handy on low-capacity SSDs and other computers that are running out of storage. Also, make sure to read about seven ways to maximize storage space on Windows 10 devices.


