To sync your Windows 8 settings among your other systems, you need to make your Windows 8 computer a Trusted PC. If you get rid of a computer, or no longer want it on the list, here’s how to remove it.
Remove Trusted PC from Microsoft Account
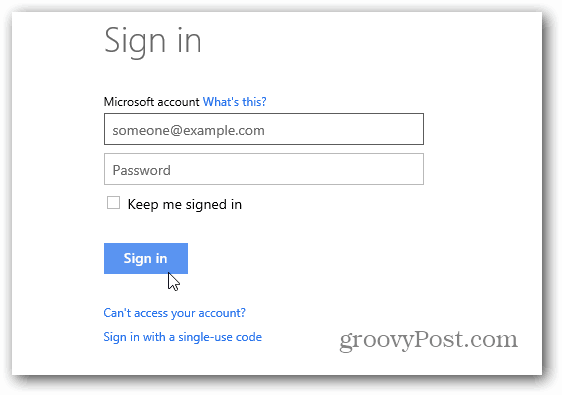
First log in to your Microsoft Account.


Under your Account Summary you’ll see a list of your trusted PCs. Here you can see I have several, to many actually. At the bottom of the list click Edit Security Info.


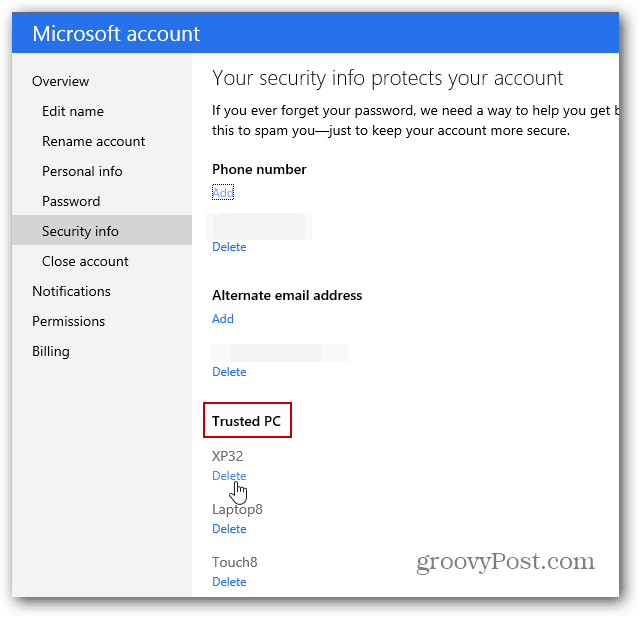
Next you’ll have a list of each of your computers under Trusted PC. Just click the Delete link under the one(s) you want to remove.


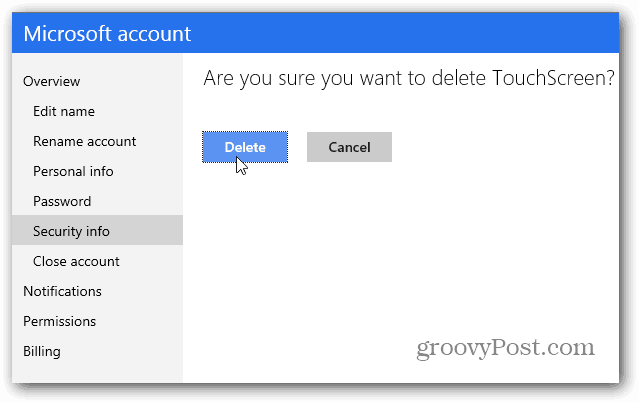
You’ll get another screen asking if you’re sure you want to delete it.


Then a final confirmation letting you know it’s gone.


A Trusted PC allows you to sync settings, data, verify your identity, change billing info, and reset your Microsoft Account password. As Windows 8 continues to develop, I’m hearing you’ll be able to start syncing a lot more between your computers in the future. Including apps and more app settings, customizations, and other settings.
1 Comment
Leave a Reply
Leave a Reply


Ittuh
May 3, 2013 at 3:58 am
great, thanks, that´s just what I was searching for…