Windows 7 and 8 have Windows Disc Image Burner utility to burn ISOs to disc. If you’re still running Vista or XP you need a third-party utility. My favorite free solution is ISO Recorder. Here’s how to use it.
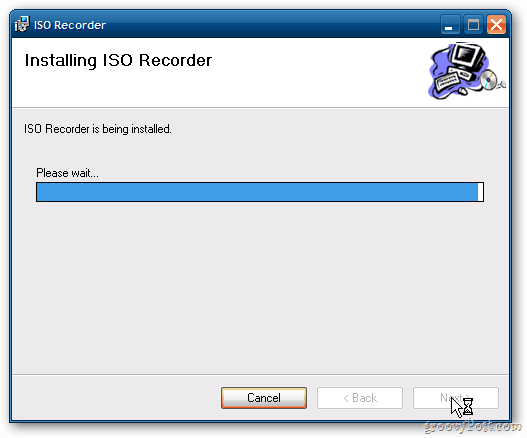
For Windows Vista, download and install ISO Recorder version V3. This free utility, developed by Alexander Feinman, is lightweight and easy to use.

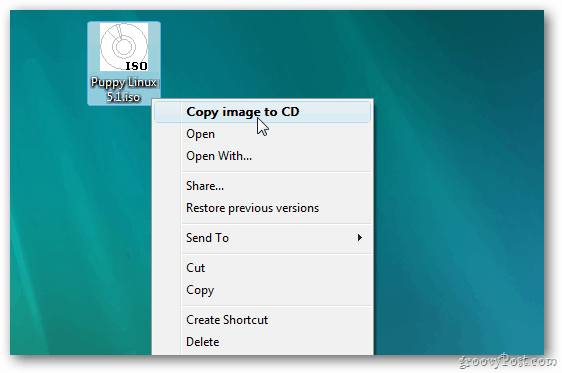
Once installed, right-click the ISO image you want to burn to disc. Here I’m creating a bootable Puppy Linux CD. Select Copy Image to CD.

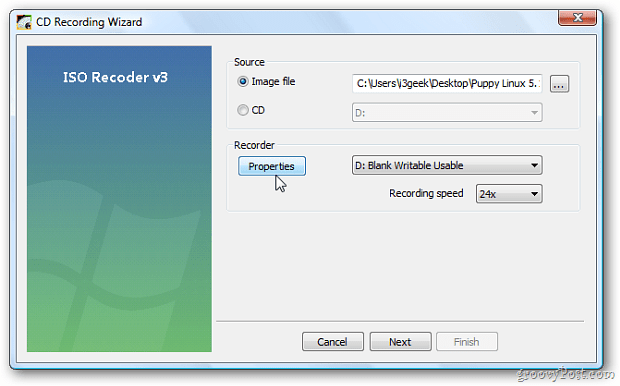
ISO Recorder launches. Under Source, the path to the image will be entered automatically. Under Recorder click on Properties.

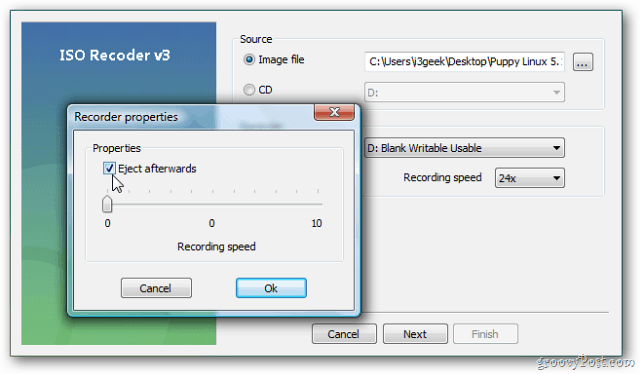
I like the disc to pop out when the process is done. Check Eject Afterwards. Click OK.

Next, select the Recording Speed. For best results, select the lowest speed, which is 24x. Click Next.
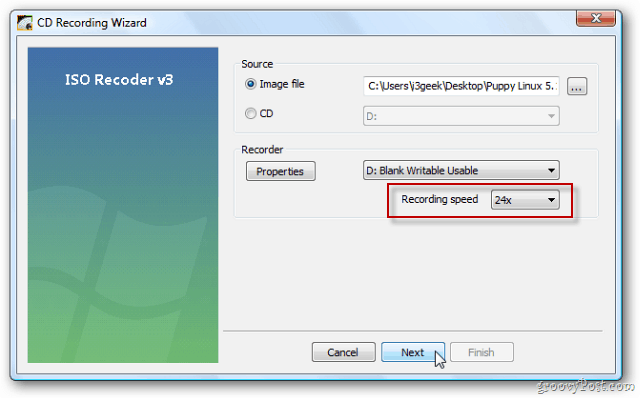

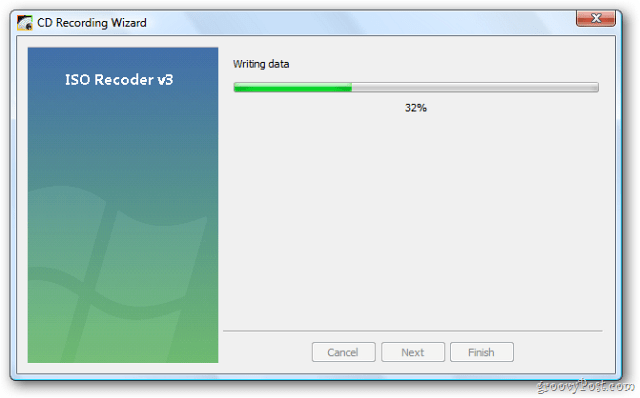
Now wait while the ISO is burned to CD. The amount of time it takes will vary between systems. Based the ISO size and the burning speed you select.

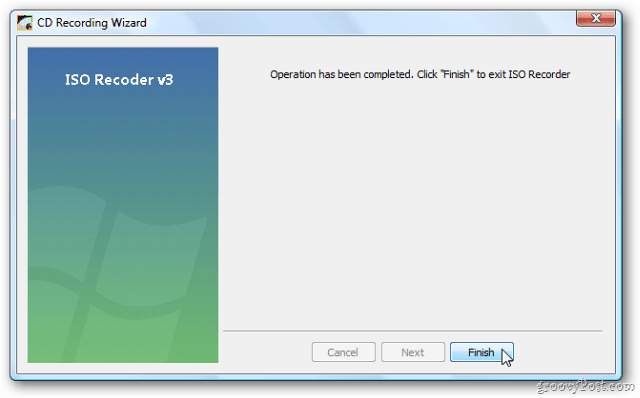
Success. The disc will eject so you can take it out and store it in a safe location. Click Finish.

To burn an ISO on XP, download ISO Recorder V2. Version 2 works with XP (SP2) 32 & 64-bit.
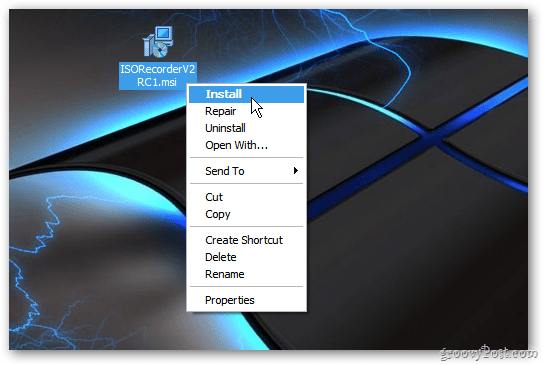

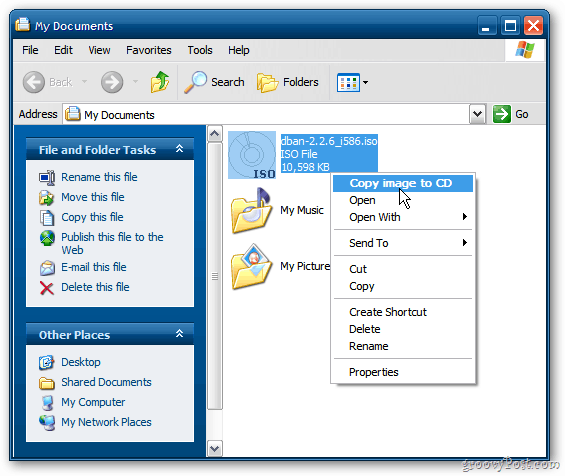
Just like in Vista, right-click the ISO image. Here I’m burning my favorite utility for wiping a hard drive – DBAN. Select Copy Image to CD.

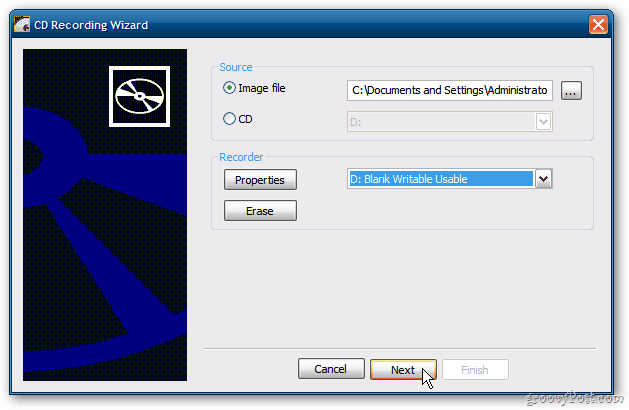
One difference in ISO Recorder V2 is the disc is set to eject when the burning process is done by default. Click Next.

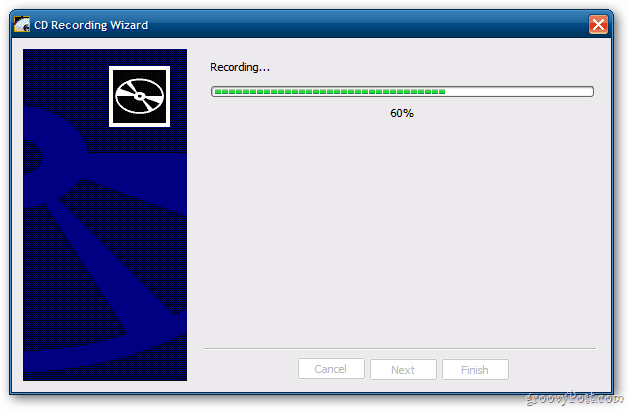
Wait for the burning process to complete. Take out your disc and store it in a safe place for later use.

If you’re running XP or Vista, ISO Recorder is a perfect solution to Windows Disc Image Burner included with Windows 7 and 8.
Leave a Reply
Leave a Reply


