Windows Tip: How to Hide Files and Folders

If you’re using a shared Windows computer, there will be times when you’ll want to hide files or folders. Here’s how to do it on Windows XP, Vista, 7, or 8
If you’re using a shared Windows computer, there will be times when you’ll want to hide files or folders. If you’re sharing a PC with an experienced user, they’ll be able to still find them. However, this is useful to keep your data hidden to the novice user.
Hide Files and Folders on Windows 7
Open Windows Explorer and navigate to the folder and/or files you want to hide. Right-click the file and select Properties.


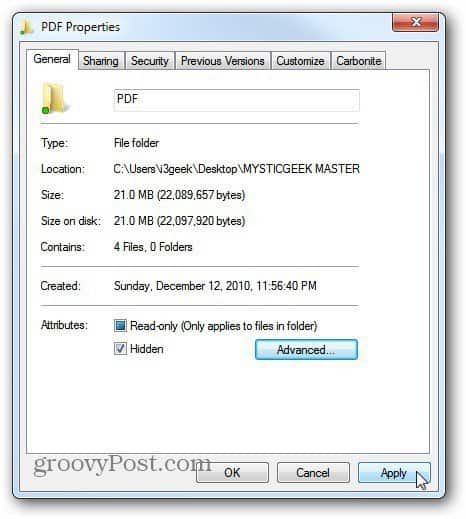
The folder Properties dialog opens. Under Attributes check Hidden. Click Apply.


Next, you want to apply the hidden attribute to subfolders and files. This is a best practice. Click OK.


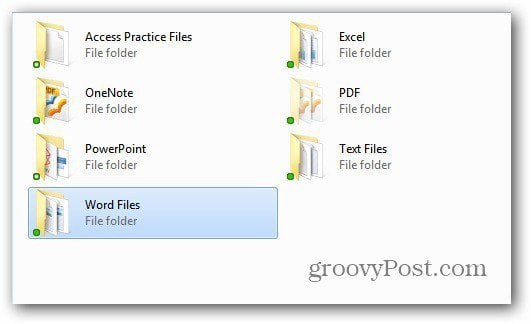
The folder and files in it, are set to be hidden. You can tell this because the file is grayed out a bit in the UI.


Now, you need to open Folder Options and click the View tab. Under Advanced Settings, check Don’t Show Hidden Files, Folders or Drives. Click OK.


Here you can see, the PDF file I hid no longer shows up.


To display your hidden files and folders, go back into Folder Properties and set them to be displayed. This works on Windows XP and higher. You can also use this process to hide files and folders on a shared network location.
1 Comment
Leave a Reply
Leave a Reply


Satish
April 4, 2012 at 10:25 pm
Can we able to give password to any folder for opening?
……But without any special software in XP