Why and How to Use the Chromebook Recovery Utility + Troubleshooting

The only fix for “Chrome OS is missing or damaged” error is usually a reimage using a Chromebook recovery USB stick or SD card. Here’s how to make one.
Just like it’s a good idea to create a Windows 10 recovery USB drive whenever you get a new PC, it makes sense to create a Chromebook recovery drive. Granted, it’s a lot harder to brick a Chromebook than a Windows laptop; most Chromebook issues can be resolved with a factory reset or a Powerwash. But if that fails, you can reinstall the Chromebook OS image from scratch using the Chromebook Recovery Utility.
There’s one small problem: the Chromebook Recovery Utility is kind of a pain in the neck. It took me multiple tries on multiple computers with multiple USB drives and SD cards to get it to work. In this walkthrough, I’ll try to guide you around some of the stumbling blocks I encountered.
Note: Previously, you could make Chromebook recovery disks by using chrome://imageburner. The Chromebook Recovery Utility replaces this.
How the Chromebook Recovery Utility Works (Sometimes)
The process for creating a Chromebook Recovery Utility is supposed to be foolproof. You can do this on your Chromebook or another computer, like a Windows PC or a macOS computer.
This method worked flawlessly for me on macOS 10.12.2 with a SanDisk 8 GB SD card.
Here’s how it goes normally:
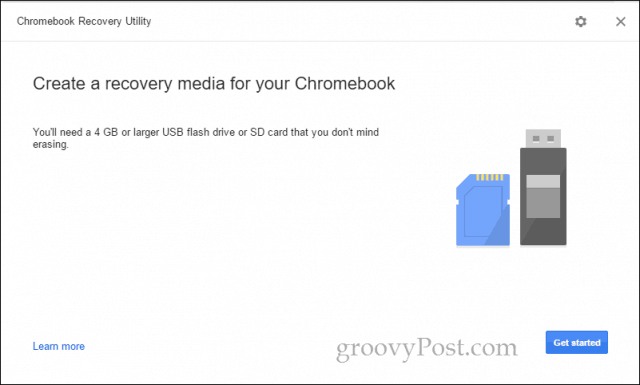
- Using a computer with a Google Chrome browser, download the Chromebook Recovery Utility from the Chrome Web Store.
- Click Get started.

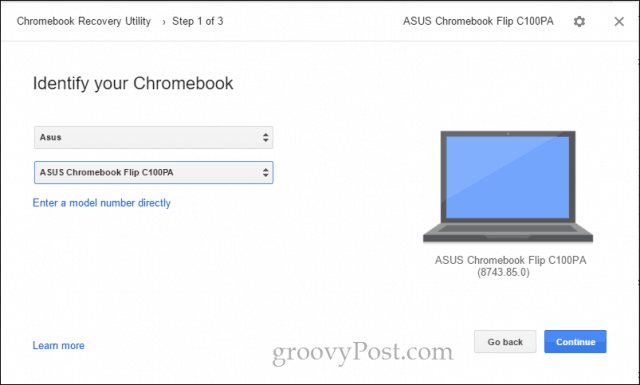
- Identify your Chromebook by typing in your model number or choosing it from a list. If you run Chromebook Recovery Utility on your Chromebook, it’ll display your model number automatically.
- Click Continue.
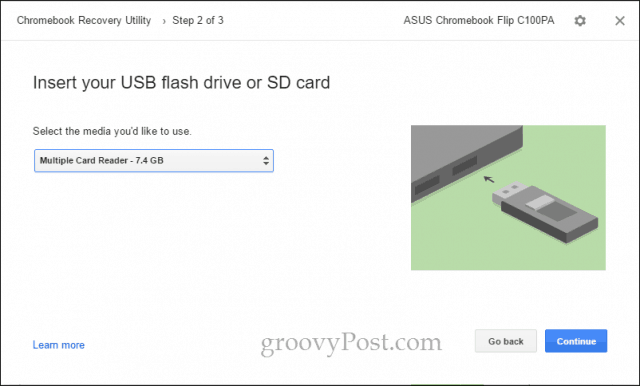
- Insert a blank USB drive or SD card that you don’t mind erasing. Select it from the drop-down menu and click Continue.

- On the next screen, double-check that you’ve selected the correct drive (you’ll be erasing all data on it) and click Create now.
- The Chromebook Recovery Utility will begin downloading the ChromeOS image. After it’s finished, it’ll automatically unpack it and write it to your drive.
- When it’s finished, you’ll see a screen that says “Success! Your recovery media is ready!”


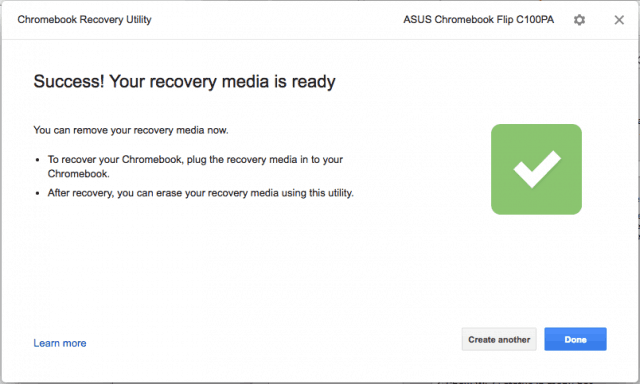
Now you can remove your recovery media and store it in a safe place until it’s time to recover your Chromebook (hopefully never!).
Alternate Method for Making a Recovery Disk with Chromebook Recovery Utility
The normal method for creating a USB Chromebook Recovery drive did not work for me on my Windows 10 laptop or Chromebook. I did eventually get it working using the two advanced options in the utility: Erase recovery media and Use local image.
Note: To find the local image, I went to this website: My Chrome Home. I know that blog looks kind of shady, but the direct links they provide go to dl.google.com which is legit Google server. They’ve just done the work of guessing or reverse engineering the actual locations where the utility is downloading the images from. If in doubt, after your image is done downloading, press CTRL + J and confirm on the downloads page that the zip file came from google.com.

- Using a computer with a Google Chrome browser, download the Chromebook Recovery Utility from the Chrome Web Store.
- Insert your recovery media into the computer.
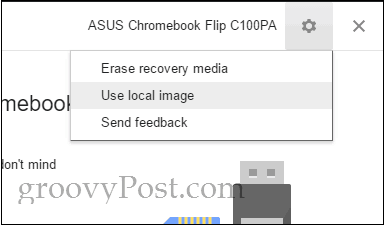
- Click the gear icon in the top-right and choose Erase recovery media.

- Select the media you want to erase from the drop-down menu and click Continue.
- Confirm that you’ve selected the right media and click Erase now.
- When the “Your recovery media has been erased” screen appears, don’t click Done.
- Click the gear icon in the top-right and choose Use local image.

- Browse to a local image you’ve downloaded and open it. You don’t have to unzip it, but you may have better results if you do.
- Select the media you want to use and click Continue.
- The imaging process will proceed as normal, except the downloading step will be skipped.

This worked for me on my Windows 10 PC with a SanDisk 8 GB SD card when nothing else would. Oddly enough, after I did this successfully, it worked using the normal method without a hitch using my SanDisk 16 GB Cruzer Blade USB. It’s possible that this is a network connectivity issue and something has gone awry with the built-in Chromebook Recovery Utility Downloader. Some users have reported success by disabling their antivirus programs when downloading the image.
If you are still having issues, read on. If not, skip down to how to use your Chromebook recovery media.
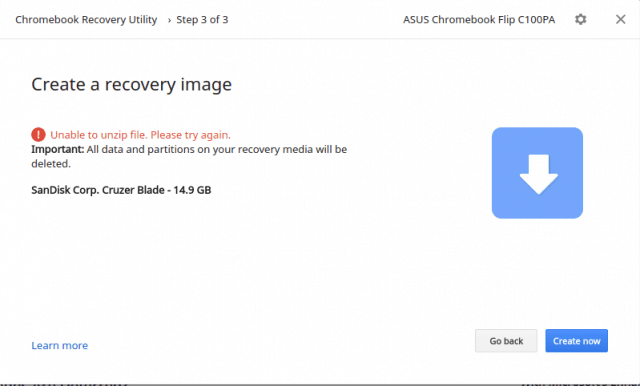
Error: Unable to unzip file. Please try again.
I encountered this when using a SanDisk Cruzer Blade 16 GB on my ASUS Chromebook Flip C100PA. I never found a solution. It may have been a failed download or insufficient space on my Chromebook’s storage drive. But I never got to the bottom of this and just used a Macbook Air instead.
Unknown error: Process launch failed with code 0000003eb. Please try again.
I encountered this when trying a Kingston DataTraveler 4 GB and my SanDisk 16 GB USB and my SanDisk 8 GB SD card on my Windows 10 PC.
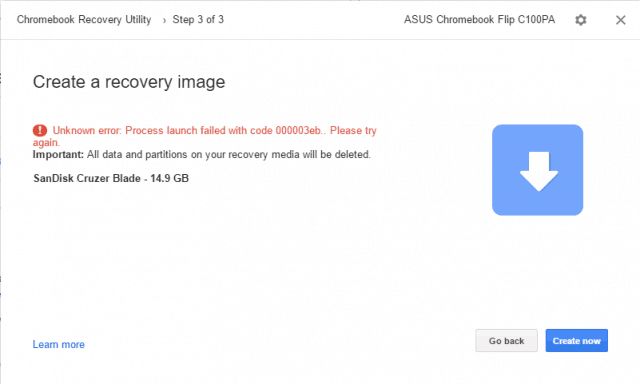
Solution: I got this working on my Windows 10 PC by using the Erase recovery media and Use local image options (see above). Notably, when I used these options, I was prompted by the User Account Control (UAC) window during both of these steps. I think this might be a clue about the underlying issue. On a hunch, I tried running the Chromebook Recovery Utility as an administrator to see if it solved the problem, but it didn’t. So far, the only method that has worked for me is to use a local image as described in the steps above.
I can’t use my USB drive after attempting to use Chromebook Recovery Utility
The Chromebook Recovery Utility makes some pretty radical changes to your USB drive to prepare it for use as ChromeOS recovery media. If you want to use the full capacity of your drive for normal purposes again, use the Chromebook Recovery Utility to erase the drive. See the steps above (just stop before applying the local image).
I get like a million messages saying “You need to format disk in drive X: before you can use it.”
Yeah, me too. I think it’s just a quirk of how Windows detects the drives before writing to them. You can close them all at once by right-clicking the File Explorer icon on your taskbar and clicking Close all windows.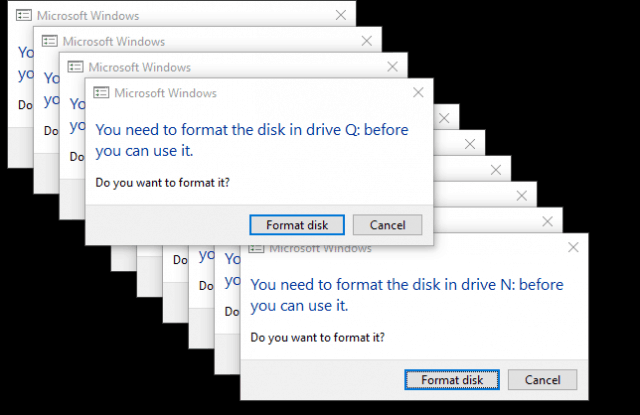
After this had happened to me, I had a bunch of phantom USB drives showing up in File Explorer with those drive letters. They even persisted after I erased the drive, removed the drive, and rebooted my computer. I reinserted the drive, ejected one or two and removed the drive and it got rid of them. Pretty weird.
How to Recover a Chromebook Using a ChromeOS Recovery Media
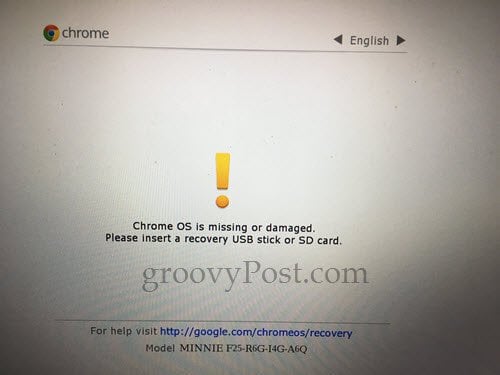
Assuming you created the recovery media without issue, here’s what you do if you get the dreaded “Chrome OS is missing or damaged” error.
- Remove all peripherals from your Chromebook.
- Enter recovery mode by pressing Esc + Refresh and the Power button simultaneously. Hold the keys down until you see a message on the screen.
- If you have a Chromebox or Chromebit, there will be a dedicated recovery button. Check your user manual for its location.
- When prompted, insert your recovery media and follow the on-screen instructions.
Here are some of the screens I saw when I recovered.
Here’s the “Chrome OS is missing or damaged. Please insert a recovery USB stick or SD card” screen. You can change the language in the top-right. The model number is at the bottom. You can use this when downloading your image.
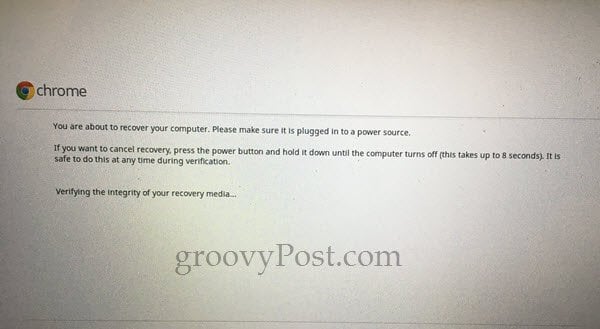
Once you plug in your recovery USB, it automatically begins verifying the image.
The first time I went through the process, I got this error: “An unexpected error has occurred. Please refer to this URL for troubleshooting tips: https://www.google.com/chromeos/recovery”. I re-made my recovery media, and it solved the problem.

During my successful recovery, I got this blank progress bar. I don’t know if this is normal, but it worked fine.

The next screen says: “System recovery is in progress…” The process took about five minutes.

At the “System recovery is complete” screen, you’ll be prompted to remove the recovery media. Your Chromebook will reboot automatically, and it’ll be like you just took it out of the box.

Conclusion
So, there you have it. The quick and easy Chromebook Recovery Utility is extremely obnoxious and flaky, at least as of the time of this writing. Considering the following if you are struggling:
- The utility is picky about what kind of media you use. Some say SanDisk drives won’t work, and I thought that was my problem at first. But I did eventually get it to work on a SanDisk Cruzer USB stick and a Sandisk SD card.
- You’ll have better luck if you format the drive using the Chromebook Recovery Utility first.
- You’ll also have better luck if you download your image separately and apply it with the Use local image option. See above for those instructions.
- When downloading using the Chromebook Recovery Utility, make sure you have a good connection, and your antivirus is temporarily disabled.
- If you get this to work on a Chromebook (i.e. make a Chromebook recovery USB drive on a Chromebook), then let me know. I’ve only gotten it to work in Windows and macOS.
Have you had any luck with the Chromebook Recovery Utility? Have you ever legitimately needed a Chromebook recovery drive? Tell me about it in the comments!


Rod
April 6, 2017 at 12:14 am
New Samsung Chromebook Plus, corrupted itself on its first update or something. Instructions on what do do about it are vague, powerwash doesn’t do anything, try this recovery method, downloads and fails numerous times, filling up my PC’s 40gb harddrive with data which I can’t find to delete. What a pain this thing is. Man Google pumps out some garbage…..
Lauren
January 7, 2020 at 5:44 pm
I also have a newer samsung chromebook plus that this isn’t working for. Did you figure out what you need to do to repair it?
Russell Sherrard
March 3, 2024 at 11:00 am
Can’t get it to work. Click on “get started” and nothing happens.
carlos
June 20, 2017 at 9:27 pm
I love Easy app switcher , it’s my preferred method of navigation on my phone, but when I installed on my Chromebook it killed my build, had to reinstall. It was asking for some over screen permissions but there was no way no allow it. Now I am wondering if there is such a thing as restore snapshot for chromebooks? Would be nice not to have to start from the beginning when I mess things up again.
Jona
November 26, 2017 at 1:30 pm
Hey I tried it several times, but all the time I got the message that the os image I downloaded from the site is outdated. Do you have maybe another image file? For chromebook cb15 YUNA. Thanks a lot
– Normal recovery process doesnt work at all, due to problems while downloading
brandon
June 26, 2018 at 10:09 pm
it work just fine for me thank you for your help first try and no problems
made the image on the chromebook with scandisk usb works great
Frank Bell
March 23, 2019 at 5:55 am
Did you ever find a solution?
Roy Eberhardt
September 21, 2018 at 12:34 pm
The Linux option at the bottom of the page worked perfectly. When it asks for the model enter it up to the first space, then chose the number of your installation.
Dale Debner
February 6, 2019 at 9:56 am
Thanks for the info which I plan to try. So far, I get to the screen that tells me to insert the media into the Chromebook that needs the new OS. When I put in the USB drive, it reads it a then the screen goes blank and stays that way until I turn it off. I left it that way for 8 hours so I doubt it’s going to work. The only thing I can think is that even though my Chromebook is 6 years old (Acer C7) when I did my last powerwash, it said that my laptop was no longer supported. Wondering if that’s the problem and it’s now a brick…
Celeste Mann
May 7, 2019 at 8:38 am
I also have an Acer C7. It did not work. In the past I’ve been able to just take out the battery and it would reload but this time it wouldn’t so I tried the recovery media. I’ve had it for 6 years so I got my money’s worth, but it’s a perfectly good machine so it should still be working.
matchew
September 1, 2019 at 5:09 pm
Planning to install linux via Crouton so thought a backup was prudent per https://www.linuxuprising.com/2018/12/how-to-install-ubuntu-linux-on-any.html. First attempt with recovery tool was a failure got “unmount volumes error”. So after reading about people needing MBR or something, I decided to just reformat by USB (7.5 GB) to FAT (used another linux machine, but sure mac or winblows would work). Retried recovery tool with default settings and achieved the success screen.
Christina
January 29, 2020 at 7:51 am
All I know is tha acer chrome book I got for christmas is almost impossible to use and I hate it
PS Doff
March 12, 2020 at 11:40 am
The images for all the Sable Channel releases back to 67 for each Chromebook platform can be downloaded simply from this official page : https://cros-updates-serving.appspot.com/
Search ( + )by platform or model number and look in the Recovery column for the links.
As an example, my model, Acer R11, has all the images back to release 67. The current release is 80.0.3987.137. Clicking on the “79” link downlods the file chromeos_12607.81.0_cyan_recovery_stable-channel_mp-v3.bin.zip
Renske
November 7, 2021 at 7:41 am
Can’t I just download the .bin file on my laptop, then copy to the SD card and then insert in the Chromebook? Why doesn’t this work?
Tina Shaw
August 9, 2022 at 10:29 am
I downloaded the Recovery Utility onto a USB, inserted it into my Chromebook and a screen that has “OS CHROME” comes on but it goes right back off. I just saw the screen that has “WELCOME TO CHROMEBOOK” but it goes right back off too. Help!