
If you own a Windows 10 tablet device, you are likely aware of the On-screen Keyboard (OSK). Even on non-touch devices, you can call it up for certain scenarios. In this article, we look at some of the ways you can get the most out of the software-based keyboard. Windows 10 includes two types of onscreen keyboards; the classic, floating desktop keyboard, and a touch-based keyboard, which is ideal for devices like the Microsoft Surface.
Enable Windows 10 On-screen Keyboard
The On-screen keyboard can be handy for situations when your physical keyboard doesn’t work. For instance, if you’re performing an upgrade or new install of Windows 10, and your keyboard is not detected, you can activate the keyboard to do what you need. The On-screen keyboard is represented by a keyboard symbol that’s located near text-based fields — similar to the example shown below.
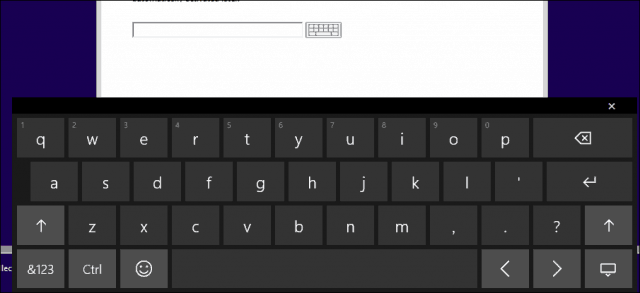
Similar to a physical laptop keyboard, you can enter letters, and toggle between a number pad and emoticons.
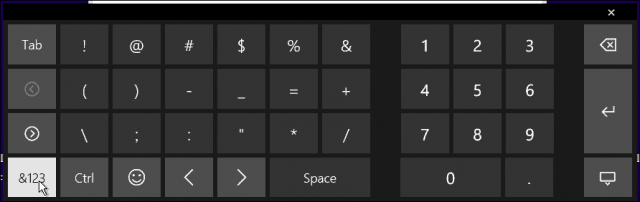
Numeric pad on the Windows 10 onscreen keyboard
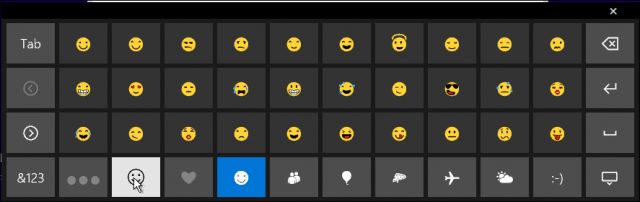
Emoticon keyboard
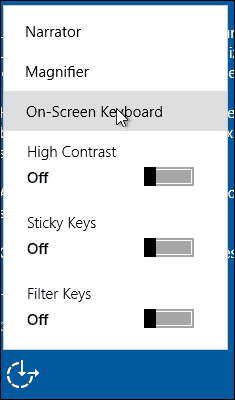
The OSK is sometimes kept from view until it is needed. You’ll find it on a hidden menu for accessibility. Click the accessibility symbol, and then click then click the On-Screen Keyboard menu.

One of the frequent complaints from users is the inability to complete setup because Windows 10 doesn’t detect the keyboard. You can use this as a workaround to sign in. Then, check for updates that hopefully grab a driver you need to get it working.

On a standard desktop installation, the OSK is not displayed but is easy to turn on. Right-click the taskbar and select Show touch keyboard. Click the keyboard icon in the notification area to activate it.


If you like the classic style Keyboard, click Start, then type: on-screen keyboard and hit Enter. The pro’s and con’s of both keyboards depends on personal taste. The classic desktop app OSK is resizable. The touch keyboard can also float on the desktop, but can’t be resized.
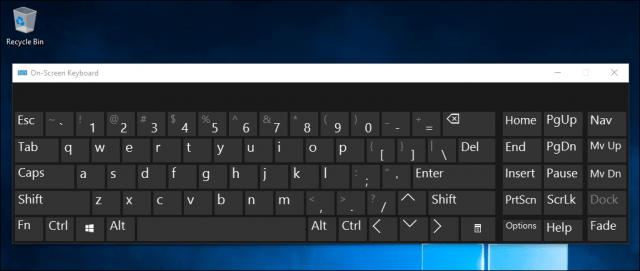

Resizing the On Screen Keyboard
The touch based keyboard is nicer, visually, but you have to toggle between specific functions and special keys. Although the touch based keyboard is aesthetically pleasing, I find the desktop keyboard more functional. The touch-based keyboard, has a few tricks up its virtual keys, though. By default, it’s docked when activated; just click the undock button on the top right hand to undock it, then you can move it around.

It is a bit of a chameleon too, depending on your scenarios, you can optimize the keyboard for thumb-based typing, which is perfect for small screen devices. For blind users, there is also a braille keyboard available.

If you are using a stylus, you can also use the handwriting recognition feature for input, too.
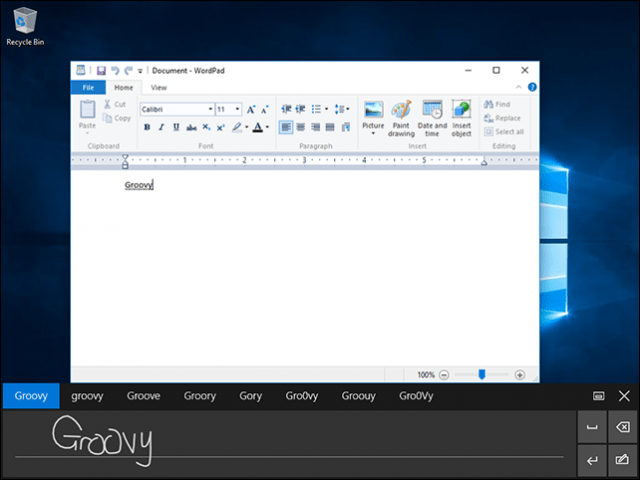
For some languages, the OSK has predictive text capability that helps you type documents faster. This something you’re probably used to on your mobile device (unless you’ve disabled it like in iOS for example).

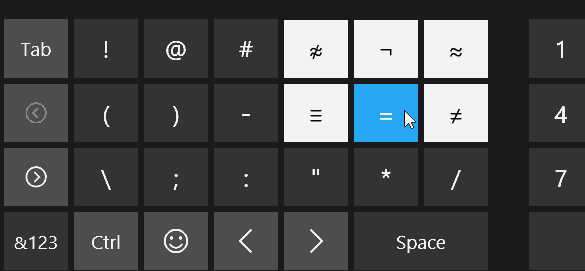
Another thing worth mentioning is that because it works acts a lot like a keyboard on your phone, and there are other tricks like holding down a particular key to display alternate characters and symbols.
We’ve also found that the OSK in Windows 10 is much easier to use than the one that came with Windows 7, 8.1, or the now defunct Windows RT.
How about you? What are some of the tips and tricks you use to get the best experience out of it?


