How to Pixelate an Image on Android or iPhone
Do you want to hide part of an image? Pixelation is a great option. Learn how to pixelate an image on Android or iPhone.
Every image that we look at on our phones is made up of pixels. These tiny elements combine to make the crystal clear images we look at on our phones. When the blocks that make up an image get larger, however, the image becomes harder to make out.
This is pixelation in action. Pixelation transforms part of an image so that it’s made up of much larger blocks in order to hide the image beneath.
If you want to add pixelation to your photos on your smartphone, it’s fairly simple to do. You can download apps that allow you to pixelate your images in just a few taps.
If you want to learn how to pixelate an image on Android or iPhone, follow the steps below.
Why Would You Want to Pixelate an Image?
There are a number of reasons why you might want to pixelate an image. If you want to send someone a photo, but it contains sensitive information (like your credit card number, for example), then pixelating the number will keep your information safe. You can also use pixelation to transform an NSFW image into a much more SFW one!
Pixelating can also be a great way to make your image look more stylish. With the right pixelation, you can transform your photos into what looks like classic 8-bit graphics.
How to Pixelate an Image on iPhone
There are numerous apps available in the App Store that claim to be able to pixelate images. Some are much better than others, and some require a subscription to unlock the key features.
In this example, we’ll be using the Censor: Blur & Pixelate Photos app, which does the job well and is free to use, although it does include some ads.
To pixelate an image on your iPhone:
- Install the Censor: Blur & Pixelate Photos app.
- Launch the app.
- Tap Photo Album and select the photo you want to pixelate.


- In the menu bar at the bottom of the screen, tap the Pixelate icon.

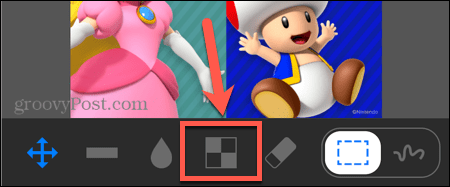
- To pixelate a rectangular area, ensure that the Rectangle tool is selected.

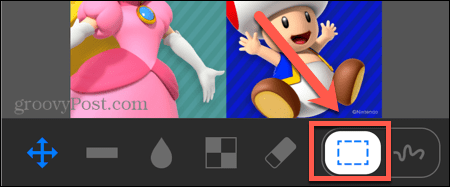
- Drag out your selection. You’ll see a zoomed-in image of your selection in the corner of the screen.


- Let go of the screen and your selection will be pixelated.

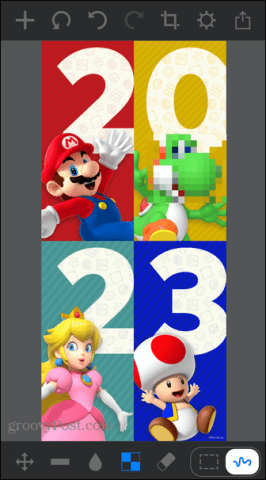
- To draw the area that you want to pixelate freehand, tap the Draw Selection icon.


- Draw over the area that you want to pixelate.
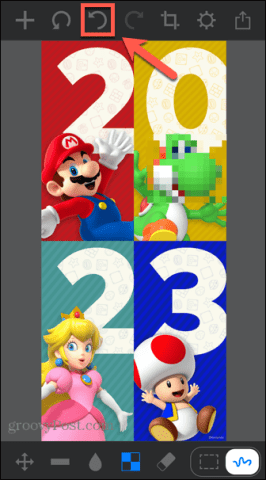
- Your selection will be pixelated. If you make a mistake, tap the Back arrow to undo the change.

- To change the size of the brush when selecting the area to pixelate, tap the Settings icon.

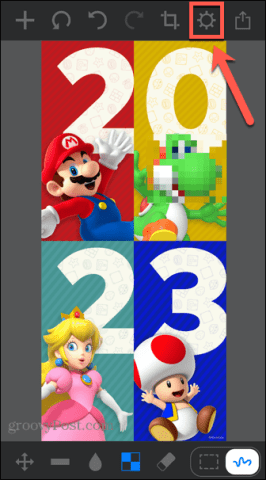
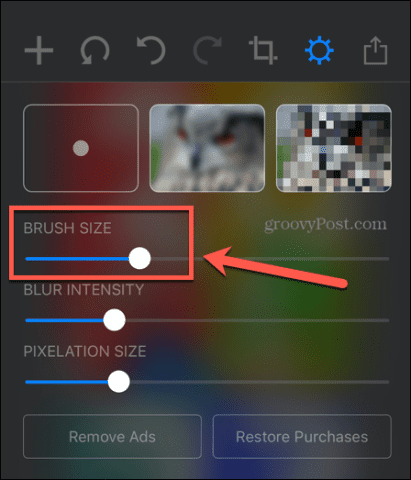
- Adjust the Brush Size as necessary.

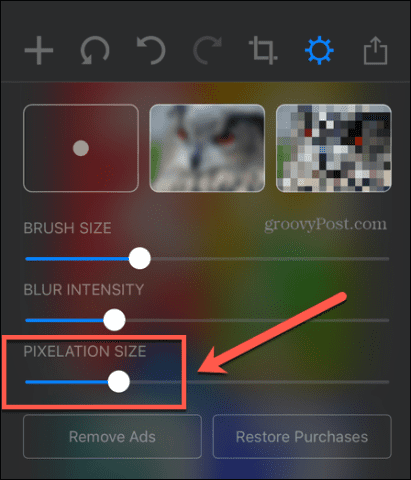
- You can also change the Pixelation Size to make the blocks larger or smaller.

- When you’re happy with your image, tap the Share icon.

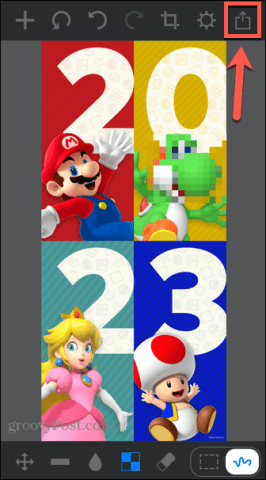
- Scroll down and select Save Image.

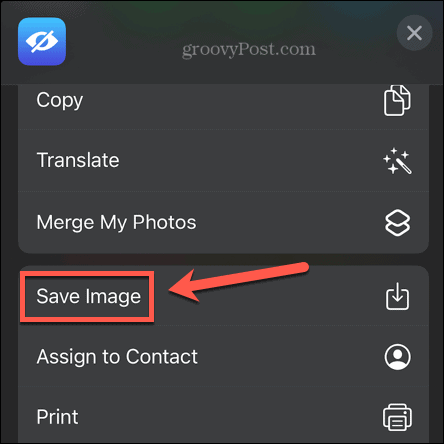
- Your pixelated image will now be saved to your iPhone camera roll.
How to Pixelate an Image on Android
If you want to pixelate an image on an Android phone, there are plenty of apps available in the Google Play Store. Once again, the quality varies, but there are some good options out there. In this example, we’ll be showing you how to use the app to pixelate your images using an app called Pixelator: Pixelate Blur Image.
To pixelate an image on Android using the Pixelator: Pixelate Blur Image app:
- Install the Pixelator: Pixelate Blur Image app and launch it on your Android device.
- Select one of your recent photos or tap the Photos icon to select from all your photos.

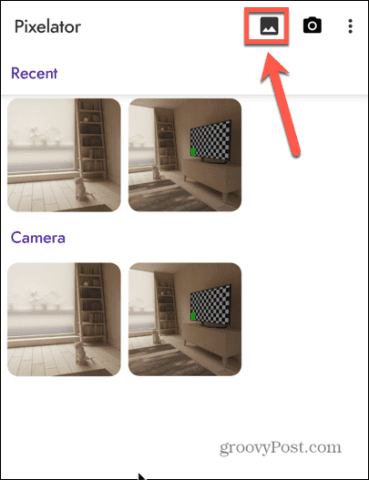
- To select a rectangular area to pixelate, tap the Rectangular tool.


- Drag out the area you want to pixelate. You’ll see the pixelation happening as you drag out the shape.


- If you make a mistake, tap the Back arrow.


- To select a circular shape, tap the Circular button and drag out your area in a similar way.

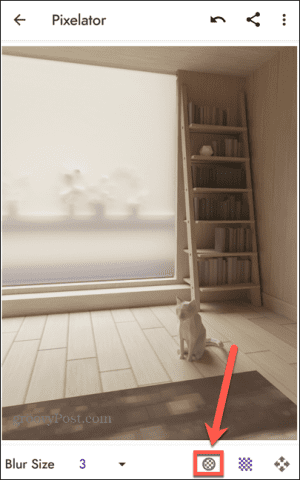
- If you want the size of the pixelation to be larger or smaller, tap the Arrow next to Blur Size.


- Select a different blur size. The change will only apply to any areas you select after choosing a new blur size.

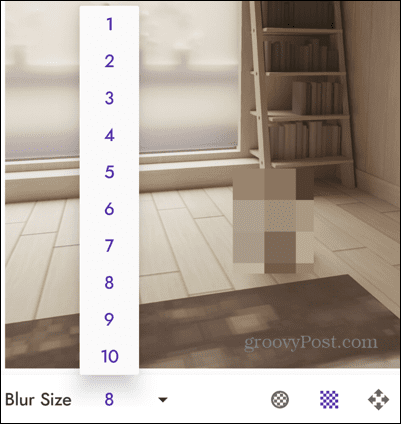
- When you’re happy with your image, tap the Three Dots icon.

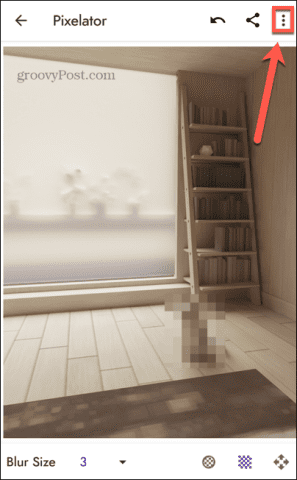
- Select Save.


- Your pixelated image is now saved.
Editing Photos on Mobile Devices
Learning how to pixelate an image on Android or iPhone allows you to keep certain information hidden, but it’ll still let other people see the majority of the image. It’s a useful way to only hide specific parts of an image. There are plenty of other ways you can use your iPhone to improve your images.
If you have a number of images that you want to combine into one, you can make a photo collage on your iPhone. If you have sensitive photos, such as the unpixellated versions of some images, you’ll want to know how to lock photos on your iPhone. And if you find that your iPhone storage is getting filled up with all of your photos, you might want to learn how to compress photos on iPhone.
Leave a Reply
Leave a Reply


