How Web Scraping in Excel Works: Import Data From the Web

In this article, you’ll learn how to use Excel’s web-scraping feature. You’ll also learn how those web-scrape queries work, and how to automate them.
Many people use Excel for logging data or performing calculations. But one little-known feature in Excel is the ability to scrape data from the internet and pull it into spreadsheets.
In this article, you’ll learn how to use Excel’s web-scraping feature. You’ll also learn how those web-scrape queries work and how to automate them.
How Web Scraping in Excel Works
You can get “external” data from inside Excel. Just keep in mind the following requirements:
- Your computer must have an active internet connection.
- The URL you’re pulling data from needs to have a static data table present on the page.
- If you automate the file, the computer where the Excel file is saved needs an active internet connection.
When you set up web scraping in Excel, you’re creating a “web query.” This query uses a web URL to connect to the internet and pull the web page with data from a web server. Excel processes the incoming HTML and strips out tables that are present on that page. You will have a chance to select the table or tables you want to capture in your spreadsheet.
How to Create an Excel Web Query
Use the following steps to pull table data from any web page into Excel. This example uses weather data, but you could also do this with stock market data and more.
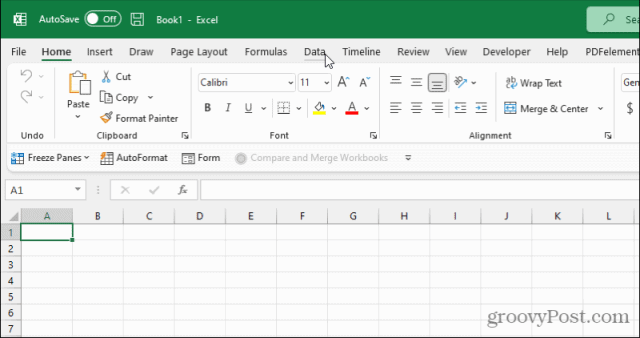
1. Open Excel and select the Data menu.
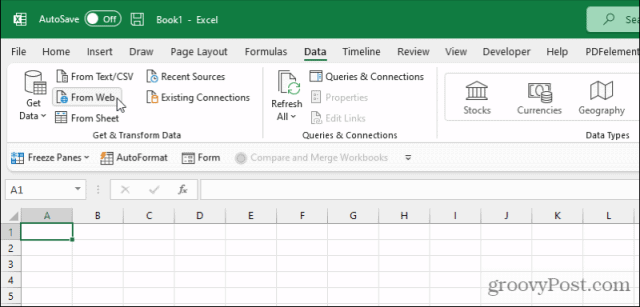
2. In the ribbon under the Get & Transform Data section, select From Web.
3. This will open the Web Query window. Paste the URL to the page with the data into the URL field. Select OK.

4. Excel will reach out and pull the web content. Select each table result on the left of the Navigator window to see a preview of the table in the right pane.

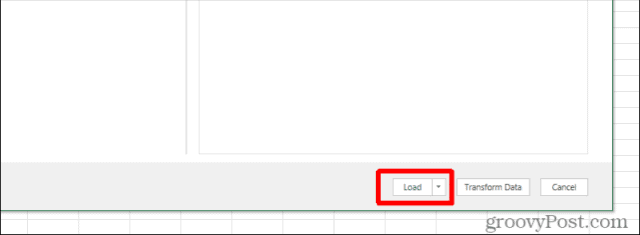
5. When you see the table preview display the table from the web page with the data you want to scrape, select the Load button at the bottom of the window.
6. You’ll see the data from the web page table appear in the first shell of the active Excel spreadsheet.
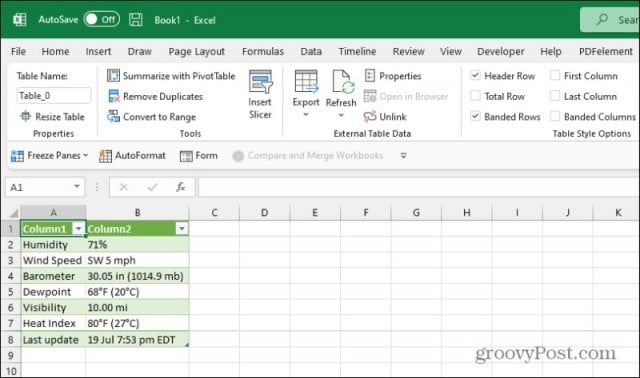
Congratulations, you’ve successfully scraped web page data with Excel!
Advanced Excel Web Query Options
You’ll notice a few additional options on the screens described above. If you’d rather scrape and import the web data to a different location in your Excel spreadsheet, select the dropdown arrow next to the Load button and instead select Load To.

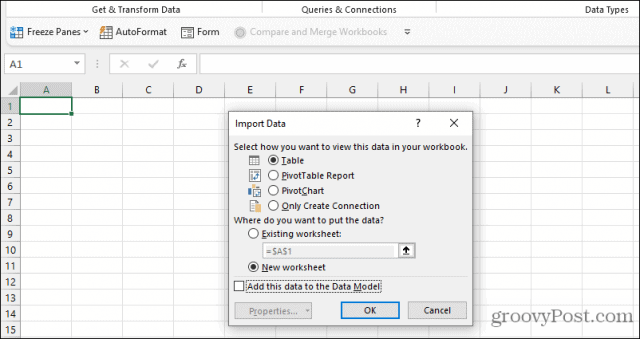
You’ll see an Import Data window open. Use the options in this window to format and place the data exactly how you’d like it to appear.
Options here include:
- Standard table
- PivotTable report
- PivotChart
- Just create the connection but don’t import the data
You’ll also see an option to place the data starting in a specific cell rather than defaulting to A1.
If you select the Advanced option rather than Basic on the URL page, you can provide more advanced URL information.

This is useful if the page you’re loading data from includes parameters (usually followed by a “?” character) or special HTTP header requests such as pages that require JSON HTTP header request parameters.
These advanced query features let you scrape data with Excel, even from interactive web pages that may not have a static URL to get at the data.
How to Customize Your Excel Web Query
After using the process above to create the web query that pulls in the data, you can customize it further.
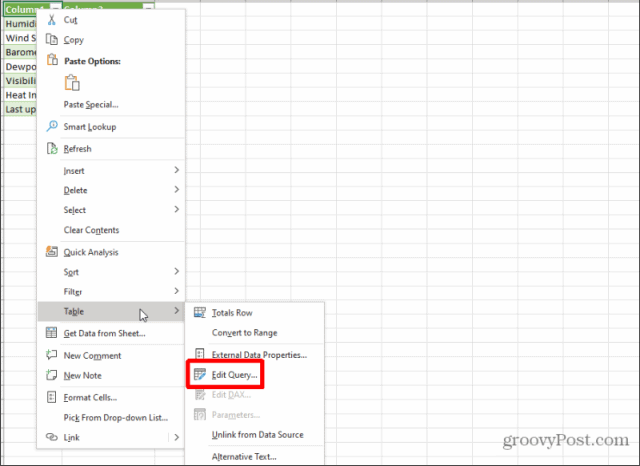
There are two ways to access the Web Query Editor. The first is to right-click any cell that contains the results, selecting Table, and then selecting Edit Query.
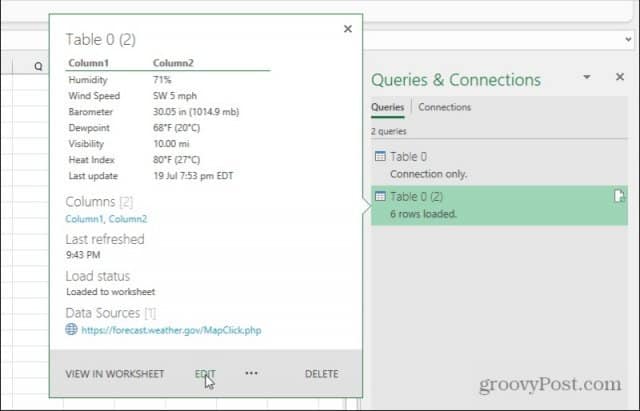
This will open the Web Query Editor window. Alternatively, you can select any results cell and then select the small sheet icon to the right of the table in the Queries & Connections box on the right. This will open a preview of the table data you’ve chosen. Select the Edit button at the bottom of this window.
In the Web Query Editor window, you can deeply customize exactly how the web query pulls data from the web page you’re connecting to.
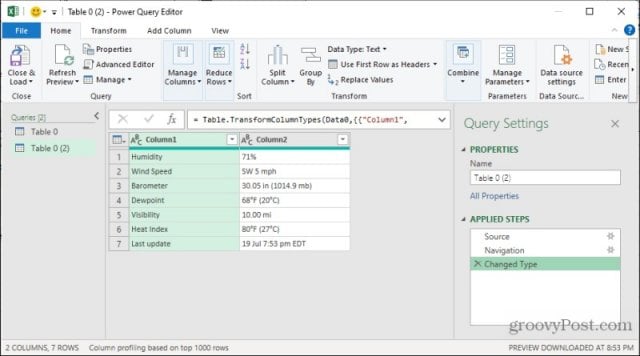
Options here include:
- Modifying the source URL (select Source under Applied Steps).
- Editing which source table to pull for this Excel table’s data (Select Navigation under Applied Steps).
- Altering how Excel formats or transforms the data before placing it in the sheet (Select Changed Type under Applied Steps).
This means that even if you aren’t happy with how your web query works originally, you can customize it using the Web Query Editor window.
How to Refresh Tables Manually and Automatically
When getting the latest data from remote web page tables into your Excel sheet, you have a couple of options.
You can manually refresh by selecting the sheet with the table you want to refresh, selecting the Data menu, and selecting Refresh All from the ribbon.

This will perform a one-time refresh of all tables in that sheet that retrieves data from an external source.
A more automated way to do this is to schedule refreshes. To do this, select the dropdown arrow at the bottom of the Refresh All button, and select Connection Properties.
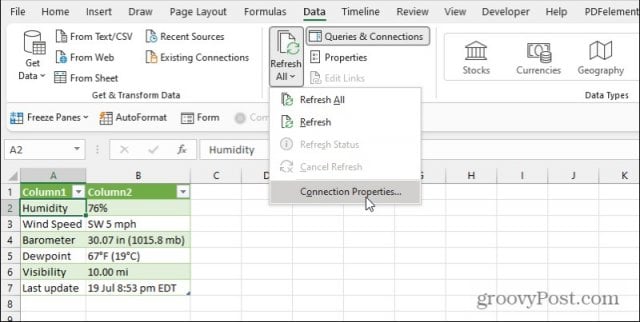
This will open the Query Properties window. Select the Usage tab, and enable Refresh every xx minutes.

Change the time setting to the frequency you would like tables in the sheet to refresh. Keep in mind that this automatic refresh only happens when you have the Excel file open. It does not refresh the data inside the file otherwise.
Web Scraping in Excel
The feature to scrape data from the web with Excel is powerful. You could use this feature and automate it to create real-time dashboards that update with the latest data from across the web. Bring in data tables from several websites that frequently update with information you care about and bring it all into a central spreadsheet.
Then you can create calculations, visuals, and entirely dashboards in the spreadsheet based on that data that will update itself.


