How to Hide Files and Folders from Search on Windows 11

Worried about certain files appearing in your Windows 11 search results? You can hide certain files or folders from searches using this guide.
Need to quickly find a file on your Windows 11 PC? You can do it from the Start menu. By default, the search bar allows you to locate files in your Desktop, Pictures, Music, Downloads, Documents, and Videos folders. It also searches for apps, email messages, and other important files.
The problem with having all of your important files and folders within easy reach is that there might be files you want to hide. If that’s the case, you can configure Windows to skip certain hidden files and folders. In this guide, we’ll explain how to hide files and folders from a Windows 11 search.
How to Hide Files and Folder from Search on Windows 11
The first thing we’ll look at is customizing where Windows is searching for files. By skipping these specific locations, you should see results faster, while also hiding any files you’re keen to protect.
If you want to exclude files and folders from searches on windows 11, use these steps:
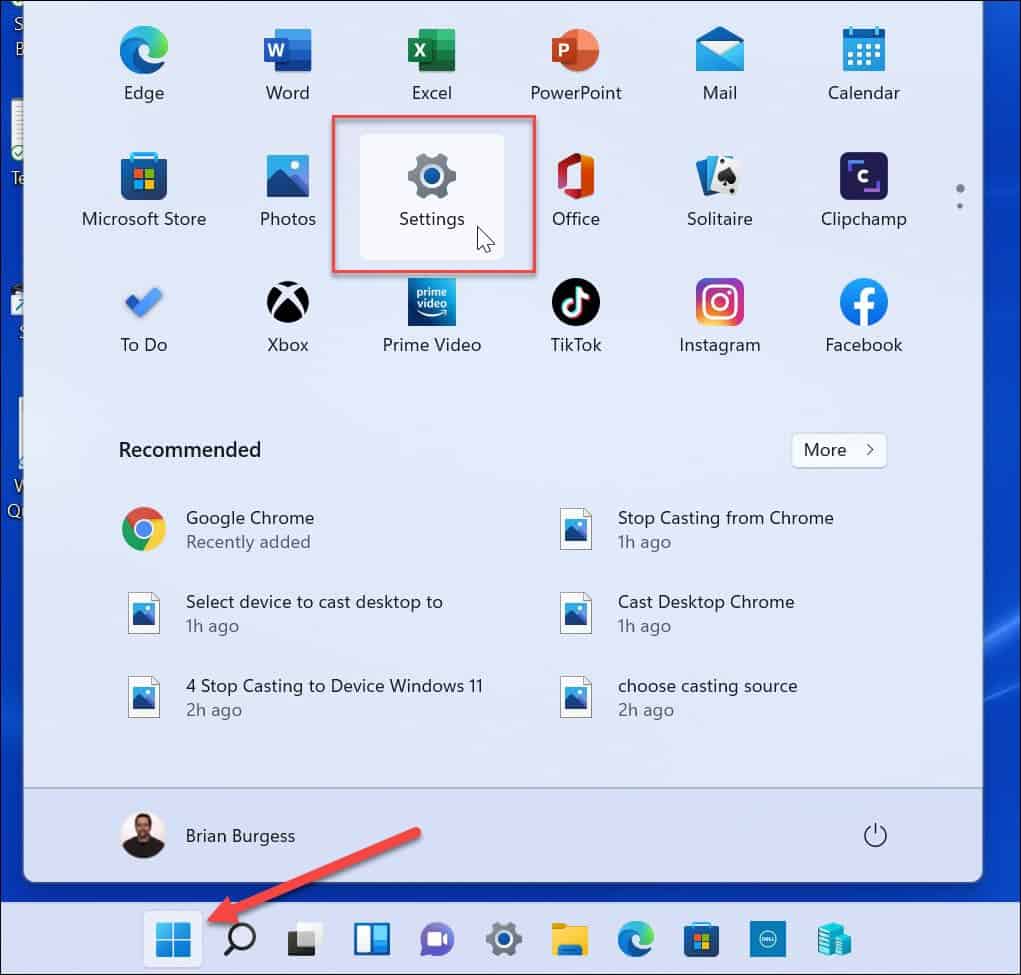
- Open the Start menu and select Settings. Alternatively, press the Windows key + I on your keyboard.

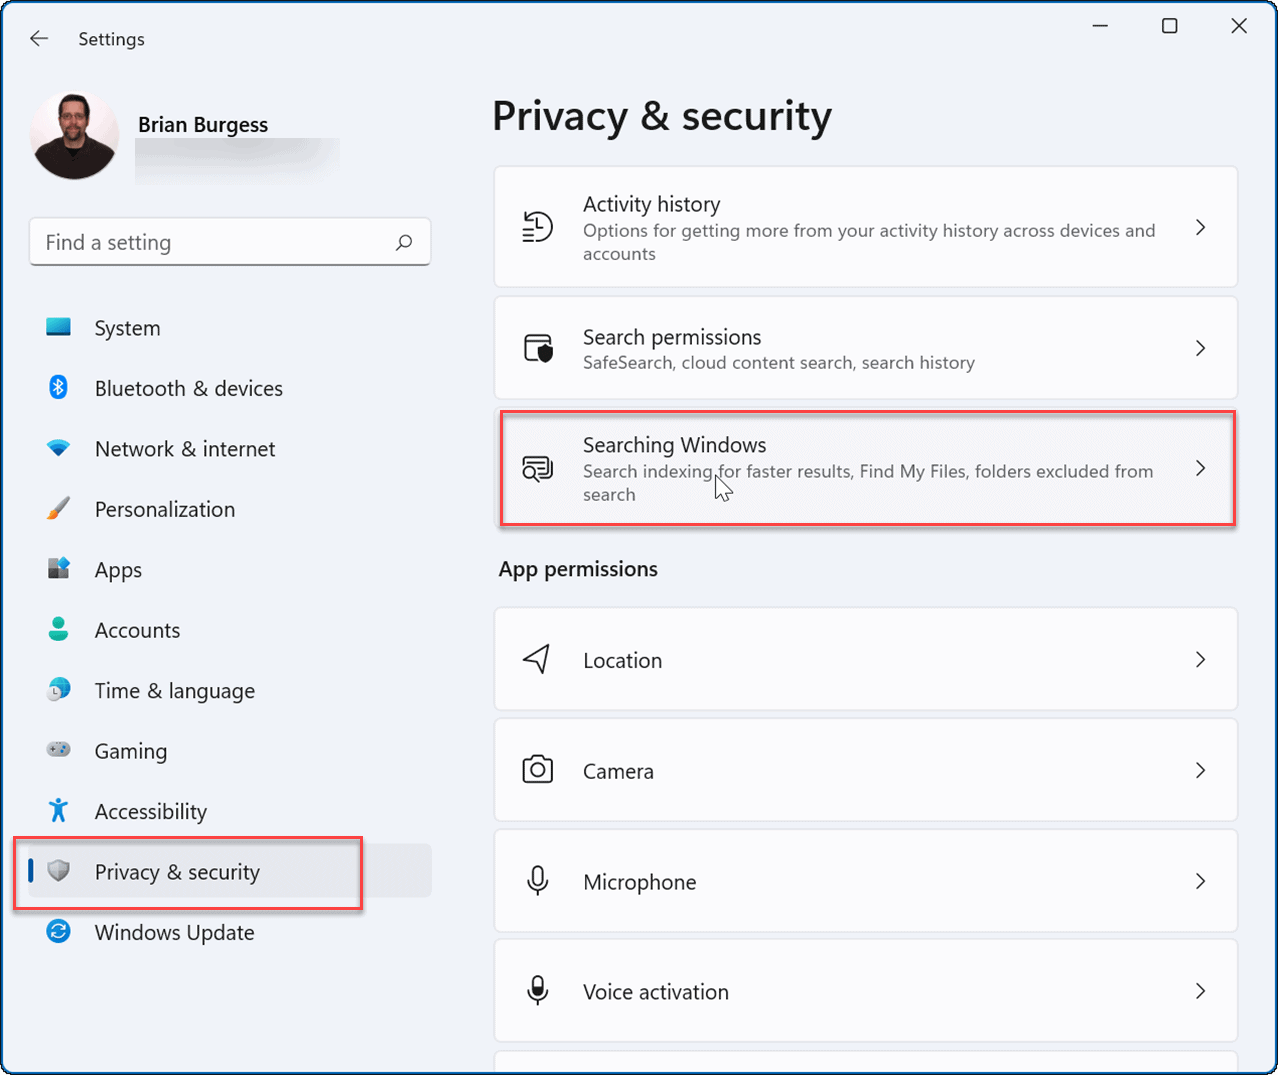
- When Settings opens, select Privacy & security on the left.
- In Privacy & security, select the Searching Windows option.

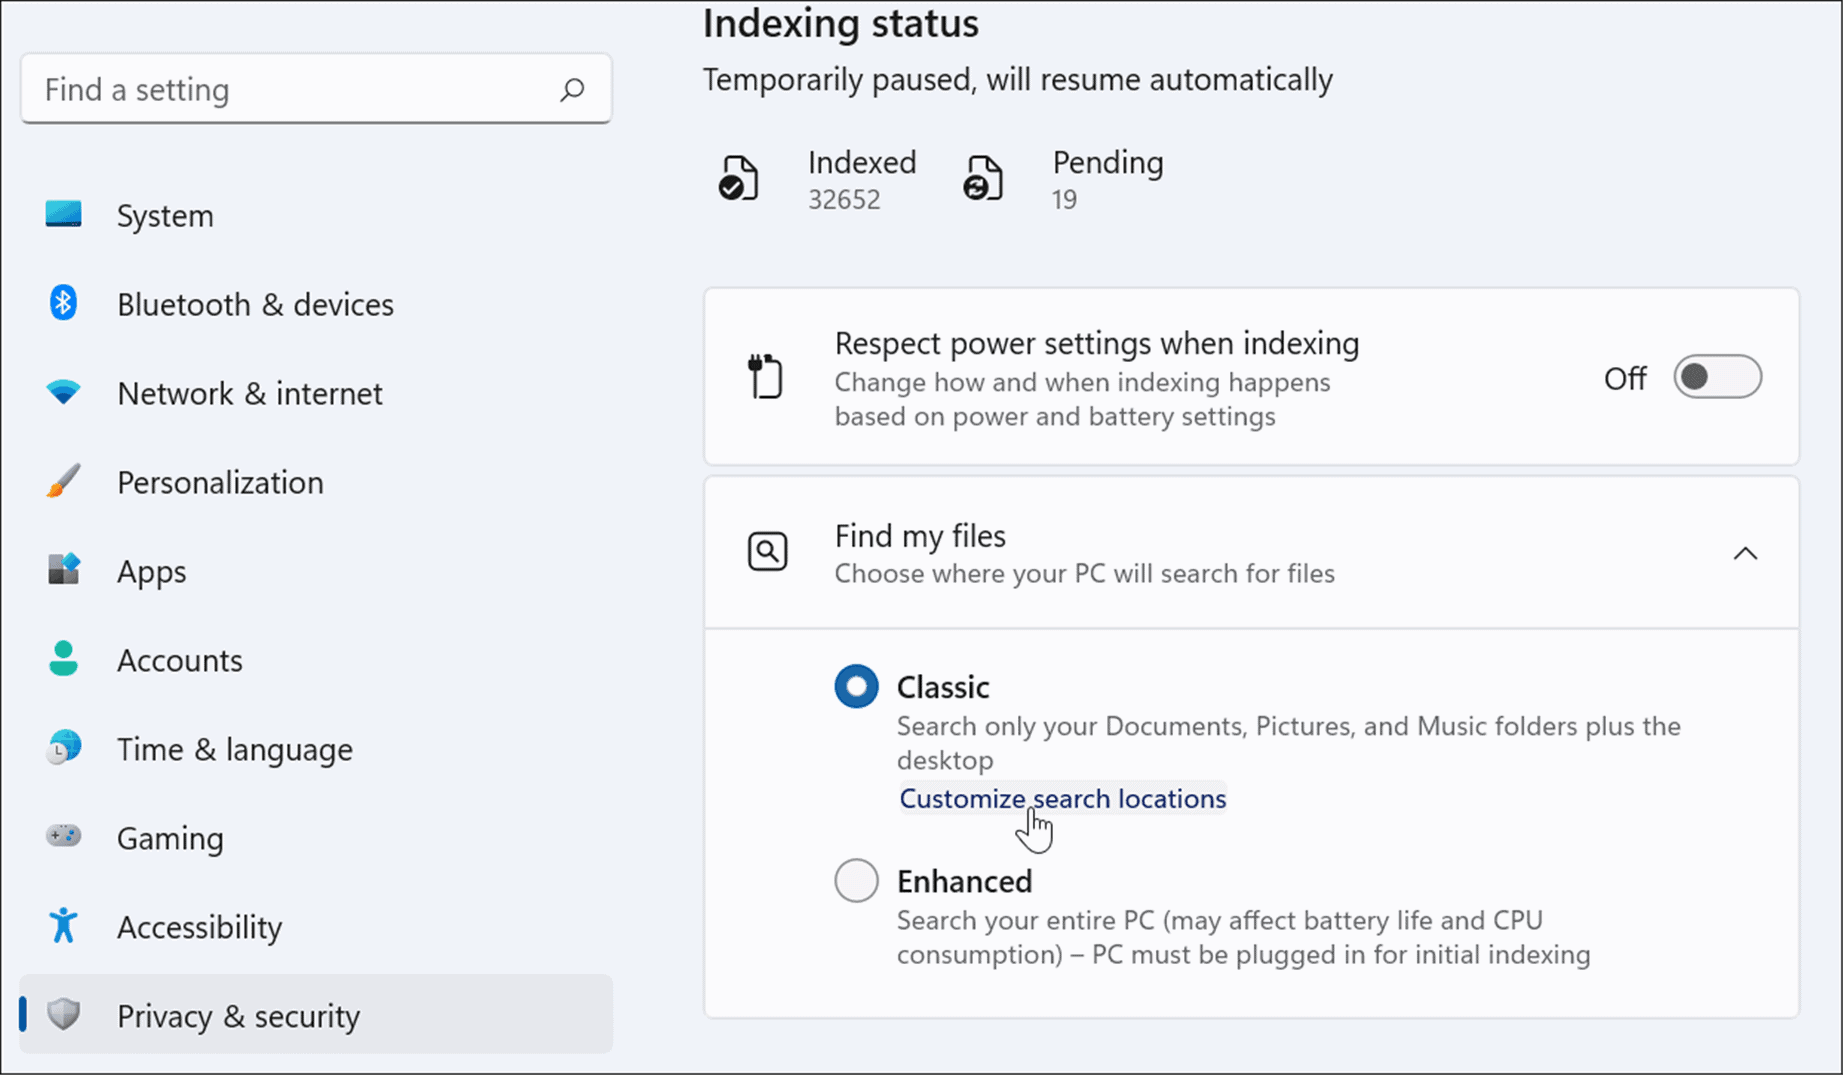
- Click to expand the Find my files option.
- Under Find my files > Classic, click the Customize search locations option.

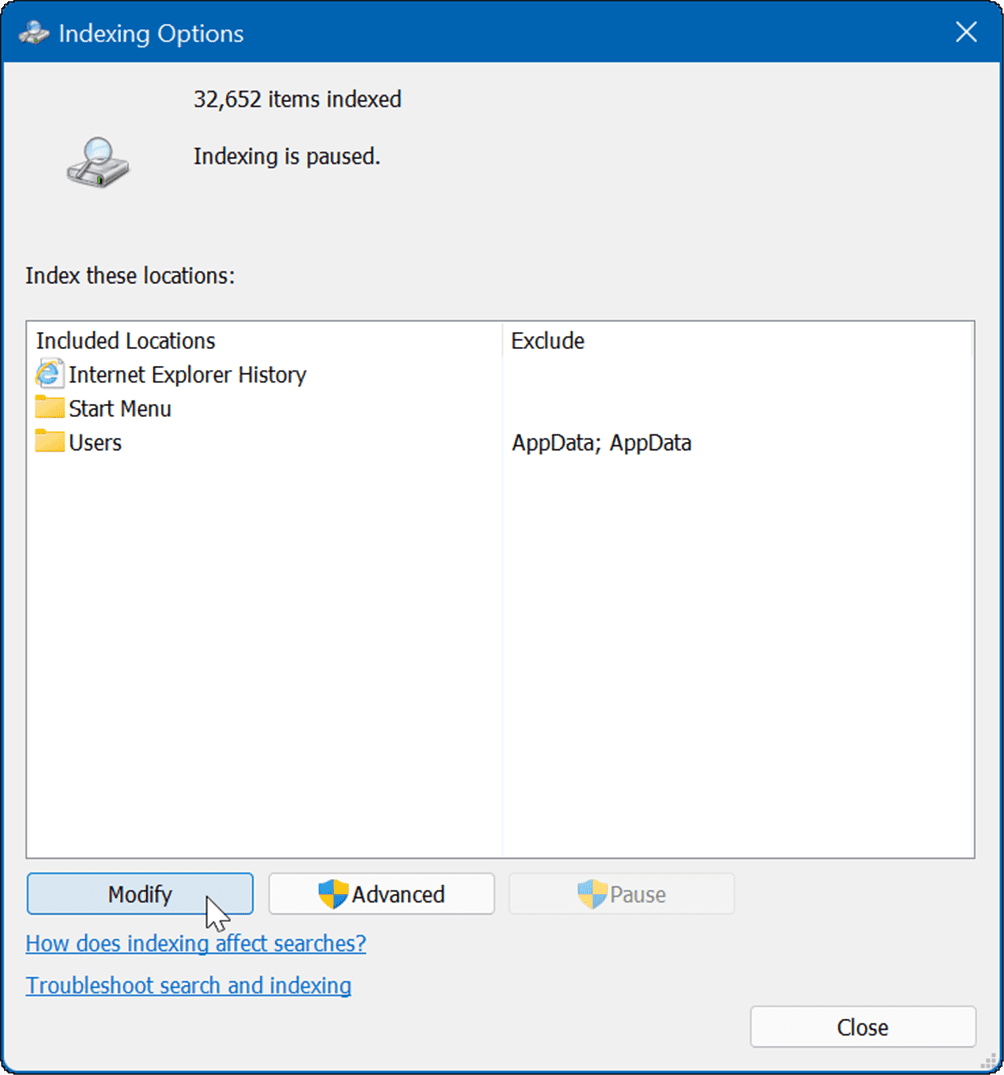
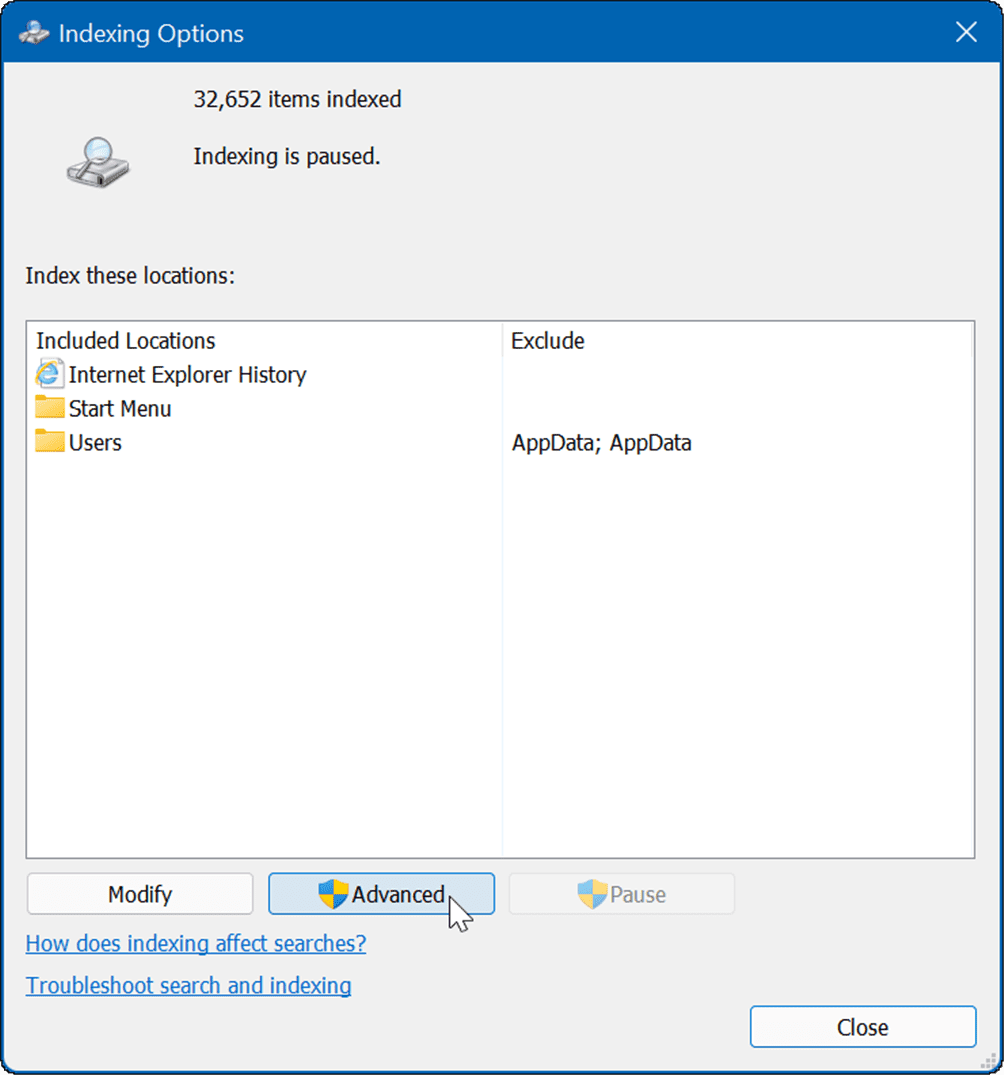
- In the Indexing Options window, press the Modify button at the bottom.

- Next, check the folders you want to include, uncheck the ones you want to exclude from Windows Search, and click OK to save.

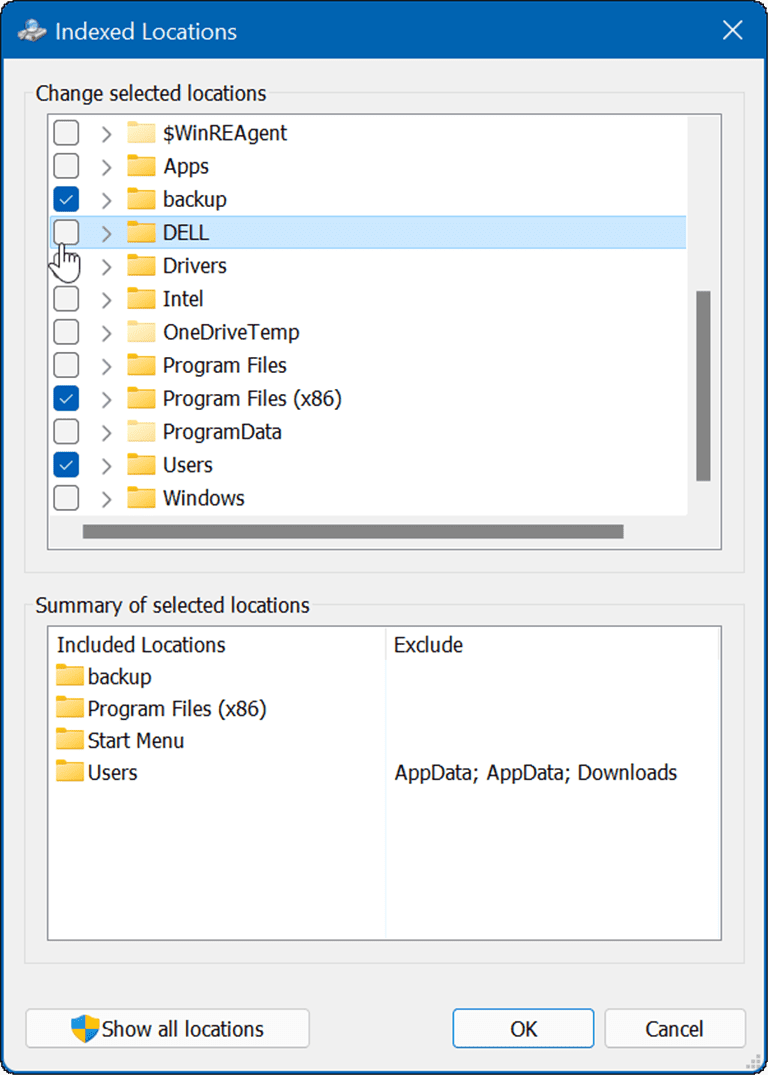
Now Windows will only search through the indexed folders you specified.
How to Hide Folders from Search on Windows 11
To hide specific folders from a Windows Search, use these steps:
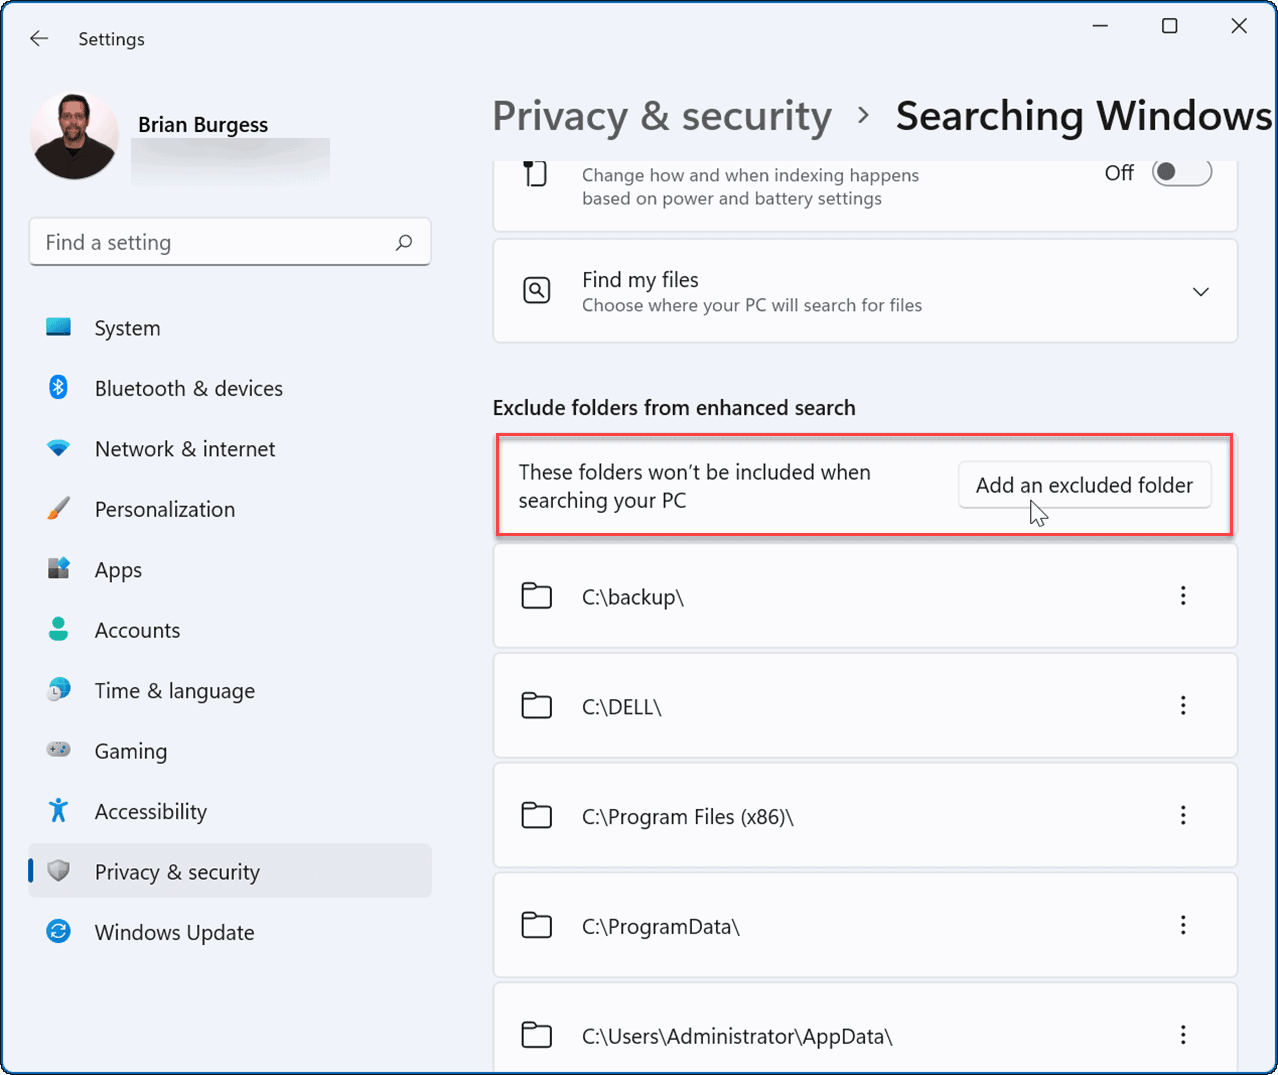
- Click the Start button to open the Start menu and choose Settings.

- In Settings, press Privacy & security > Searching Windows.

- Scroll down the list and select the Add an excluded folder option.
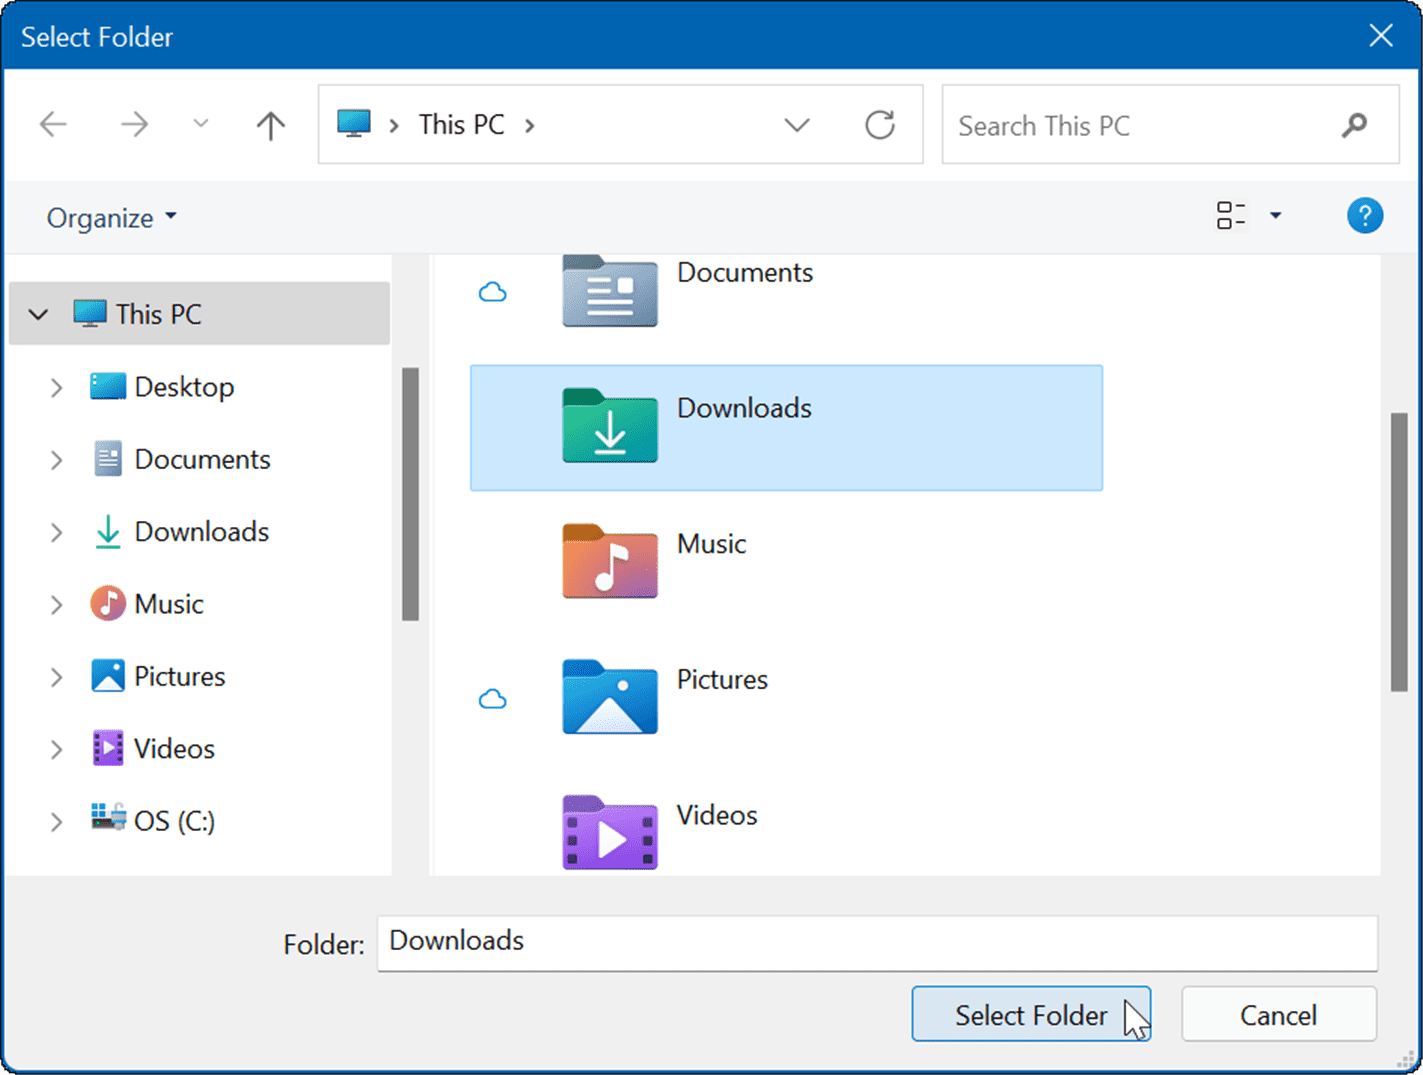
- Select the folder you want to hide, and then click the Select folder button.

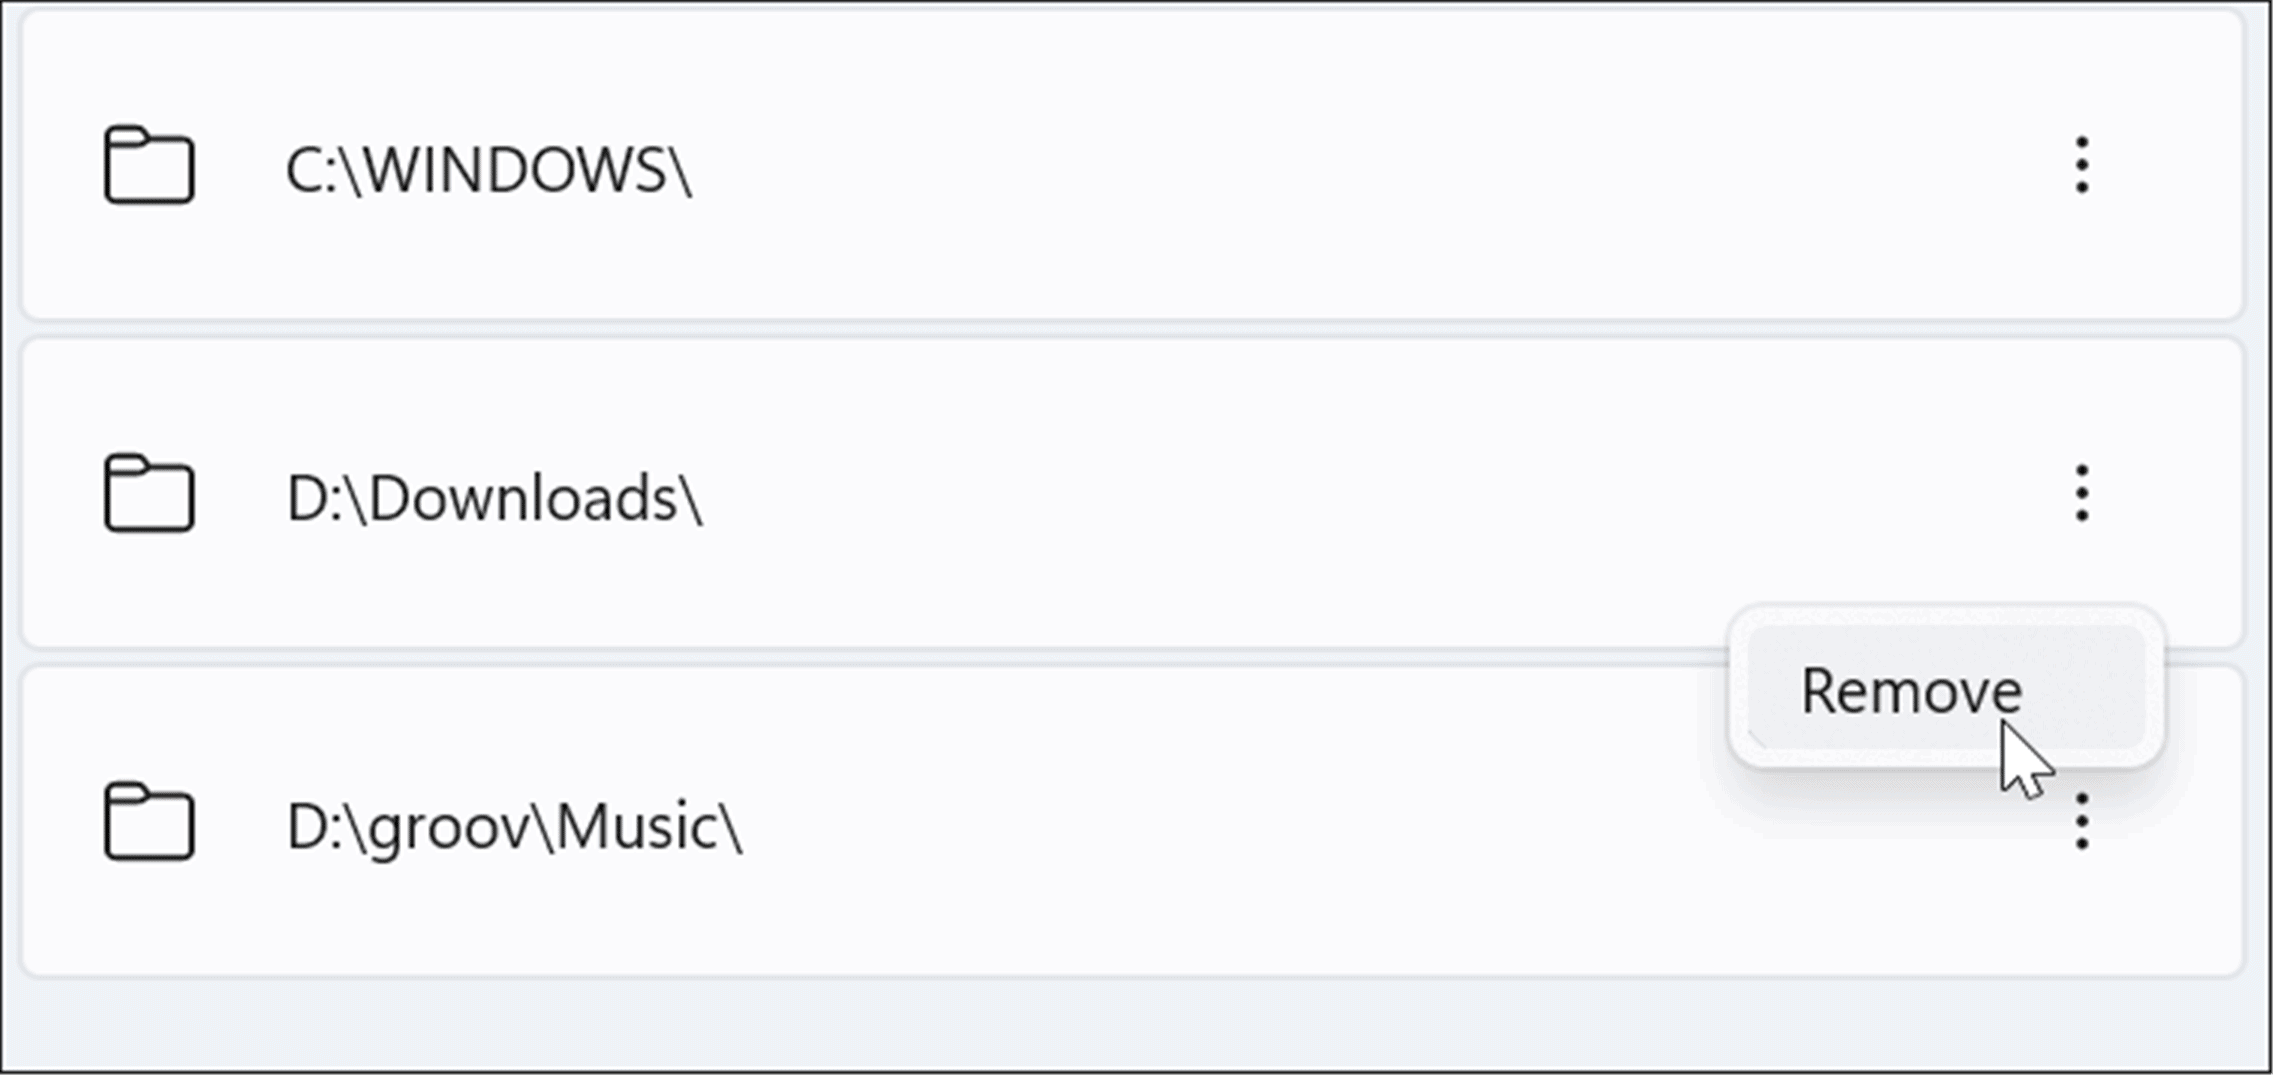
- The folder(s) you select will no longer be included in search results. If you want to unhide a folder, click the three-dot icon next to the folder and click Remove.

How to Hide Files from Search on Windows 11
On Windows 11, you can select any file type and stop it from appearing in search results.
To hide certain file types from Windows 11 search results:
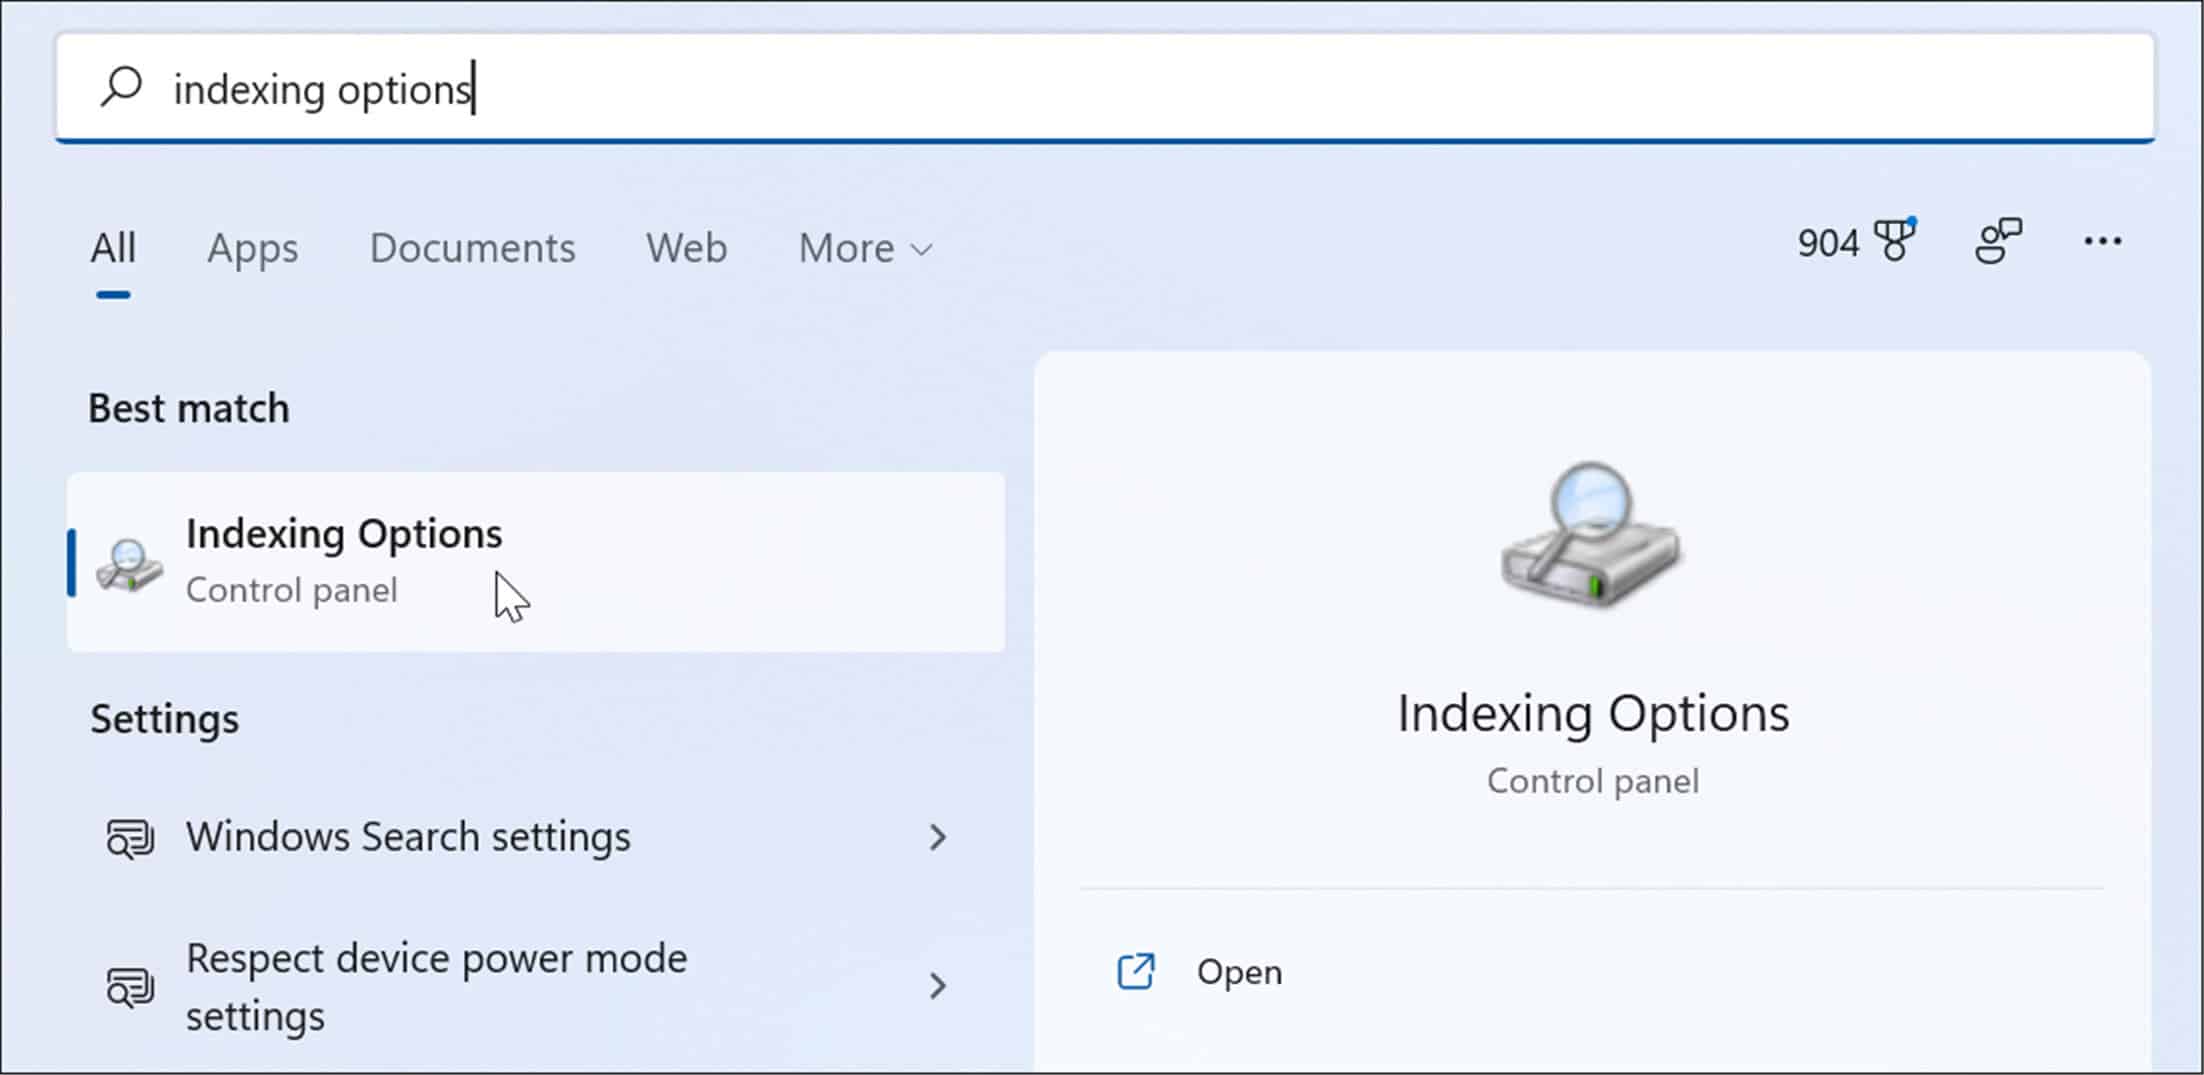
- Press Start, type indexing options, and choose the top result.

- In Indexing Options, press the Advanced button.

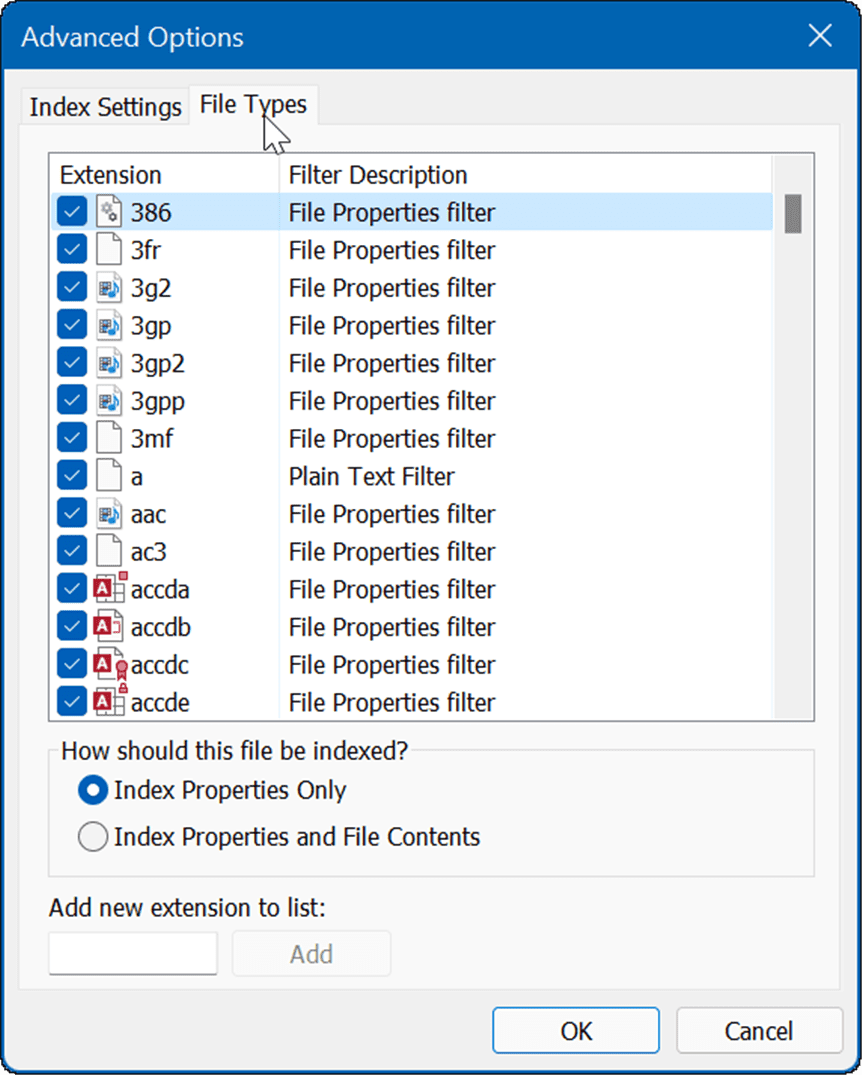
- Next, click the File Types tab.

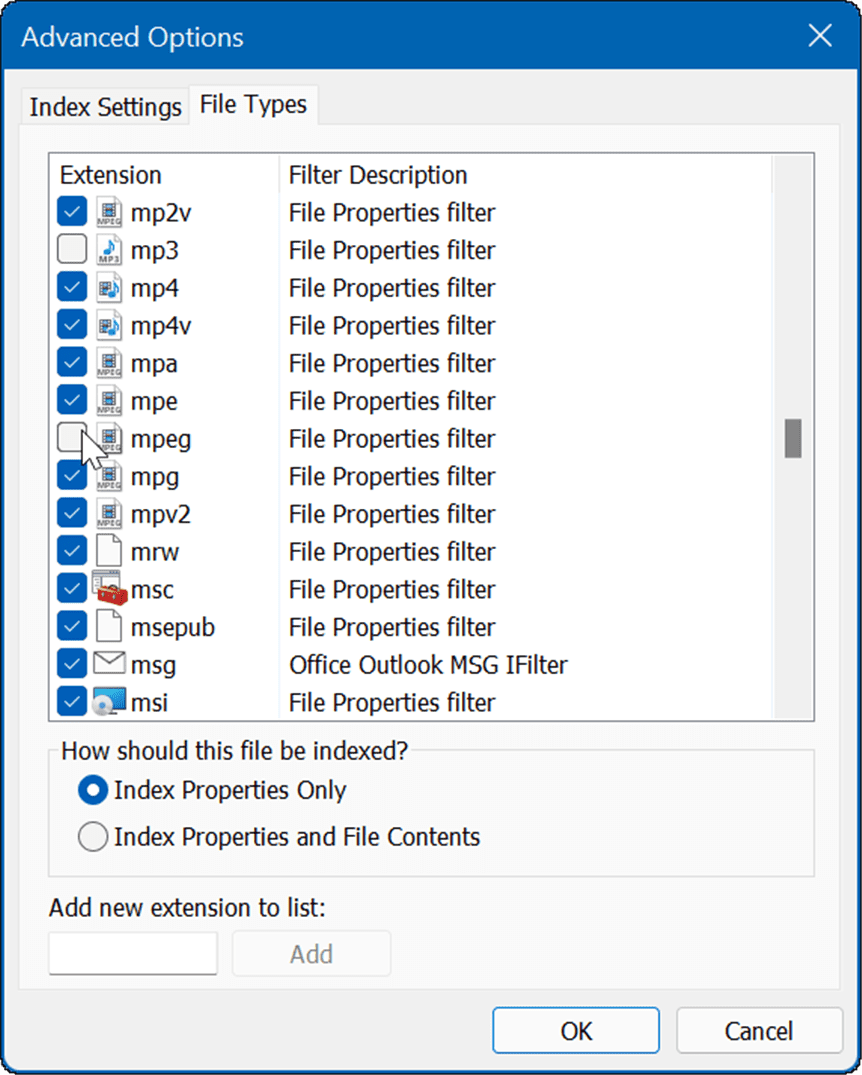
- In the File Types tab, go through and uncheck the file type you want to exclude from the search. For example, you might want to exclude certain media files like MP3 or MPEG.
- After deselecting file types, click the Index Settings tab.
- Click the Rebuild button in the Troubleshooting section to rebuild the search index.

- The amount of time it takes to rebuild the index will vary based on the number of files on your PC. The more files, the longer the rebuild will take. When the confirmation screen appears, click OK.

- At the top of the Indexing Options window, you’ll see the status of the process.

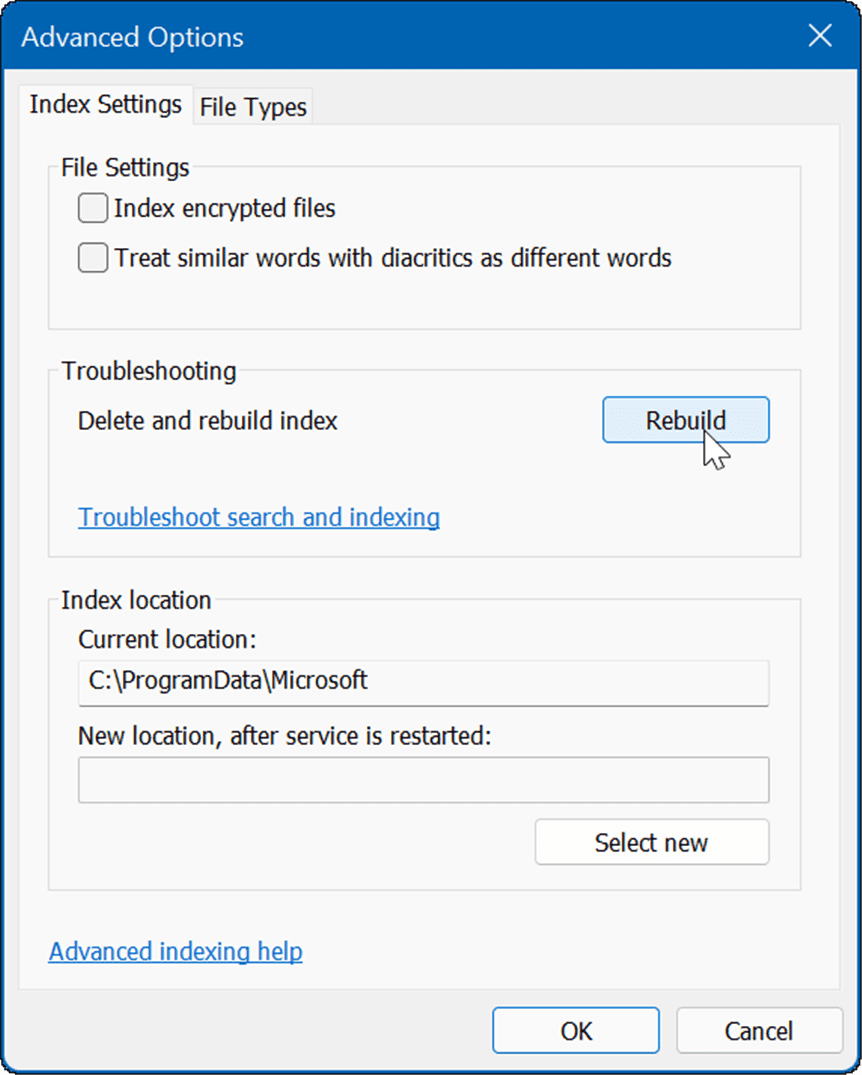


Once the index is rebuilt, the excluded file types will no longer display in your search results.
Enhanced Windows Search
It’s important to note that when you hide files and folders from searches on Windows 11, you might end up with incorrect results when trying to find a specific item. If you run into that situation, you can enable enhanced search for a broader search of your PC.
An enhanced search feature will scan your entire PC. Searches will be slower, but your search results will improve and offer a wider range of results.
To enable enhanced search on Windows 11, use these steps:
- Press Start and open Settings.
- When Settings opens, navigate to Privacy & security > Searching Windows.
- Under the Find my files section, click the Enhanced option.

From this point, when you run a search query, your entire system is scanned, except for files and folders you’ve hidden.
Improving Windows 11 Searches
Windows 11 includes a few ways to search for files and other items. For example, you can click the Start button or hit the Windows key and type your query. There is also a search icon to the right of the Start button you can use.
Since the Start button and search icon are close to each other, you might want to hide Search from the taskbar. Another trick to get better search results is to disable web results on Windows 11.
If you’re not on Windows 11 yet, you can remove the Search box from the Windows 10 taskbar, too.


