How to Fix Windows Update Error 0x80070643

If you’re trying to update your Windows PC and see Windows Update error 0x80070643, you’ll need to fix the problem using the steps in this guide.
It can be frustrating when Windows Update doesn’t work on your PC. If you’re lucky, you’ll get an error code and a brief explanation, but that isn’t always the case. However, if you do get the Windows Update error 0x80070643 appear on your device, there are ways to fix it.
There are different reasons for this error, like problems with the Windows Update services, corrupt system files, a corrupt Microsoft .NET Framework installation, or issues with the security app.
If you’re trying to get the latest Windows 10 or 11 updates and see a 0x80070643 error, here are your options to solve the problem.
Restart Windows Update Services
If the Windows Update services aren’t running, the first thing to try is restarting Windows. The next best place is verifying the update services are running correctly.
If they aren’t, it will result in an error, and restarting all three of the Windows Update services can resolve the issue.
To restart Windows Update services:
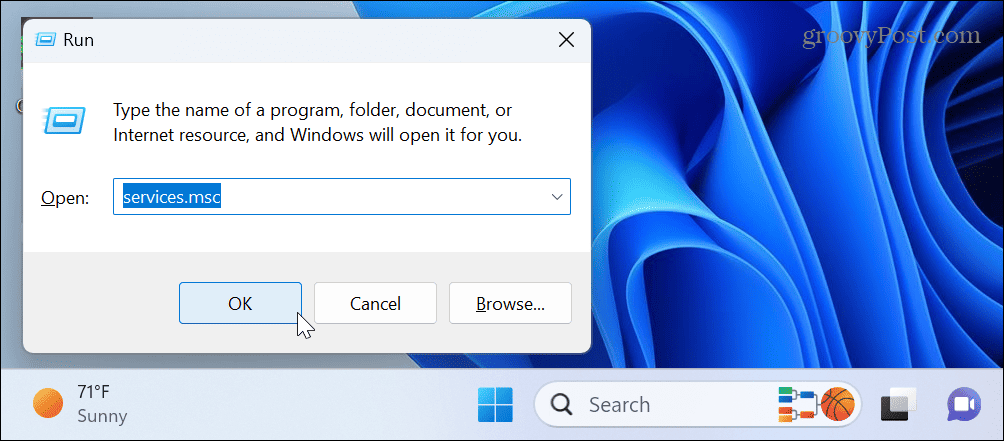
- Press Windows key + R to open the Run dialog box.
- Type services.msc and click OK or press Enter.

- Right-click Background Intelligent Transfer Service and select Restart from the menu.

- Repeat the same steps for the Windows Update and Cryptographic Services items and close out of the window.
- Once you’ve done this, try updating your PC again to see if it works error-free.


Use .NET Framework Repair Utility
If restarting Windows Update services didn’t work, it could be due to a problem with Microsoft .NET Framework. This is a set of software libraries used in certain applications for Windows.
If you’re having issues, there’s a repair tool you can use which fixes corrupt .NET Framework components that can sometimes cause this update error.
To repair the .NET Framework:
- Open a browser and download the .NET Framework Repair Tool from Microsoft.
- Double-click the executable to open the tool from your download location.
- Agree to the license terms and click Next.

- Wait while the tool scans your system and click Next on the recommended changes screen.

- On the Changes Complete screen, minimize it and keep the tool open. Try Windows Update again.
- If it works, click Finish to close the tool.
- If the error still appears, click Next for further troubleshooting options.


Reset Windows Security
Over time, there can be unwanted security modifications from installed apps or users. Misconfigured settings in the Windows Security app can cause conflicts and update errors.
Resetting apps on Windows can help to fix errors and restore your PC’s functionality.
To reset Windows Security:
- Open the Settings app and go to Apps > Installed apps.

- Type windows security in the search field, click the three-dot menu button, and select Advanced options.

- Scroll down to the Reset section and click the Reset button twice.


Once the process is complete, close the Settings app and rerun Windows Update.
Clean Boot Windows
If you continue to get the error, a third-party app or service could be interfering with Windows Update.
To resolve the issue, perform a clean boot of Windows to determine the cause. A clean boot allows you to control which apps and services run during startup.
Once you disable startup apps and non-Microsoft services, you can enable them one at a time to discover what’s conflicting with Windows Update.

Roll Back Windows Using a System Restore Point
If you’ve enabled System Restore and have a recent System Restore point, you can use it to roll back Windows to a time when it was working.
To roll back Windows using a System Restore point:
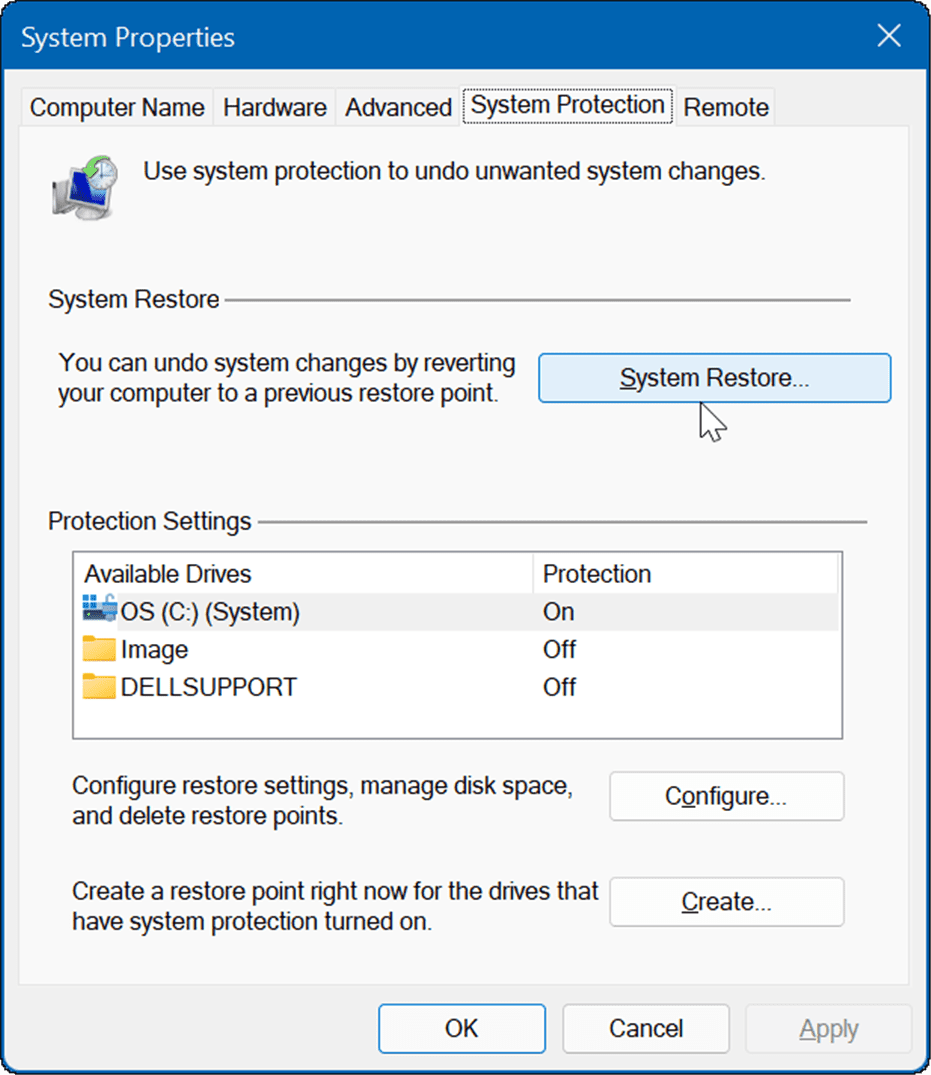
- Press the Windows key, type restore point, and select the top result.

- Click the System Restore button in the System Protection tab.

- Click Next and choose the restore point to which you want to recover your system.

- Verify the time and date for the restore point and click Finish to confirm.


Windows will begin restoring your PC to a working state and restart during the process.
Run SFC and DISM Scans
Another reason for the error is because of corrupt or missing system files that Windows needs to run correctly.
You can run SFC and DISM scans from the command line to fix corrupt and missing files. Note that the scans can take a while to complete, but it can be worth it if the other troubleshooting options don’t work.

Fixing Errors on Windows
If you’re trying to update your Windows PC and see Windows Update error 0x80070643 during the process, the troubleshooting options above should help you to fix the problem. If you exhaust all of your troubleshooting options, however, you can always reset your PC as a last resort.
There are other problems on Windows that can crop up that need fixing. For example, check out how to fix no power options available or fix an issue with not enough memory present.
Another common problem you need to fix is a slow Windows 11 PC. If you have a problem with Wi-Fi connectivity, check out how to fix Wi-Fi not connecting automatically on Windows 11.


