How to Fix 100 Percent Disk Usage on Windows 11

Are you having a problem with high disk usage? We’ll show you how to fix 100 percent disk usage on Windows 11 in this guide.
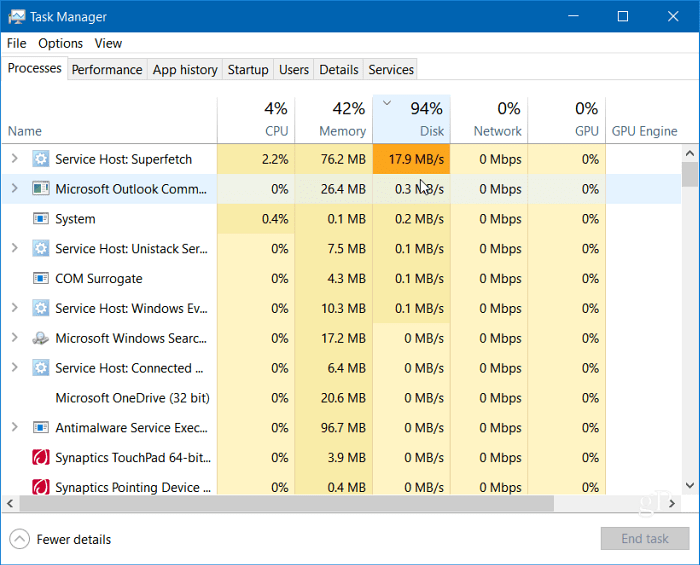
You might find yourself in a situation where your computer is running very slow—even if you have a brand-new computer. You’ll open Task Manager to begin troubleshooting and you find that disk usage on your PC is at 100 percent.
If your drive has a high load like that, it doesn’t have spare cycles to perform routine operating system tasks. Should you experience such an issue, you’ll want to fix 100 percent disk usage on Windows 11. Here are some helpful tips you can use to resolve the problem.
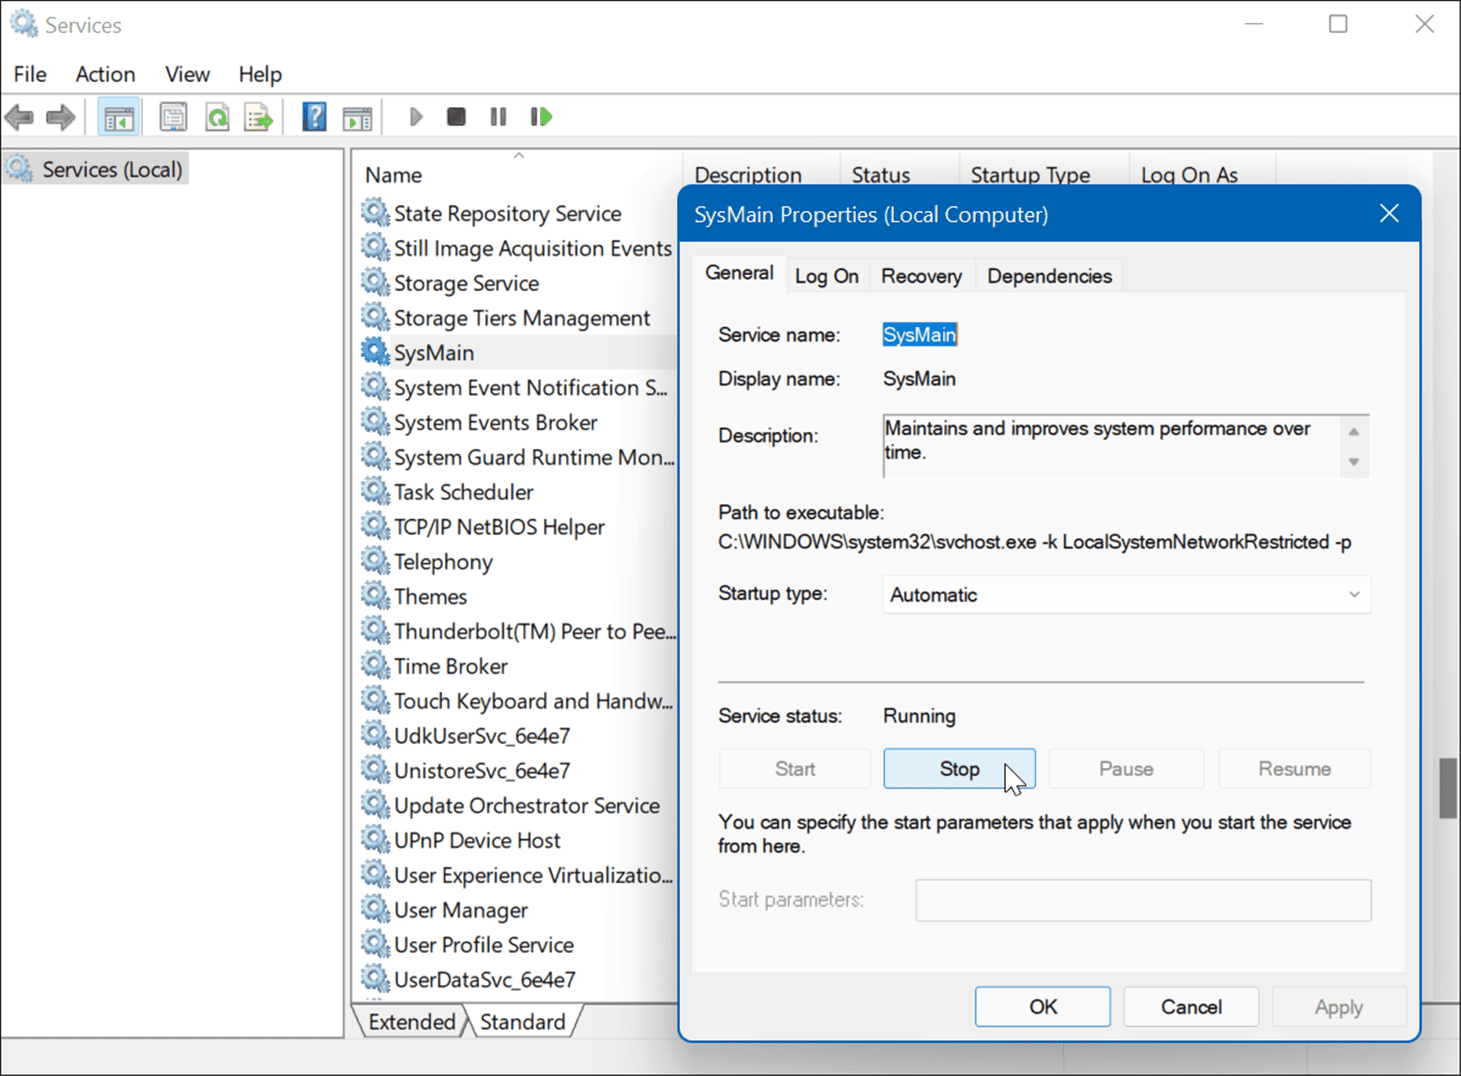
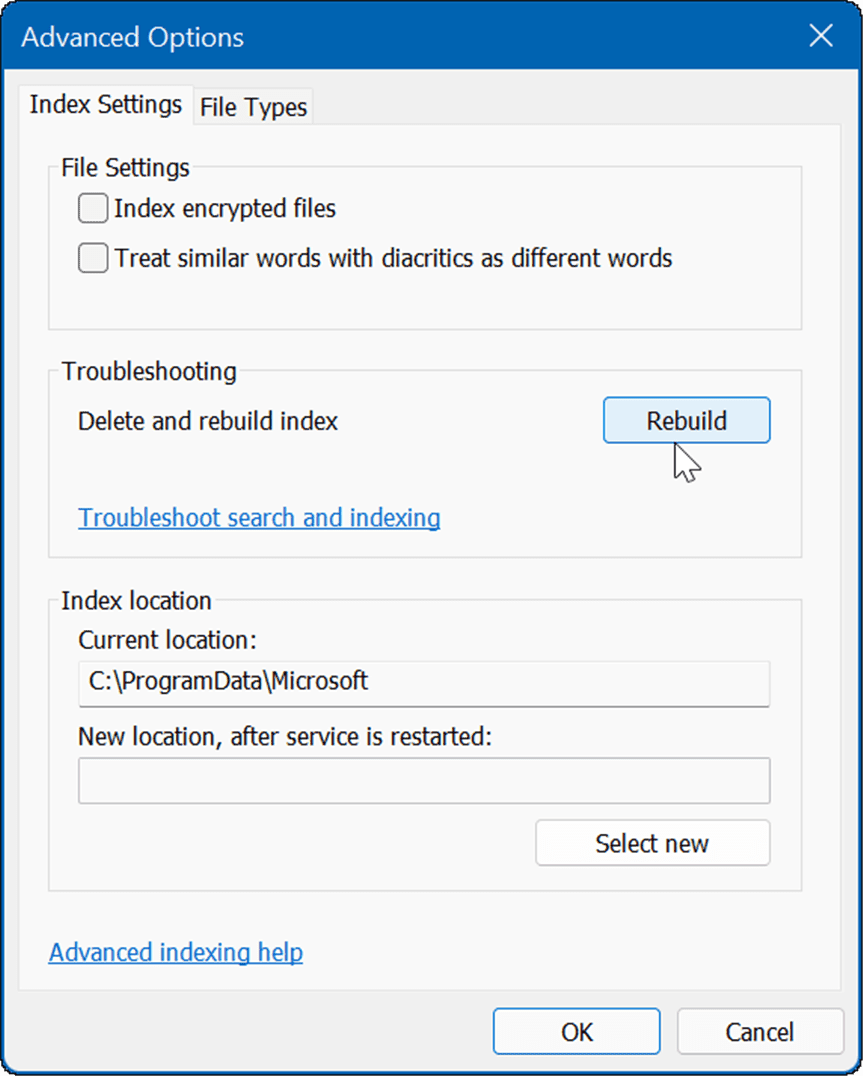
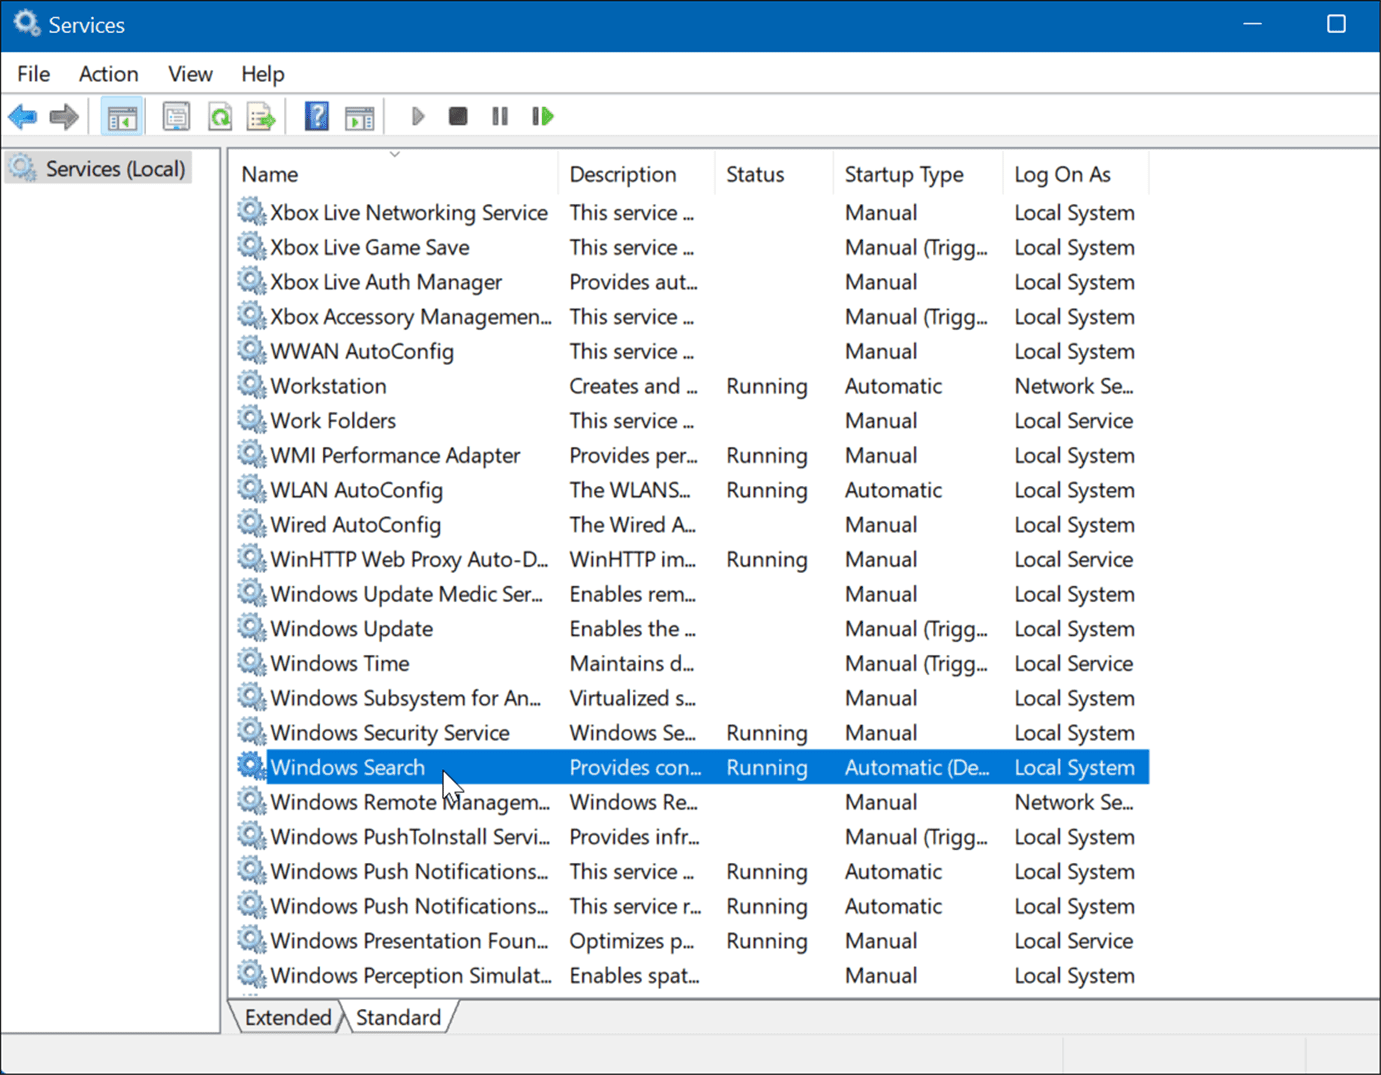
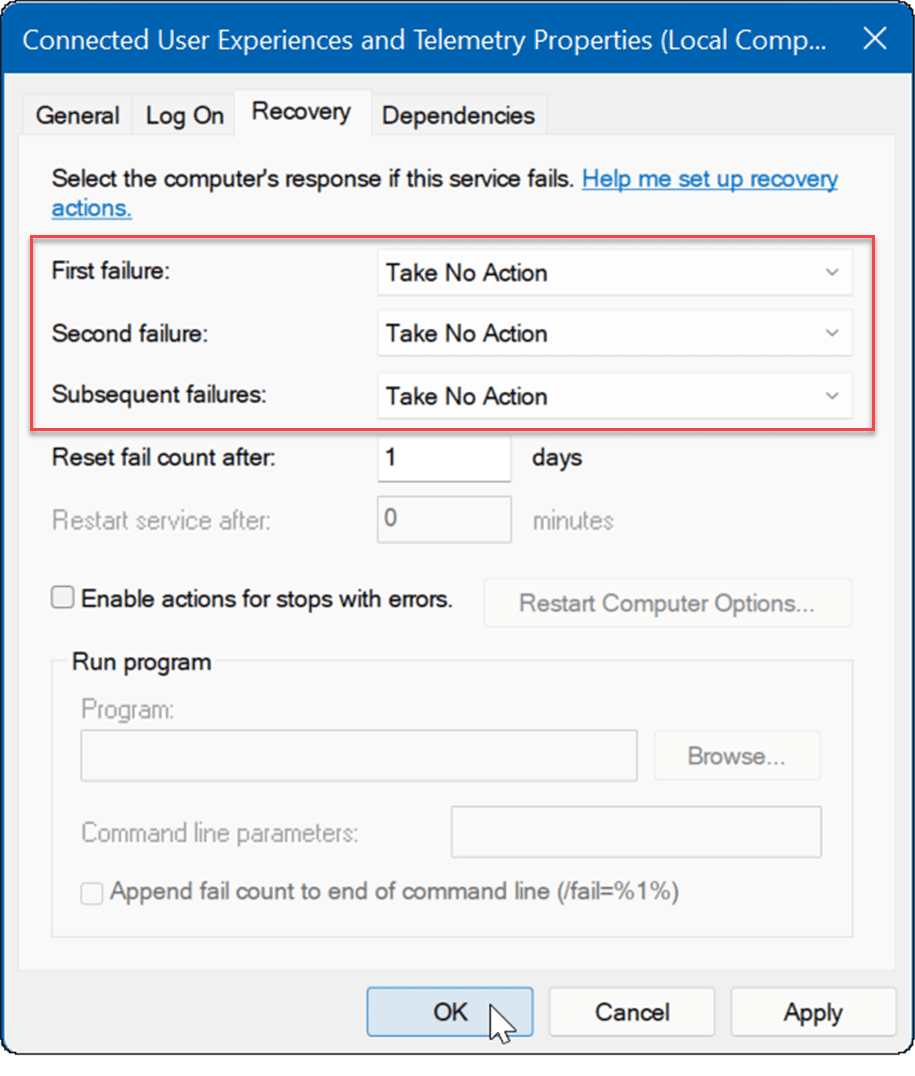
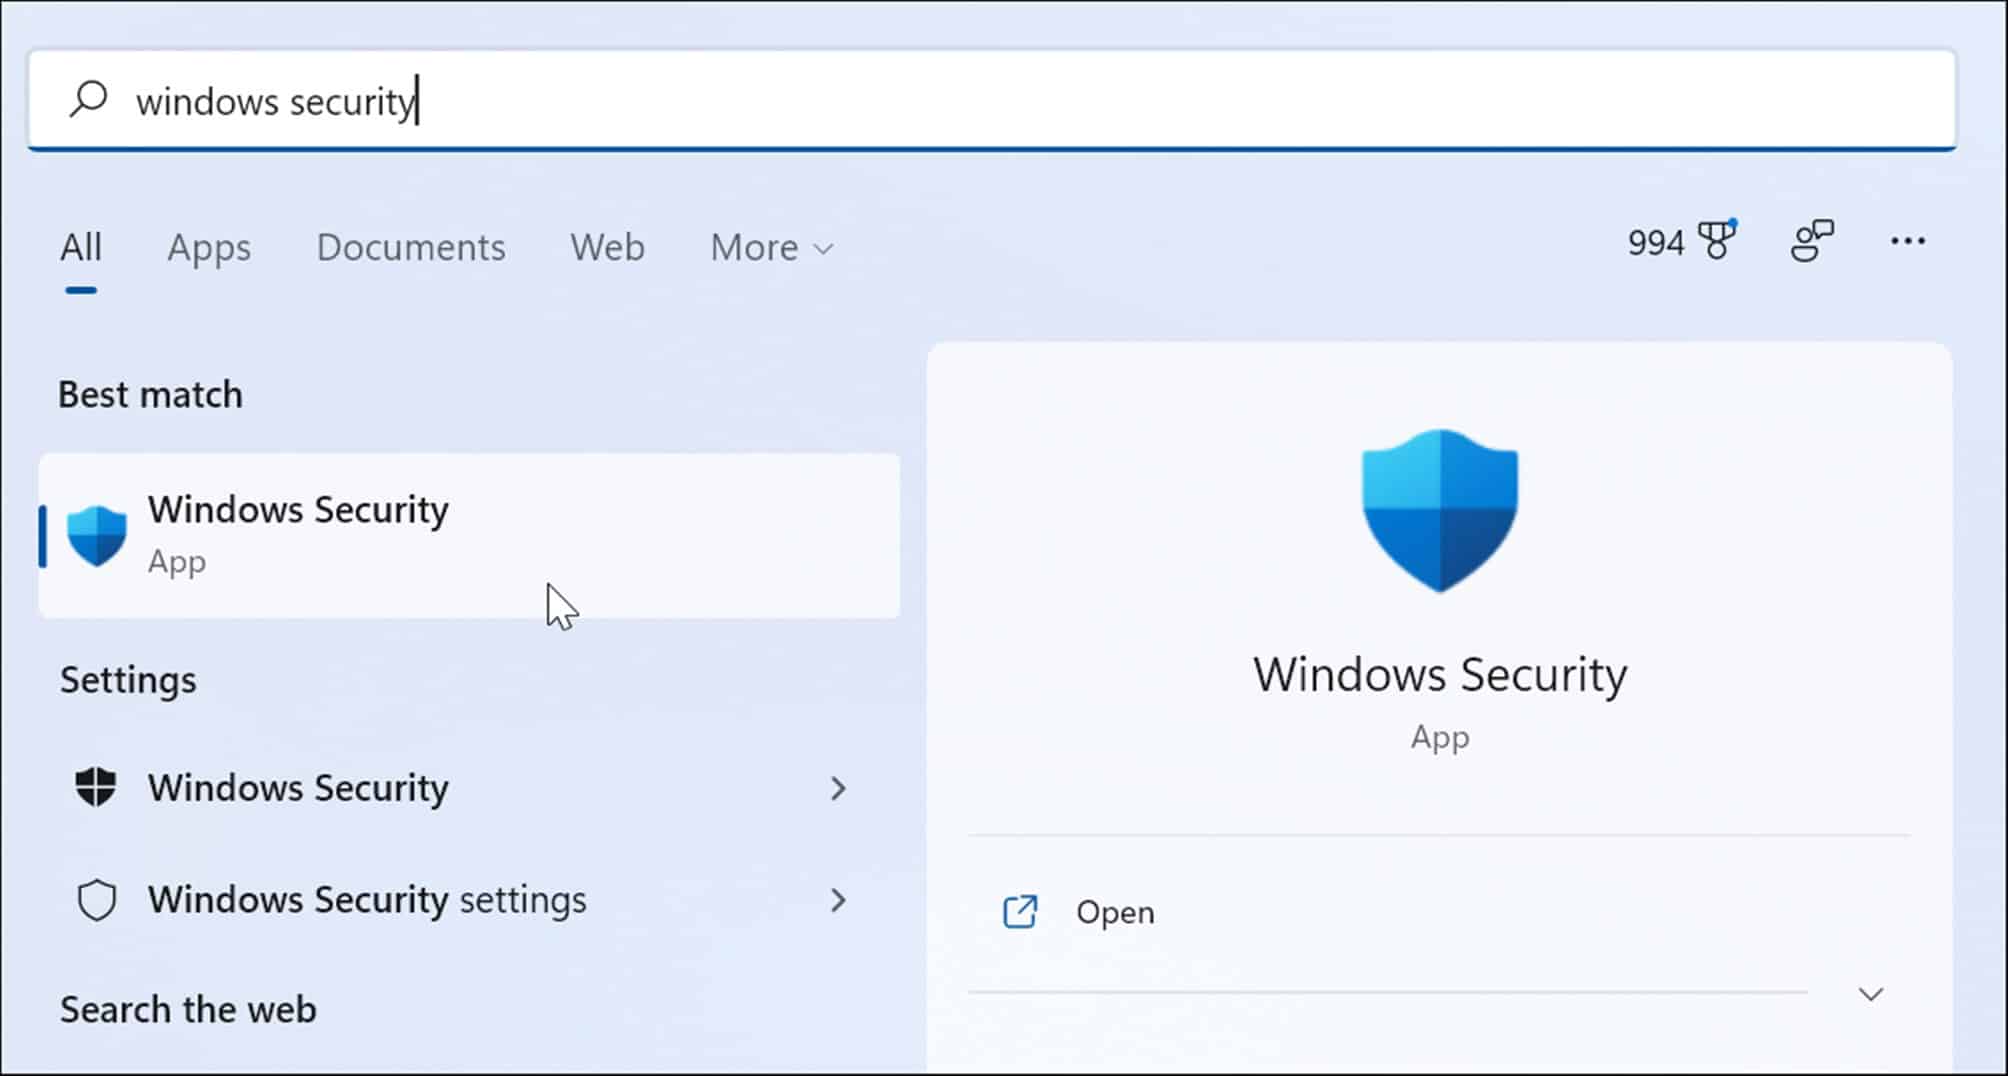
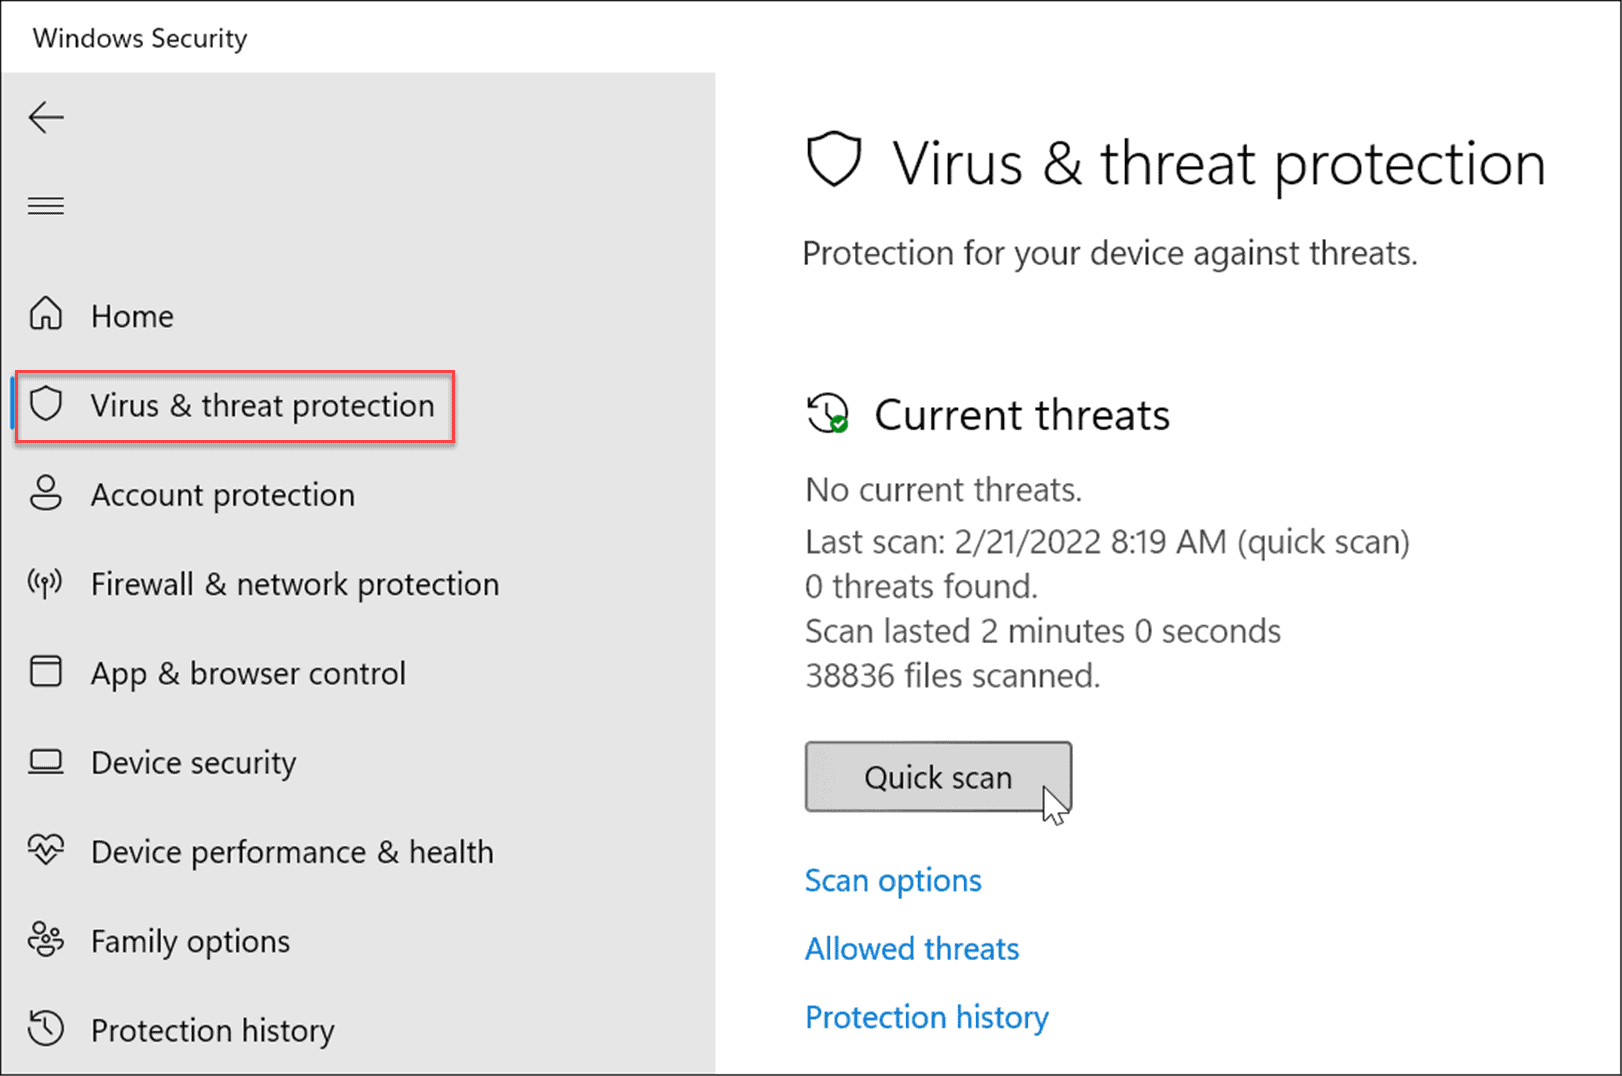
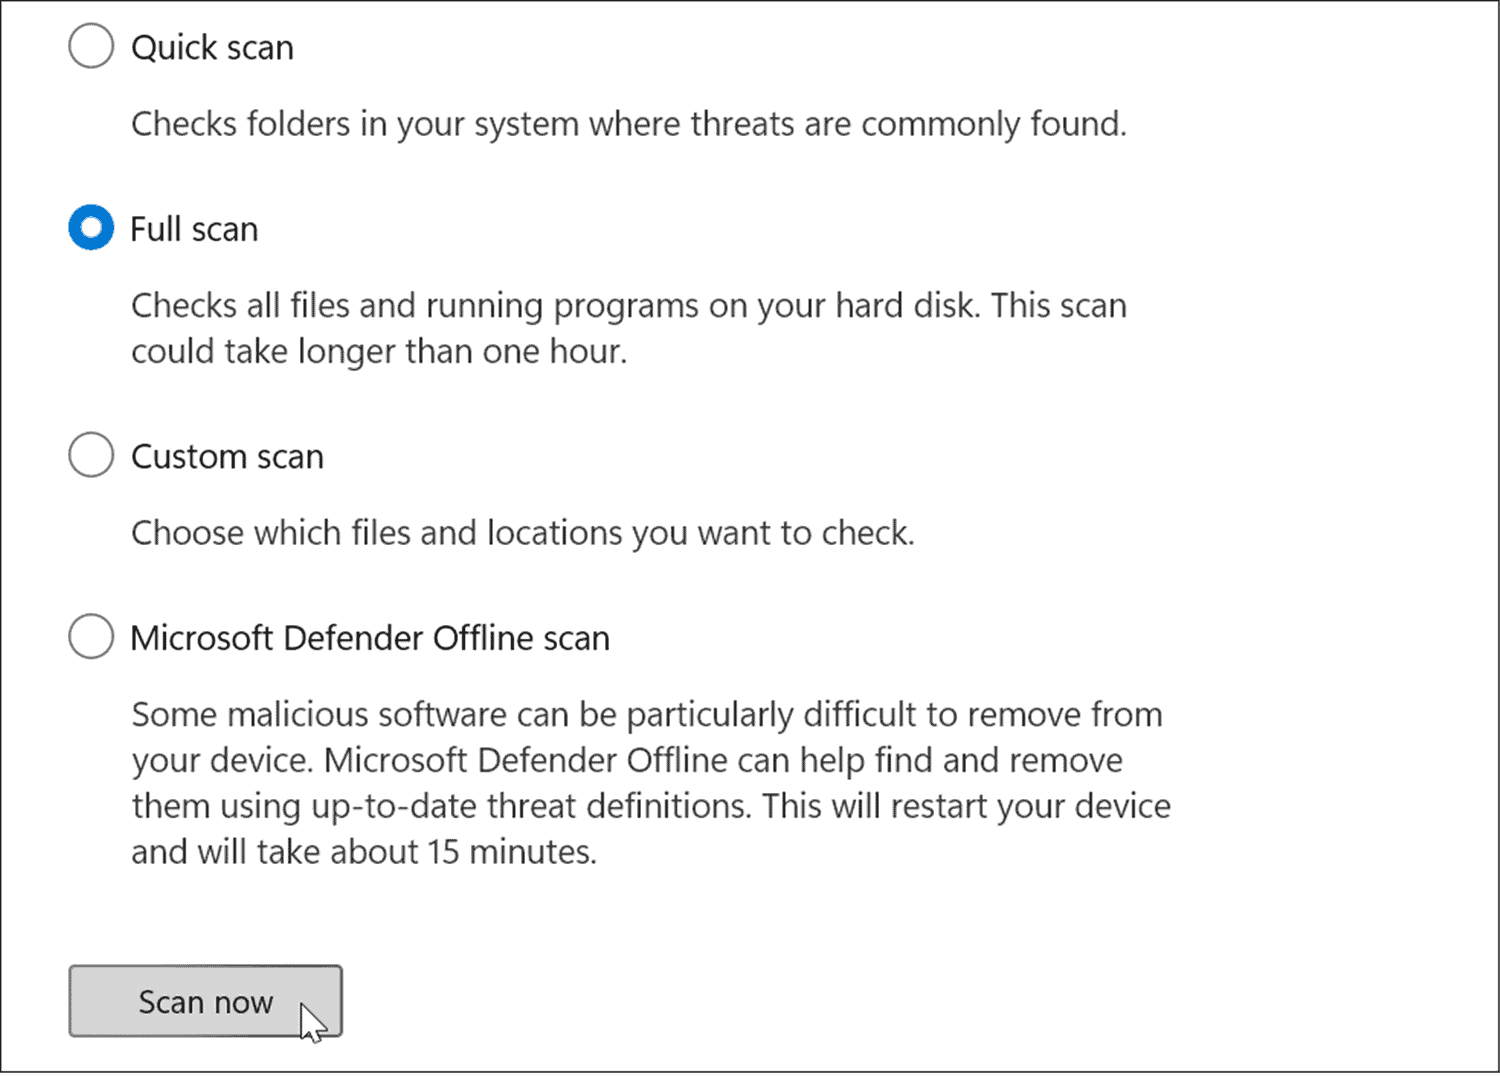
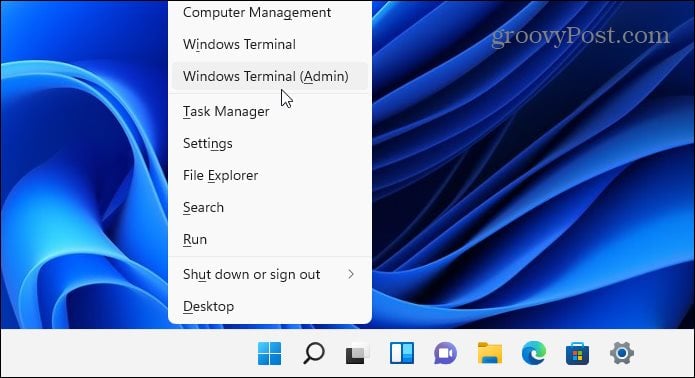
A straightforward way to find the offending app or service causing 100% disk usage is to use Task Manager. To open Task Manager, right-click the Start menu and select Task Manager. Press the Disk column header and see what’s taking up the most resources. From there, you’ll have a good idea of where to start. However, the problem could be more profound than just closing an app or disabling a service. Read on to find more potential causes of the problem and how to fix them. The Superfetch feature, also called SysMain in Windows 11, helps to decrease boot time and load apps more efficiently by accessing a prefetch file. While it’s a helpful feature that improves performance, it can cause high disk usage. To disable Superfetch (SysMain) on Windows 11, use the following steps: You should notice a difference in Disk Usage in Task Manager after stopping SysMain, but you may want to restart your PC to make sure it’s fixed. Another common problem that causes high disk usage is search indexing on Windows 11. The search indexing scans files, email, photos, and other system files on your PC to help return search results faster. However, if something goes wrong, it can lead to an indefinite search loop. You can rebuild the search index using these steps to fix the problem. This process can take a while, so you may want to take a break from your computer. The amount of time it takes will vary based on the amount of data on your drive and its speed, i.e., SSD vs. HDD. If the rebuild works, but you find that you’re doing a lot of rebuilds, you can disable search indexing entirely. To disable Windows Search, use the following steps. Now, Search indexing is no longer on and won’t run again if you reboot your PC. Leftover temporary files could be causing extra disk load, and deleting the files can fix 100 percent disk usage on Windows 11. To delete temporary files from Windows 11, follow these steps. The Connected User Experiences (DiagTrack) service, otherwise known as Telemetry data, runs in the background and provides data on your PC usage to Microsoft. It could be causing a high percentage of disk use. To disable the DiagTrack service, use the following steps. The service is now disabled, and you don’t need to worry about it running again when you reboot your PC. Another important and perhaps the first thing to check for is viruses or other malware. Windows Security (formerly Windows Defender) is built-in and scans your system for malware in real-time. However, it might not catch everything. You can manually run a virus scan on your Windows 11 PC by using the following steps. A deeper scan takes longer to complete, but it’s worth the wait if your system is infected with stubborn malware. An offline scan will require a restart, so make sure you close any open files before you begin. Also, it’s essential to get a second opinion. For example, run a scan with a trusted and free security app like Avast or AVG AntiVirus if you’re unsure about any file you’re opening. Missing or corrupt files on Windows can cause a high disk load as your PC tries to compensate. Luckily, Windows has a couple of built-in tools to help you scan for bad files and replace them with good ones. Another thing you can do to fix 100 percent disk usage on Windows 11 is to check the disk for errors. You can check the disk for errors by using the following steps: If you’re seeing 100 percent disk usage on Windows 11, one of the options above should fix the problem. If you’re not on Windows 11 yet, you can fix the problem on Windows 10. Windows 11 has other built-in tools for your drives like Cleanup Recommendations. You can do other things to manage drive space, like automatically emptying the Recycle Bin.Check Disk Usage in Task Manager
Disable Superfetch

Rebuild Search Index

Disable Search Indexing Completely

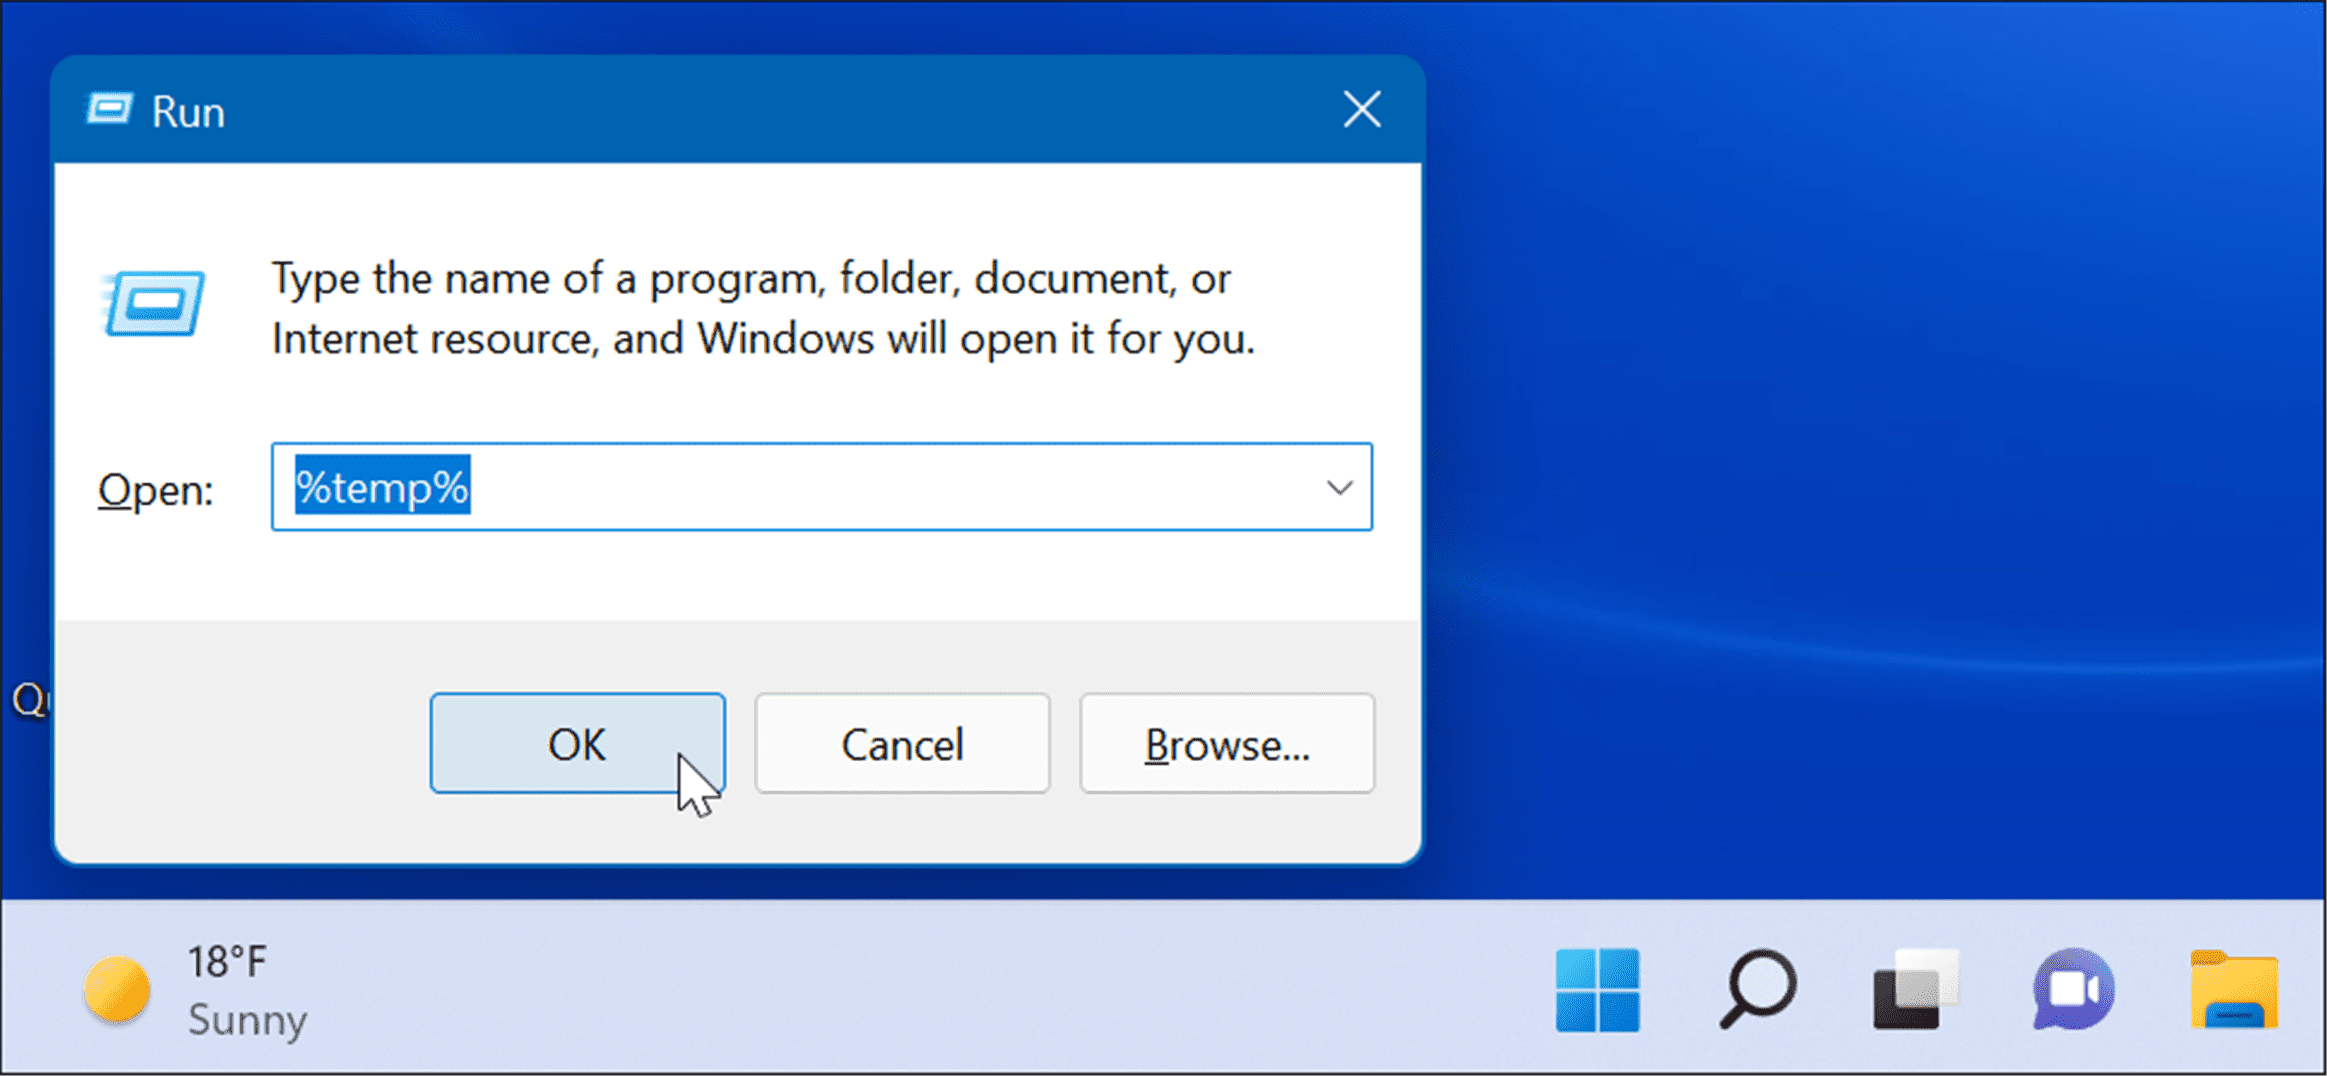
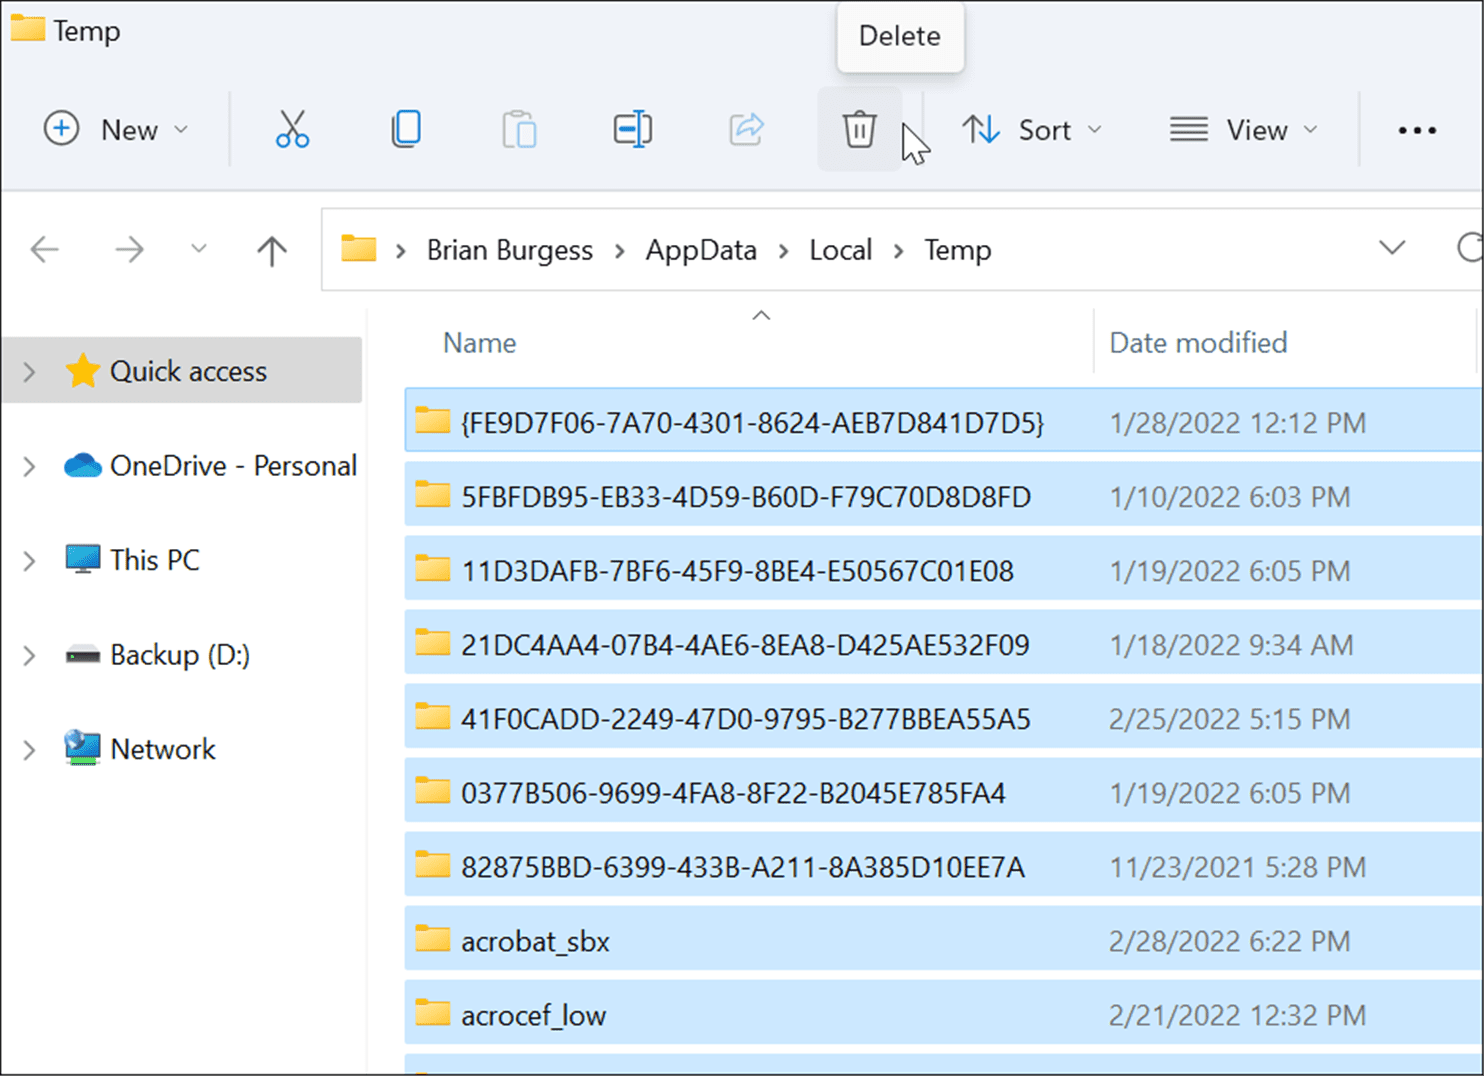
Delete Temporary Files
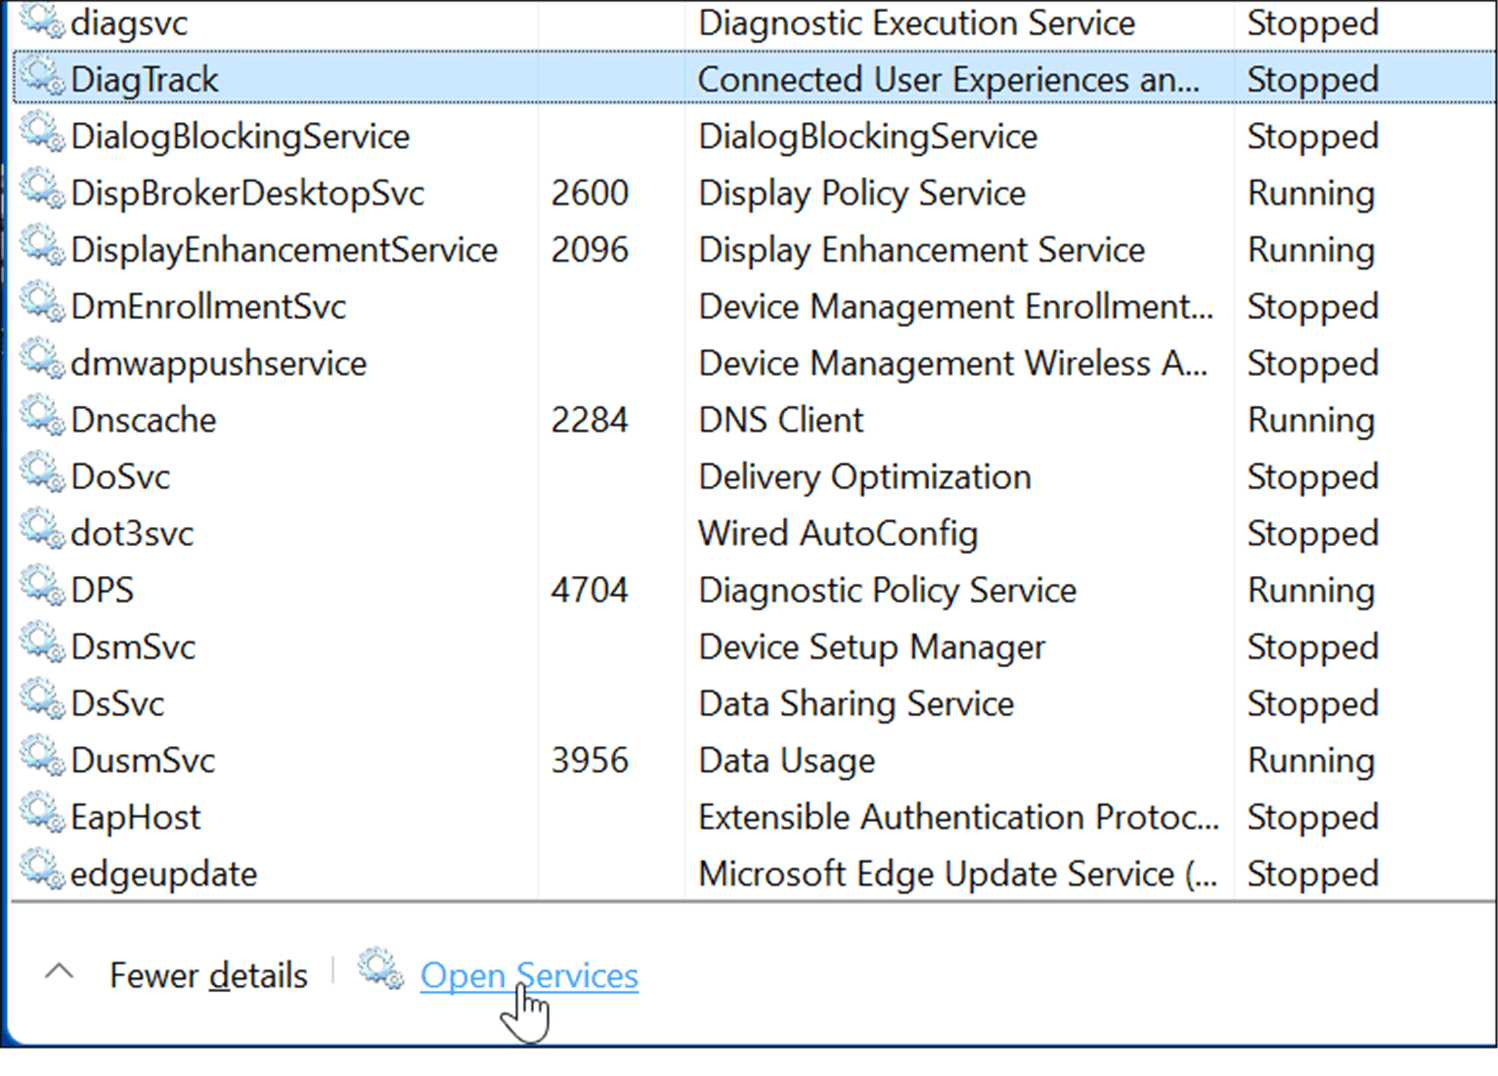
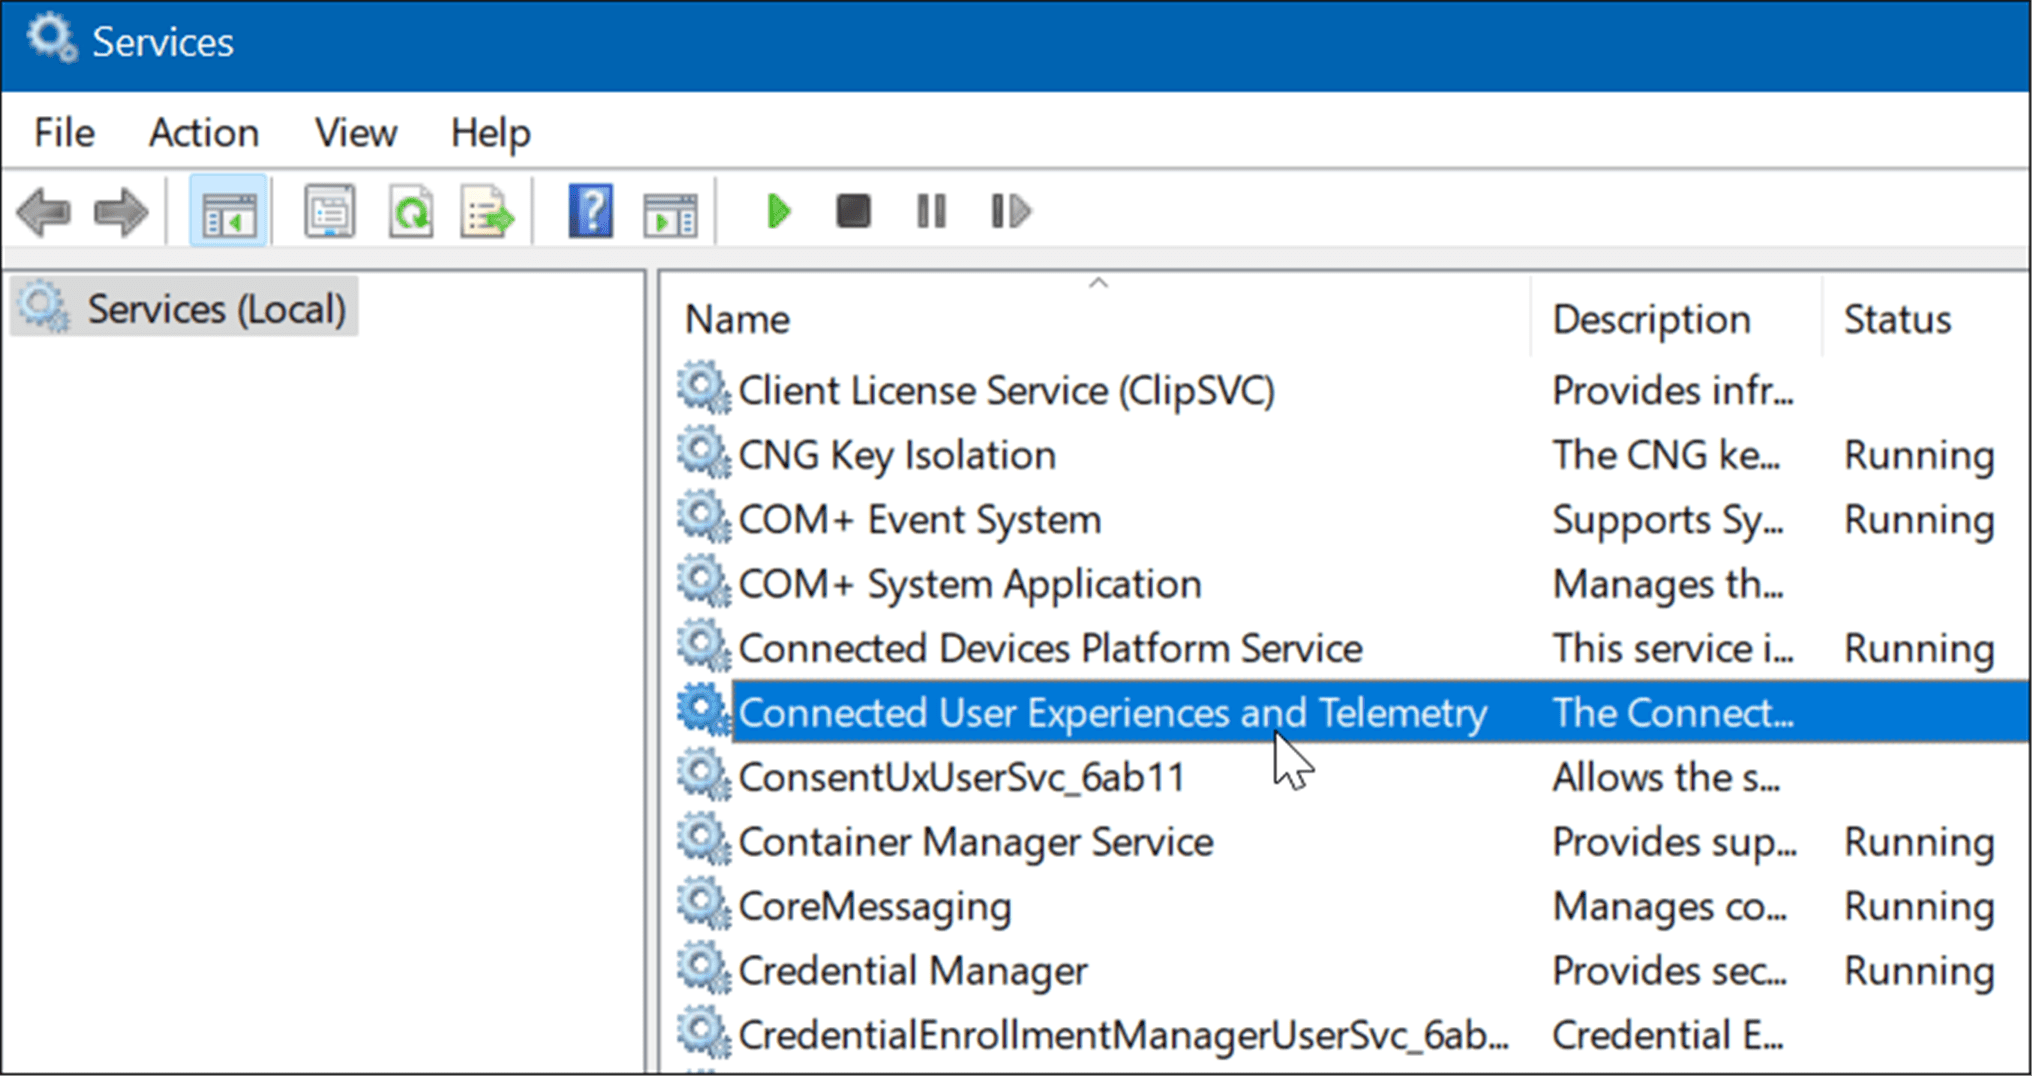
Disable DiagTrack Service


Check for Malware
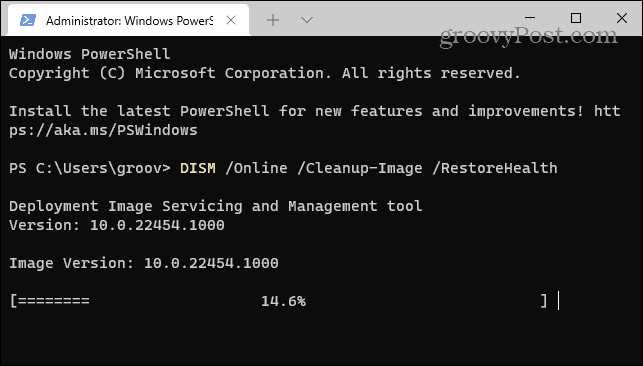
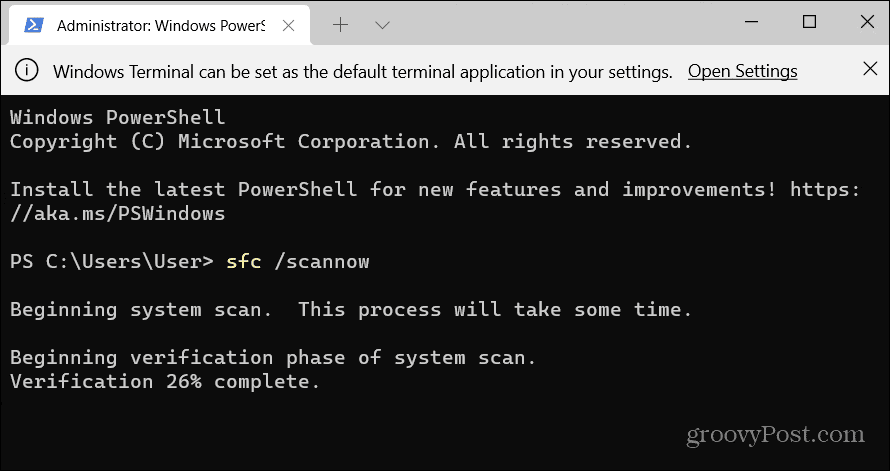
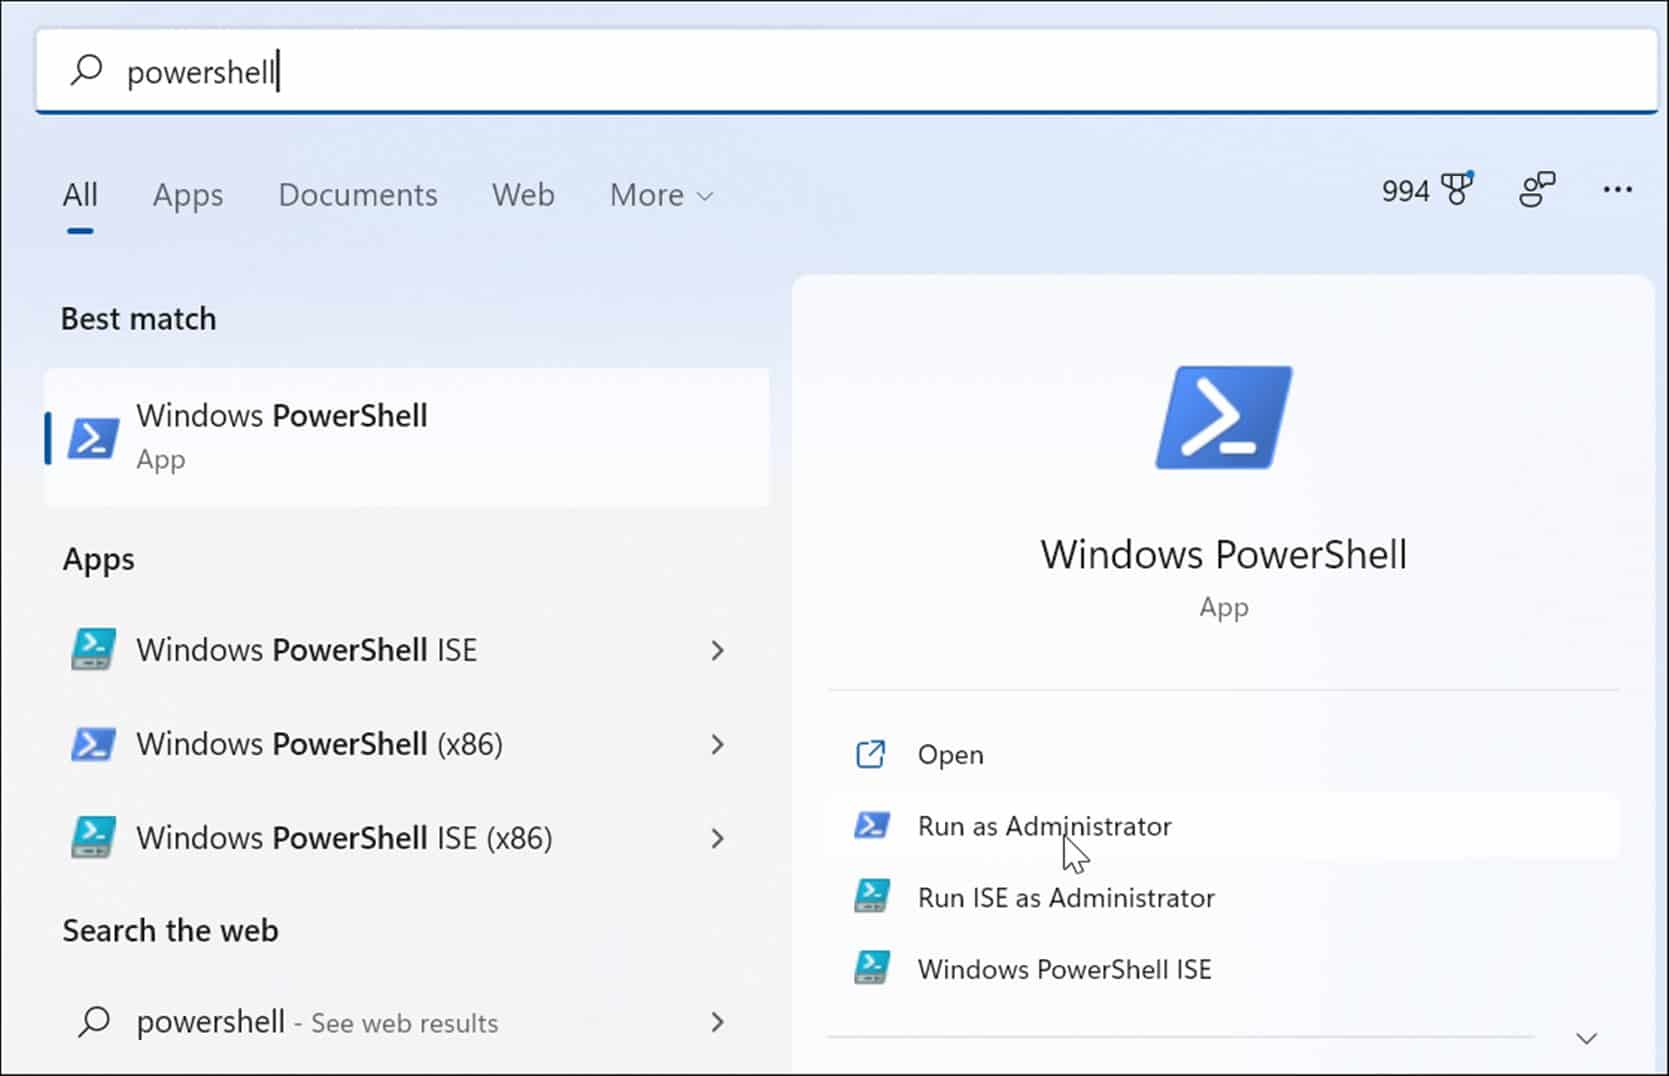
Run an SFC and DISM Scan
DISM /Online /Cleanup-Image /RestoreHealth
sfc /scannow
Check Your Hard Disk for Errors
Chkdsk /r /f

Improve Your Disk Usage on Windows 11
Leave a Reply
![]()
Recommended for you


