How to Enable the Delete Confirmation Dialog in Windows 11

Enabling the delete confirmation dialog message in Windows 11 can help you avoid deleting files accidentally. Here’s how.
Windows 11, by default, doesn’t display a delete confirmation dialog message when you delete a file. Instead, the file or folder is sent immediately to the Recycle Bin.
While this might seem like a quicker way to delete your files, it isn’t perfect. You may end up moving something to the Recycle Bin inadvertently. Luckily, Windows 11 includes a feature that you can set which will make a delete confirmation dialog appear.
Enabling it will add another step to the deletion process, helping you to avoid accidental deletions of files. Here’s how to make Windows 11 display a confirmation message when you delete a file or folder.
How to Enable a Delete Confirmation Dialog Message in Windows 11
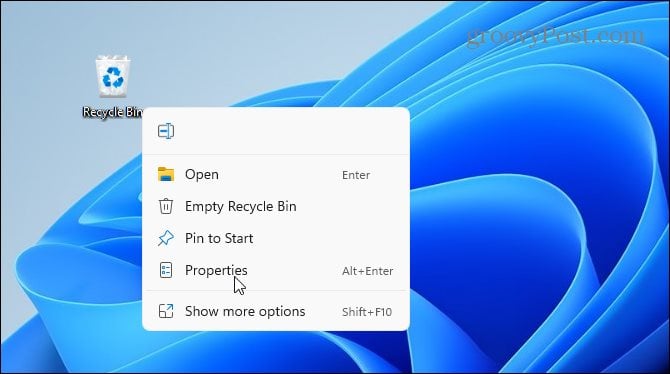
To enable the delete confirmation dialog in Windows 11, right-click the Recycle Bin on the Desktop and select Properties from the menu.
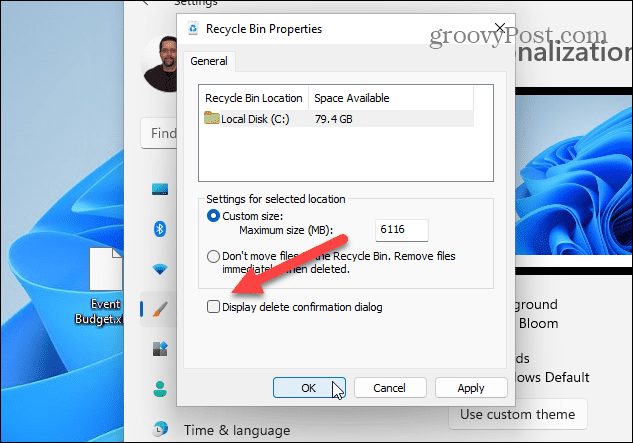
Press the “Display delete confirmation dialog” checkbox under the General tab to enable it. You can also limit the disk space used by the Recycle Bin here, should you wish to.
Next, click Apply and OK to save your choice.

You can quickly test whether or not the dialog is active by attempting to delete a file. To do this, right-click a file you want to delete and click the delete (trash can) icon from the menu to test it out.

You should see a “Delete Confirmation” dialog at this point. This will give you a chance to change your mind, or verify and confirm that you want to move something to the Recycle Bin. Click Yes to delete or No if you change your mind.
Remember that this doesn’t permanently delete the file—it just moved it to the Recycle Bin for storage before you delete it.

How to Disable the Delete Confirmation Dialog
If you want to turn the confirmation dialog off at any time, you’ll need to repeat your steps.
Right-click the Recycle Bin and select Properties. Uncheck the “Display Delete Confirmation Dialog” checkbox and click OK to save your choice.
How to Add the Recycle Bin to the Desktop
Note: If you don’t see the Recycle Bin on your desktop, you can add it. In fact, you can add other missing system icons to the desktop.
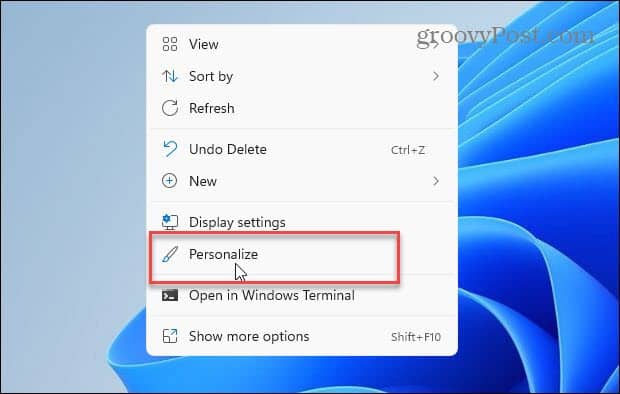
First, right-click on the desktop and click Personalization.
In Settings, scroll down on the left-hand side and click Themes.

In the Themes menu, click on Desktop Icon Settings under the “Related Settings” section.
![]()
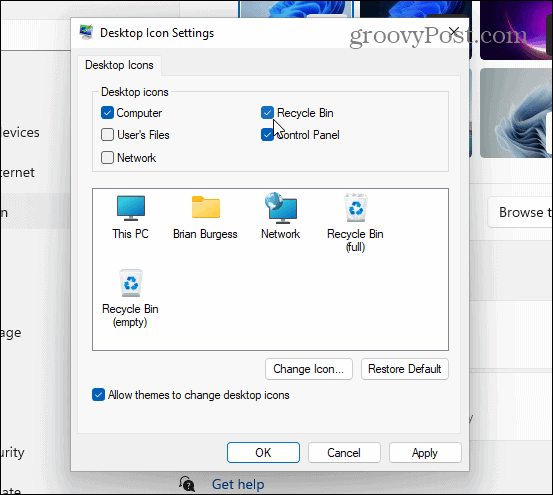
Check the Recycle Bin and any other system icons you want to add in the Desktop Icon Settings window—even the classic Control Panel if you wish. When you’re finished, click OK.
Recover Files from Recycle Bin
If you inadvertently send files to the Recycle Bin, you can recover them (provided you didn’t empty it first). Open the Recycle Bin via your Desktop, then find and right-click the file(s) you need to recover. From the context menu, click Restore.

If you only have a few items to restore, click to highlight the files.
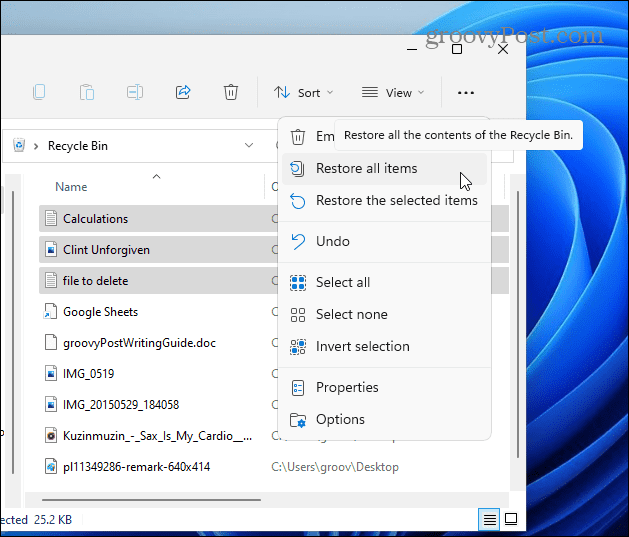
Next, click the More Options (three dots) in the upper-right corner and select Restore the Selected Items. Your files should re-appear in their original location.
From here, you can also restore everything in the Recycle Bin or empty it. Press Restore all items to do this.
Enabling Delete Confirmations in Windows 11
Enabling the delete confirmation dialog in Windows 11 will stop you from accidentally deleting files. If you like the snappier workflow that avoiding the extra dialog message provides, however, you can always change it back.
If you send files to the Recycle Bin accidentally, don’t panic—just go back in and restore the files manually. That is, of course, if you’ve not set your Recycle Bin to empty automatically on Windows 11. If space is an issue, you may want to configure Storage Sense on Windows 11. This will help you save storage space by deleting files you aren’t using automatically.
If you haven’t moved to Windows 11 yet, you might want to read about limiting disk space used by the Recycle Bin on Windows 10.


steve young
September 30, 2022 at 3:16 pm
Thanks for the clear instructions, was always a worry not being able to confirm delete