How to Change the Name of a Windows 11 PC

If you don’t pay attention while setting up your Windows 11 PC, the OS will assign a random name to it. Her’ show to rename your PC for easier network management.
Windows 11 has a new overhaul of the user interface and is packed full of new features. But some things on Windows never change. One of those things is the ability to rename your PC. Renaming a computer can come in handy if you have several on a network and are trying to keep them in order. Giving each one an individual name helps to manage them. But when you set up your Windows 11 PC using your Microsoft account, Windows 11 will assign it a random name if you don’t name it accordingly. Let’s take a look at how to rename a Windows 11 PC so you can manage them on a network easier.
Rename a Windows 11 PC Through Settings
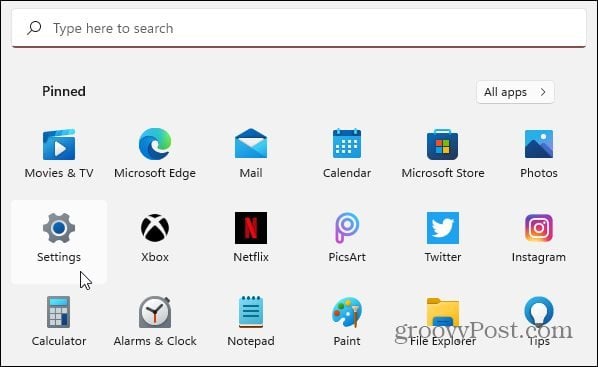
Probably, the easiest way to go for this is to use Windows 11’s “Settings” page. Click Start and then open Settings.
Note: You can open the Windows 11 “Settings” page directly by using the keyboard shortcut Windows key + I.
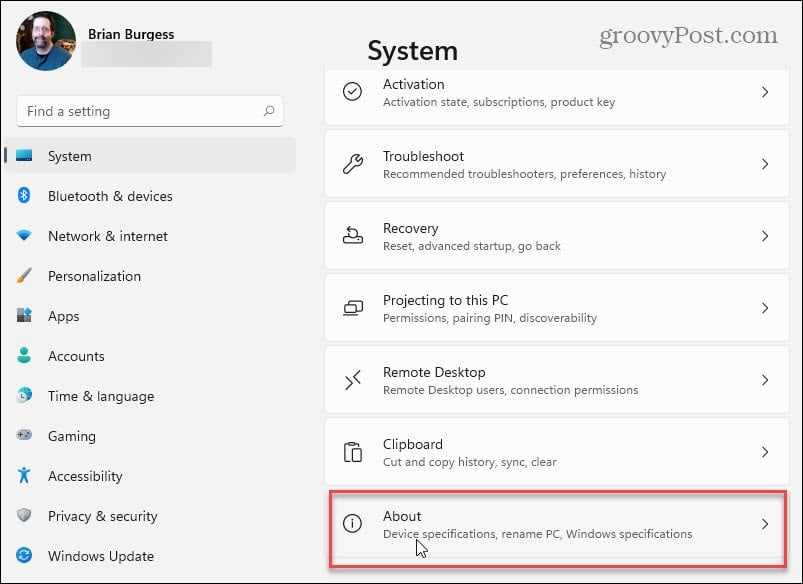
When the “Settings” page opens, click on System from the list of options on the left. Then on the right-hand side, scroll down to the bottom of the list and click on the About “Device specifications, rename PC, Windows specifications” button.
Next, on the following window, click on the Rename this PC button in the screen’s upper-right corner.

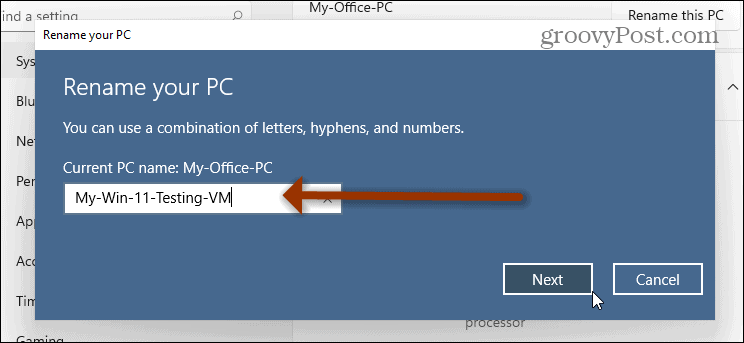
A “Rename your PC” wizard will pop up. Click on the name field and use whatever name you want. It’s worth noting, though, that you need to avoid special characters, keep it under 15 characters, and have no spaces between words. Use hyphens instead of spaces.
After you complete typing in the new name for your PC, click the Next button.
The next step is to restart your machine. Click the Restart now button and wait for it to come back and sign in.

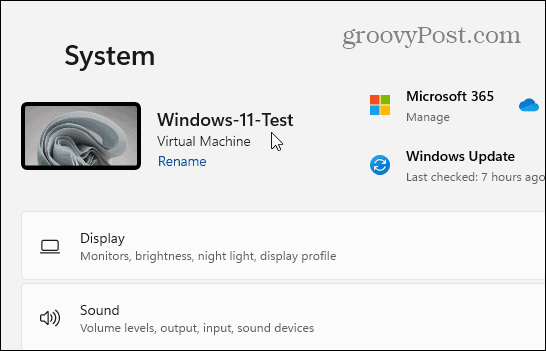
When you get back and sign in, hit the Windows + I keyboard combo, and you will see the new name of your PC at the top.

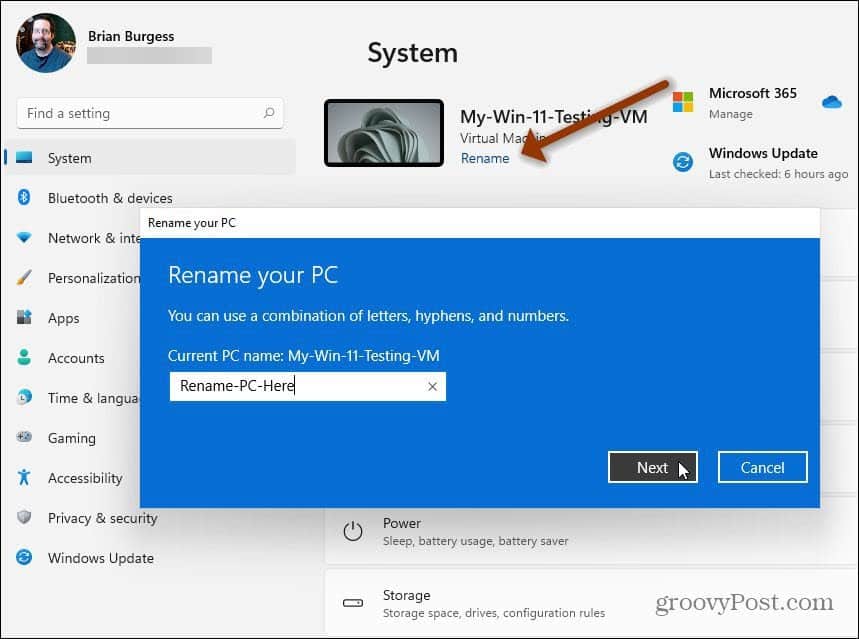
Note: It’s also important to note that you can save yourself several steps. Hit Windows key + I to open “Settings” and click the Rename link under the current name of your PC. That will open the renaming wizard.
Rename Your Windows 11 PC from Control Panel
If you prefer to use the classic tools, you still can (for now anyway). Hit the Windows key and type: control panel and open the app.

Now, scroll down and click on System from the list of utilities in the Control Panel.

That will open the modern Settings app. Scroll down to the “Windows specifications” section and click the “Advanced system settings” link at the top of the section.

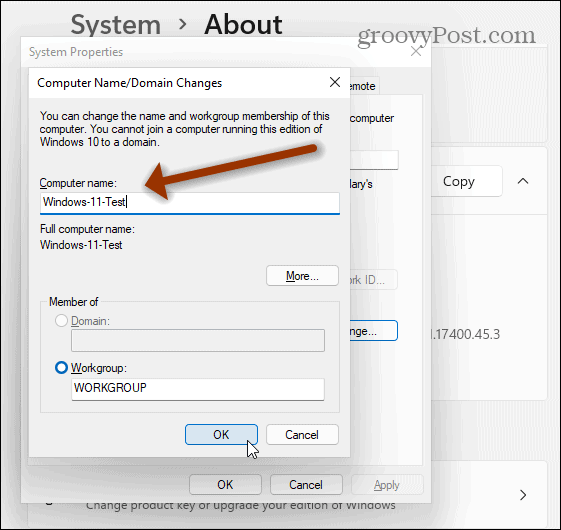
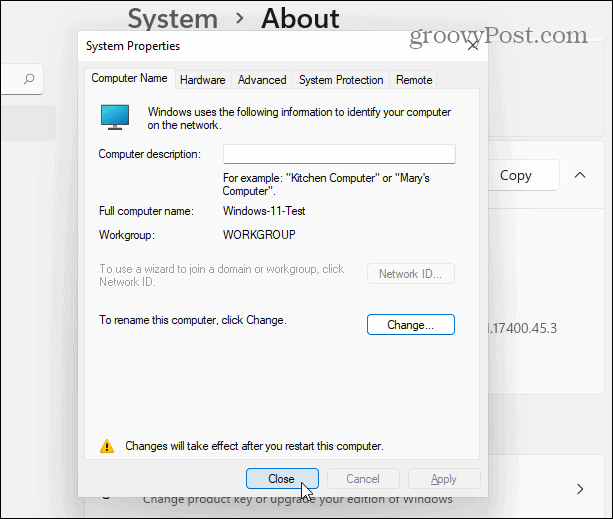
Next, the classic “System Properties” windows will appear. Select the “Computer Name” tab at the top and then the Change button.

The following screen will open—type in the name you want to use in the Computer name field and click OK when finished.
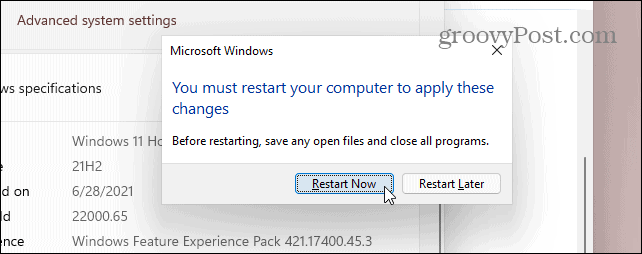
Then you will need to restart your computer for the change to go into effect. When the message about the restart comes up, click OK.

Click the Close button to exit the “System Properties” screen.
Finally, click the Restart button when your computer needs to restart to apply the changes.
Now when you get back and sign in, you can hit the keyboard combo Windows key + I, and you will see the new name of your PC.
That’s all there is to it. You can also use the Command Line or Power Shell to rename your Windows 11 PC. But the options above are easier if you’re not a fan of working in a command-line environment. And for more on Windows 11, check out our article on moving the Start button to the left corner of the screen.


