How to Change Screen Resolution on Mac

Are all your Mac icons too small, or are you looking to fit more on your desktop? Learn how to change screen resolution on Mac here.
High-resolution displays can provide you with razor-sharp images and a lot of desktop real estate. however, the default resolution may not always be right for your set up. For example, you might want to reduce the resolution to make everything a little bigger. In contrast, you might want to increase the resolution to fit even more onto your screen.
If you’re a Mac user, changing your resolution is quick and easy to do, both for the built-in display and any external displays you may be using.
Here’s how to change screen resolution on Mac.
How to Change Mac Screen Resolution on the Built-In Display
You may use an external display with your Mac, but if you want to change the screen resolution of the built-in display, you can do this fairly simply through the System Preferences.
If you’re using macOS Big Sur or earlier, some of your resolution options are initially hidden. You’ll need to know the trick for finding them.
To change screen resolution on a built-in Mac display:
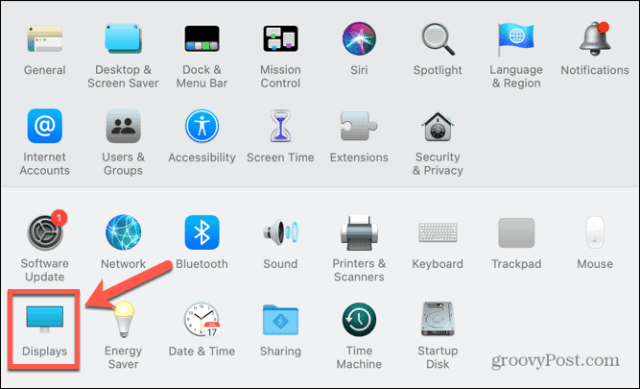
- Open the System Preferences app.

- Click Displays.

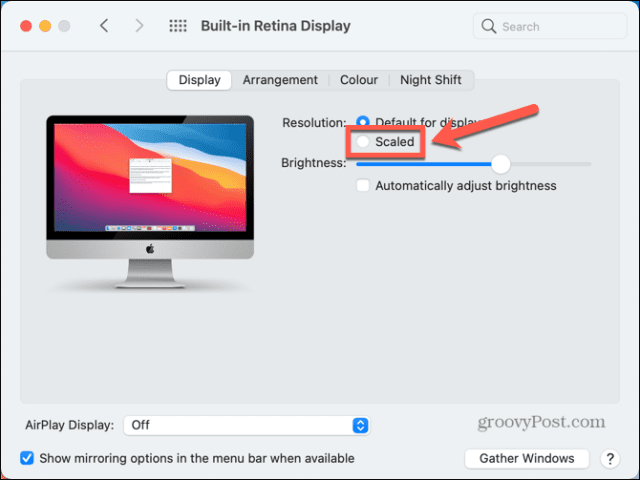
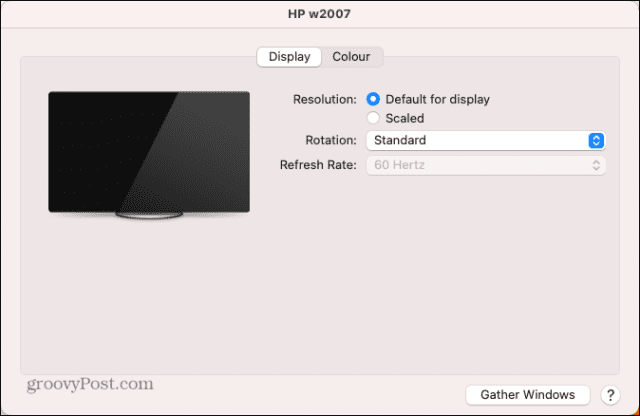
- Under Resolution, click the Scaled radio button.

- Select one of the listed options depending on whether you want more space or larger text.
- After a couple of seconds, the screen resolution should change to your new setting.
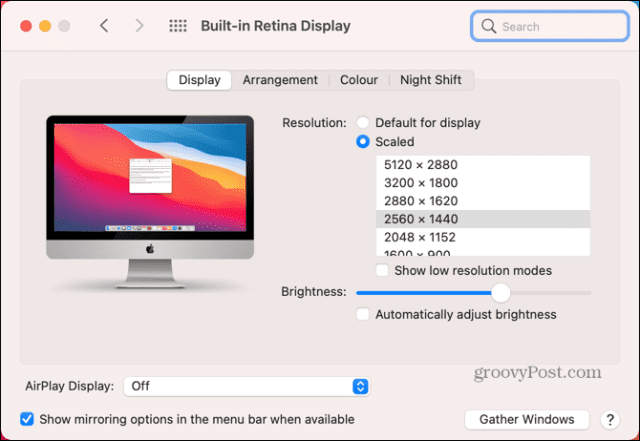
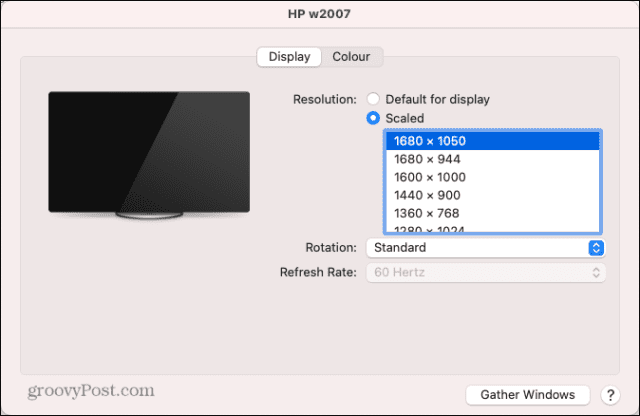
- If the options are too broad, and you’re using macOS Big Sur or earlier, you can access all the possible display resolutions by holding down the Option (Alt) key and clicking Scaled again.
- You’ll see a list of all possible resolutions.

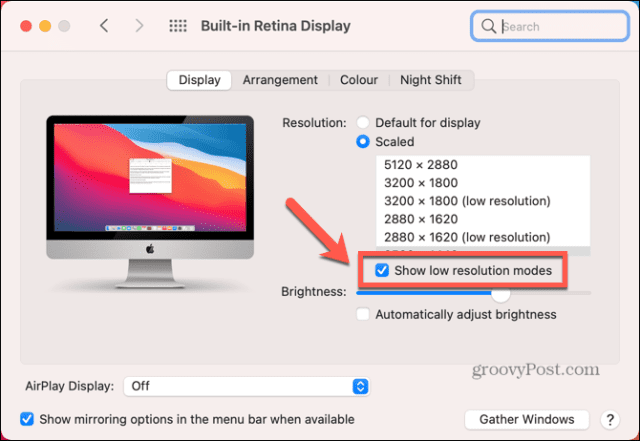
- You can click the Show Low Resolution Modes checkbox if you want to see low resolution mode options too.
- Select your resolution, and your screen should adjust after a few seconds.


How to Change Mac Screen Resolution on an External Display
If you use an external display with your Mac, you can change the screen resolution on this display independently of your built-in display. The resolution options available to you will depend on the model of external display that you are using.
To change Mac screen resolution on an external display:
- Launch the System Preferences app.
- Click Displays.
- On your external monitor, you should see a second display window.

- Click the Scaled radio button to see the suggested resolution options.
- To see the full list of possible resolutions, hold down Option (Alt) and click Scaled again.
- Select your resolution and your external display should change after a few seconds.

How to Revert to the Original Screen Resolution on a Mac
If you’re not happy with your new screen resolution, you should be able to change the resolution back using the methods above. Sometimes, however, you may have issues with the screen going black.
To revert to the original screen resolution when your screen goes black:
- When the screen first goes black, wait for 15 seconds or press Enter to revert back to your original setting.
- If this doesn’t work, you’ll need to restart your computer in Safe Mode. You should then be able to revert to the default screen resolution.
- To restart in Safe Mode, shut down your Mac.
- For Intel Macs, restart your computer and press and hold Shift. When the login window appears, release Shift and log in.
- For Macs with Apple Silicon, press and hold the power button until you see Startup Options. Choose your startup disk, hold Shift and select Continue In Safe Mode.
- Once your Mac has booted into Safe Mode, restore your resolution to the default settings following the methods above.
How to Open an App in Low Resolution Mode on a Mac
If you want to keep your screen resolution as it is, but there are certain apps that are awkward to use at higher resolutions, you can set apps to open in low resolution mode.
This allows you to use the app in a lower resolution than the rest of your Mac display.
To open an app in low resolution mode on a Mac:
- Open Finder.

- Navigate to the location of the app you want to set to low resolution mode. This will most likely be in the Applications folder.

- Right-click the app in Finder.
- From the context menu, select Get Info.

- In the Info window, check Open In Low Resolution.

- Now when you launch the app, it will open in low resolution mode, but the rest of your system will remain at your current resolution.


Take Control of Your Mac
Knowing how to change screen resolution on Mac allows you to set up your computer to look exactly as you want it. There are plenty of other ways that you can take more control of your experience on Mac.
You can use Mac Shortcuts in macOS Monterey and beyond to automate common actions and save yourself a lot of time. You can disconnect your iPhone from your Mac if you’ve fed up with your computer ringing every time you get a call.
If you’re struggling to concentrate, you can also use Apple Focus on Mac to remove distractions.


Alessia
June 9, 2023 at 3:07 pm
I followed the steps, but I don’t have the option “open in low resolution” only “locked”