Working in Tablet Mode on Windows 10

We previously showed you how to enable Tablet Mode in Windows 10. Now, let’s show you how to get the most out of it in this guide.
We previously showed you how to enable Tablet Mode in Windows 10. Now, let’s show you how to get the most out of it. Tablet mode is a touch-optimized environment for Windows 10 on tablet devices such as the Surface Pro. Parts of the Windows 10 interface are enlarged to work more naturally when you touch them. For instance, calling up a context menu, customizing Start, or switching between applications.
How to Use Tablet Mode Features in Windows 10
You can enable Tablet mode by swiping in from the right; this will present the Action Center, tap Tablet mode tab at the bottom.
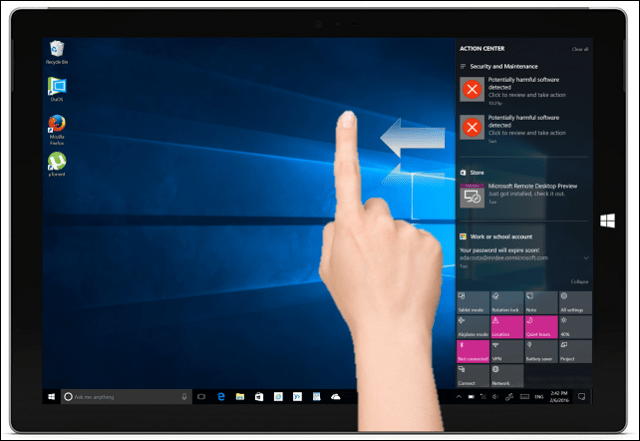
Once enabled, you will notice the Taskbar behaves differently. Instead of shortcuts to running applications, there are only a few available commands: Start, Back, Cortana, and Tasks View. The Back button works similarly to the back button on your smartphone. If you own a Windows Mobile device, you already know it can be used to switch to the previous application or open Task View.

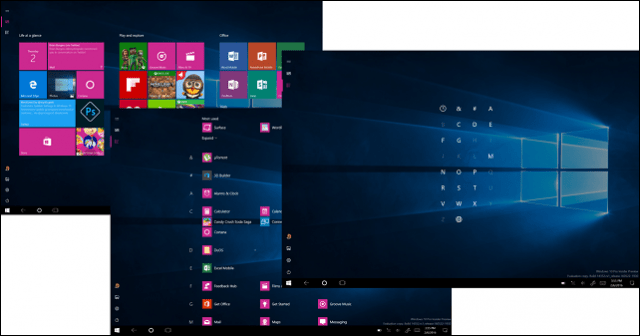
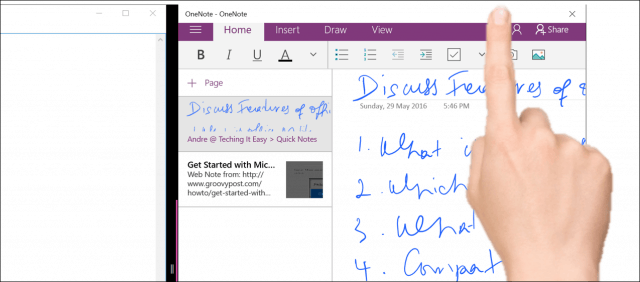
In the Windows 10 Anniversary Update, the Start menu is even more touch-friendly. At the top of the menu are two essential tabs that let you modify the view of your application library. The default tab, Pinned tiles, displays all your favorite apps on the Start. The All Apps tab will show all installed apps alphabetically. To scroll through your library of applications, swipe up or down. You can tap one of the letters of the alphabet to find an app quickly.
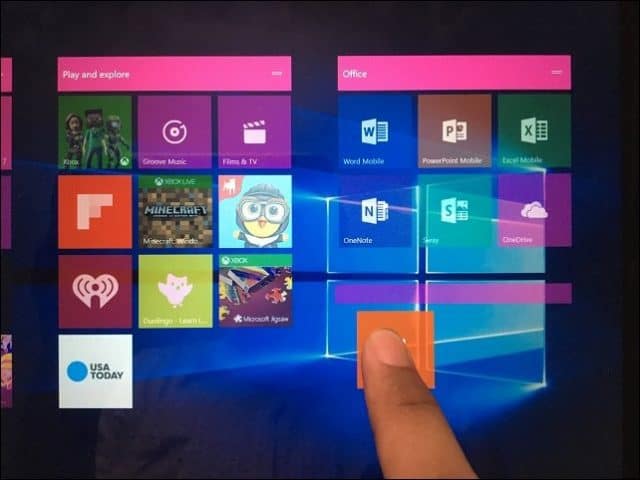
You can make a new group by dragging and dropping a live tile from another group into an empty area of the Start.
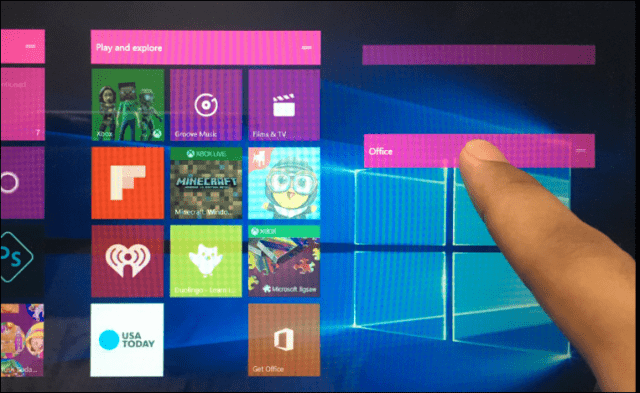
Groups can also be moved around by dragging the title bar to any location of Start.
Multi-tasking and Snapping Apps
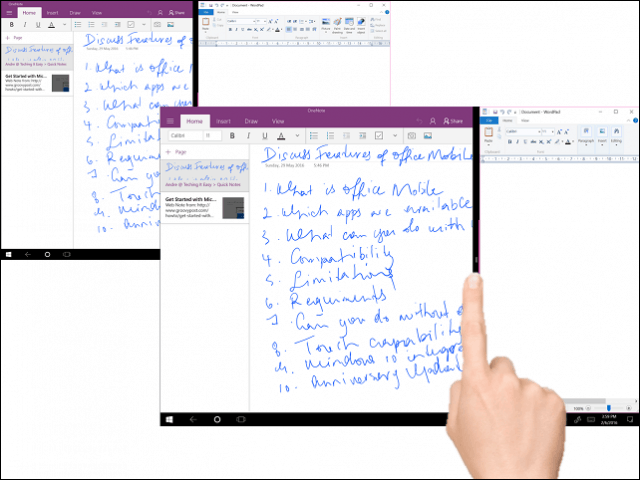
Just like a smartphone, applications are used one at a time, but you do have the option of working in multiple applications. To do so, swipe in from the left or tap the Task View icon on the Taskbar. This will display a gallery of open applications. Use your finger to select an app, hold down on the app for a few seconds then release. A context menu offering several options will appear, you can snap to the left, right, maximize or close the app.

If apps are already snapped, activate Task View, then select an app, hold down on the app for a few seconds. A context menu will appear offering you the choice of the app you would like to snap the window next to.

The next method for snapping apps is to drag it manually from task view to either the left or right side of the screen. Windows will automatically snap the application into position.
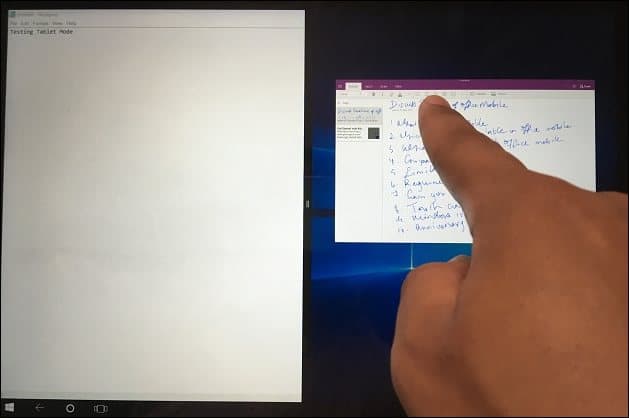
After apps are snapped, a bar appears in the middle of the screen. You can use it to adjust the size of either window. Below, you can see I can either make the OneNote window larger or smaller by dragging the bar to the left or right.
If there is another application you would like to call up on screen without closing the other, tap the left or right application to make it active. Tap the Back button, then choose from another application in the Task View gallery. Applications and windows can also switch positions, tap Task View, and then select an app.
When you are ready to exit an app, you can do it multiple ways, use your finger to swipe down the title bar region, then tap close. You can also tap the back button on the Taskbar, then tap the close button or tap Task View then choose any of the applications displayed.
Using Touch Functions in Desktop Mode
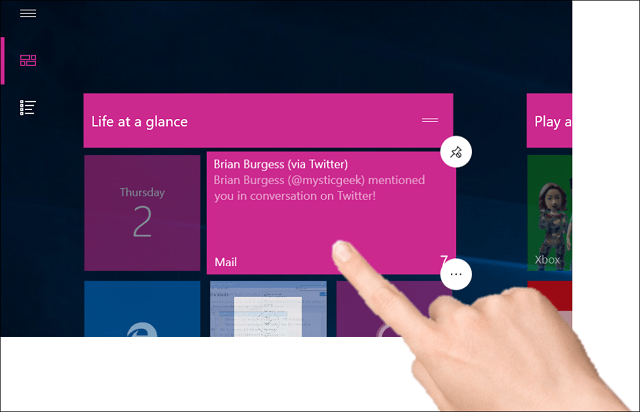
Customizing items on the screen is as easy as touching it. For instance, if I want to make a tile bigger or smaller, tap and hold down on it for a few seconds then additional options will appear.
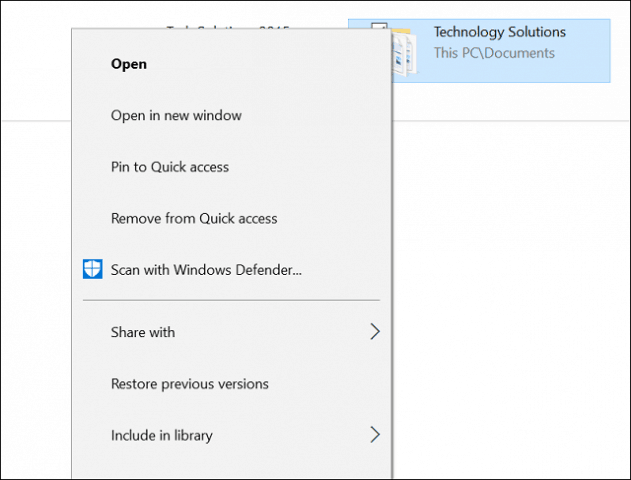
The classic Windows Explorer interface is not entirely touch-optimized, but there are many things you can do. For instance, if you want to bring up a context menu, press an icon or folder for a second and release. As you can see, in the screenshot below, the context menu is enlarged to accommodate touch actions. You can swipe over each item on the menu then release.
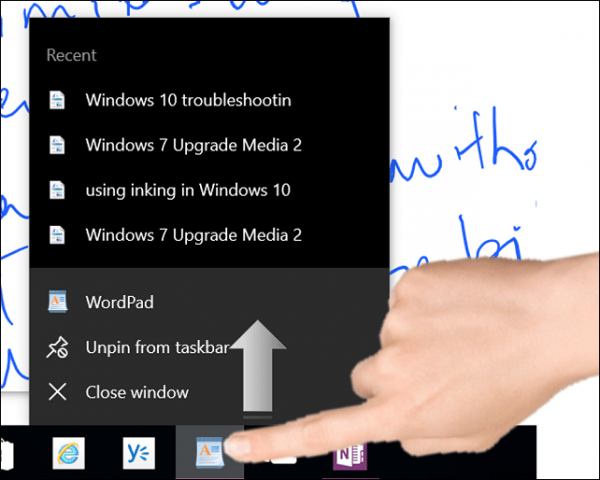
To activate Jump List for apps on the Taskbar, gently swipe up on the app icon.
To right-click the desktop, tap and hold down for a second and release it.

To open a folder or program, double tap it.
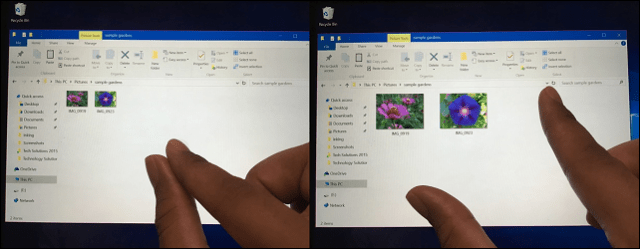
Windows 10 supports many of the gestures introduced in Windows 8. We mentioned a few earlier, such as swipe from left to call up Task View or swipe from right to present the Action Center. A favorite gesture on touch-based devices is a pinch. If you want to enlarge or make a photo smaller, use the pinch in or the pinch out action — just like on other mobile devices. It works in programs such as Microsoft Word for zooming, too.
I have discovered using Tablet Mode might not be all that necessary since Windows 10, even in its current desktop state, is significantly more touch-friendly than past releases. Many of the functions such as desktop snap and context menu options work just as well without enabling Tablet Mode. If your primary use of the device is as a Tablet, then using Tablet Mode can make an everyday difference in how you use the device.
There is a lot more to working Tablet Mode, which includes using the keyboard. Check out the following articles for more tips and tricks:
- Windows 10 Tip: Split the On-Screen Keyboard in Tablet Mode
- Getting Started with the Windows 10 On-screen Keyboard


