How to Enable Virtualization in Windows 11

The best way to use virtual machines on Windows 11 is to use Hyper-V, but you’ll need to enable virtualization in Windows 11 first. Here’s how.
If you are running Windows 11 Pro or above, a cool feature you can enable is virtualization (or Hyper-V on Windows). Virtualization allows you to create and use virtual machines from within the host operating system.
A virtual machine (VM) acts like any normal computer, with its own virtual RAM, disk space, network connection, and more. It allows you to install a full version of an OS different from the one running on the host machine. Each VM runs in its own isolated space on the host computer’s disk drive. That means you can run multiple VMs on the same hardware if you need to.
Using virtualization, you can create environments where you can test new software and services. VMs are popular in business environments, but you can use VMs at home, too. Hyper-V is the built-in Windows tool that allows you to do this without installing third-party software.
If you want to use Hyper-V and enable virtualization in Windows 11, here’s what you’ll need to do.
Before You Enable Virtualization in Windows 11
If you decide to enable virtualization in Windows 11, there are a few things you’ll need to check first. These include:
- Check CPU support for SLAT: Your PC will need a 64-bit CPU that supports Second Level Address Translation (also known as SLAT technology). Modern Intel or AMD 64-bit processors should support SLAT by default.
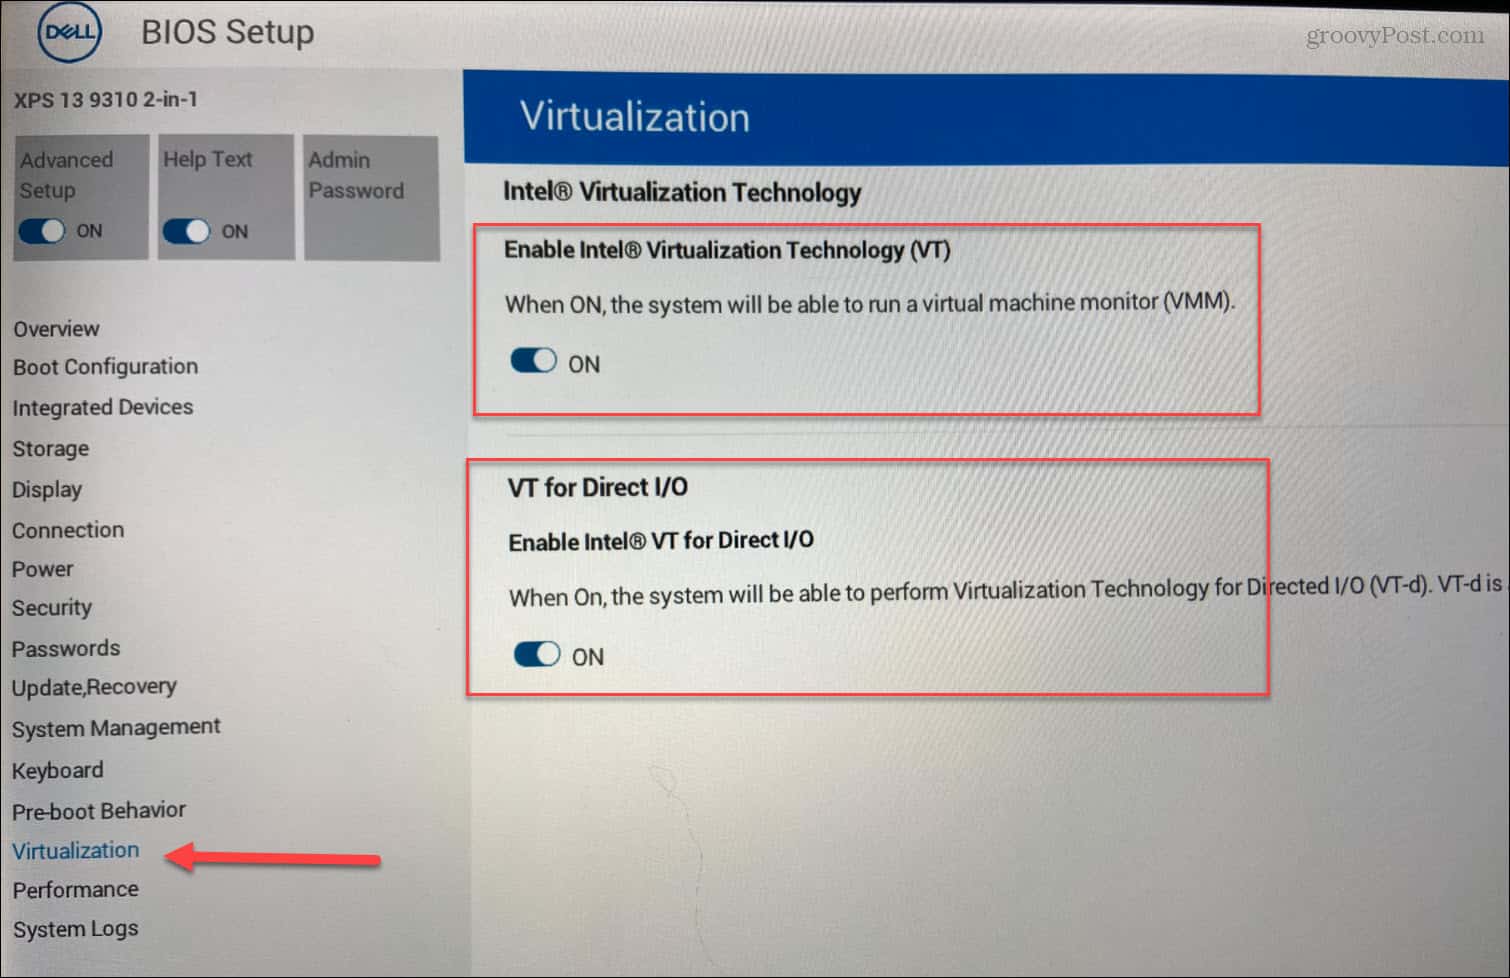
- Enable virtualization in BIOS/UEFI: You’ll need to enable virtualization technology in your PC’s BIOS/UEFI settings menu. The steps for this will vary, so consult your manufacturer’s manual or support site. For most users, however, you’ll need to hit F2, F10, or another function key as your PC is booting up. Look for “System Configuration,” “Virtual Technology,” or something similar and enable these settings if they aren’t already.
- Windows 11 Pro or higher installed: The Home version of Windows 11 doesn’t support the necessary Hyper-V Manager. To get the feature, you can upgrade from Windows 11 Home to Pro. If you can’t enable Hyper-V, you’ll need to use an alternative method for creating virtual machines, such as VirtualBox.
How to Enable Hyper-V in Windows 11
Hyper-V is the built-in tool for creating and using virtual machines on Windows 11. You don’t need additional software to create a virtual machine, but Hyper-V isn’t usually enabled by default. To use virtualization using Hyper-V, you’ll need to switch it on.
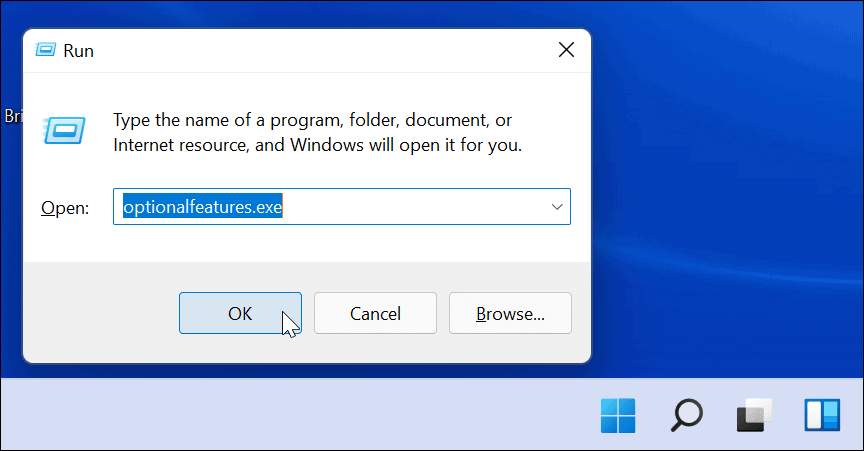
To enable Hyper-V Manager, you’ll need to first open the Run dialog box. You can do this quickly by pressing the Windows key + R on your keyboard.
In the Run dialog box, type optionalupdates.exe, then click OK.
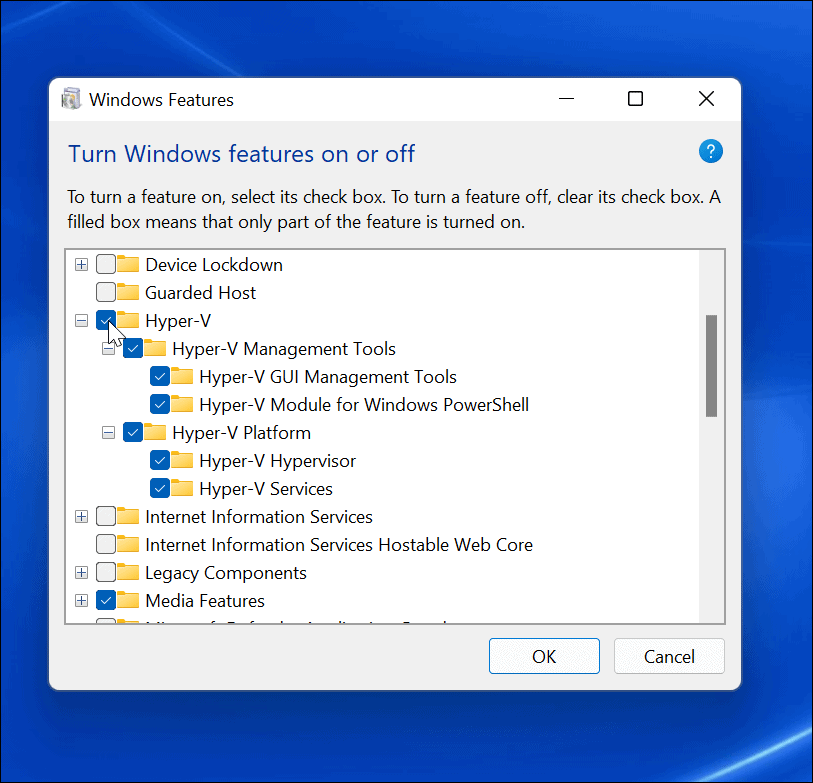
In the Windows Features window, you’re able to enable or disable certain Windows features, including Hyper-V. To do this, make sure that all of the relevant Hyper-V options are enabled, then click OK.
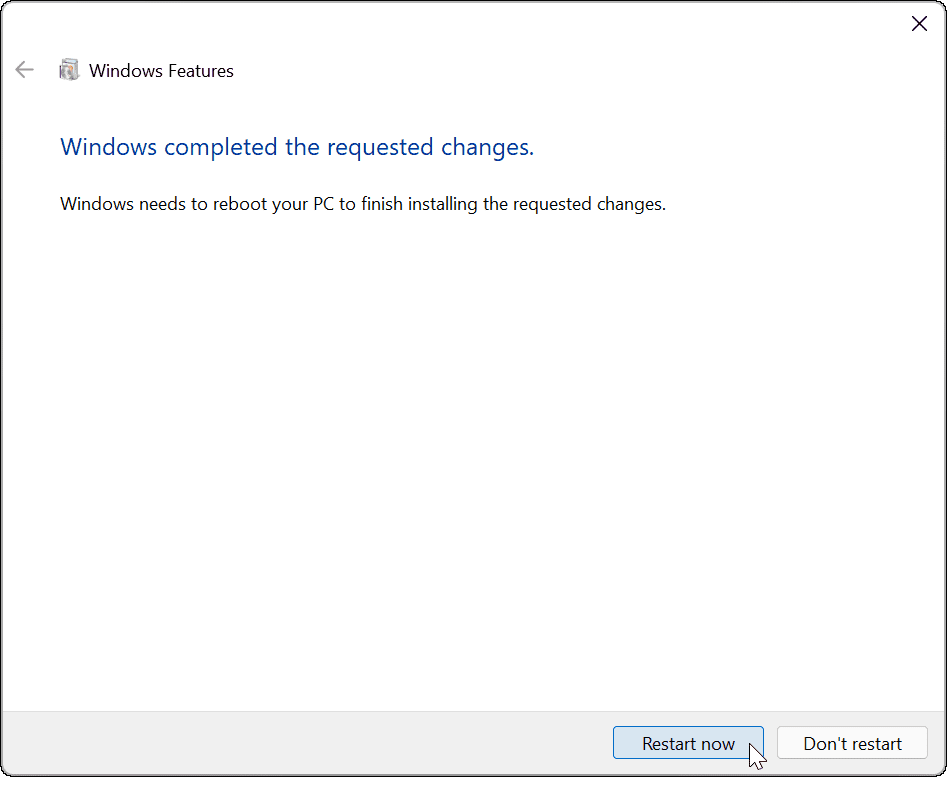
A progress bar will pop up while Windows installs the necessary files for this feature. When it completes, a restart is required—click Restart Now to do this.
Opening the Hyper-V Manager
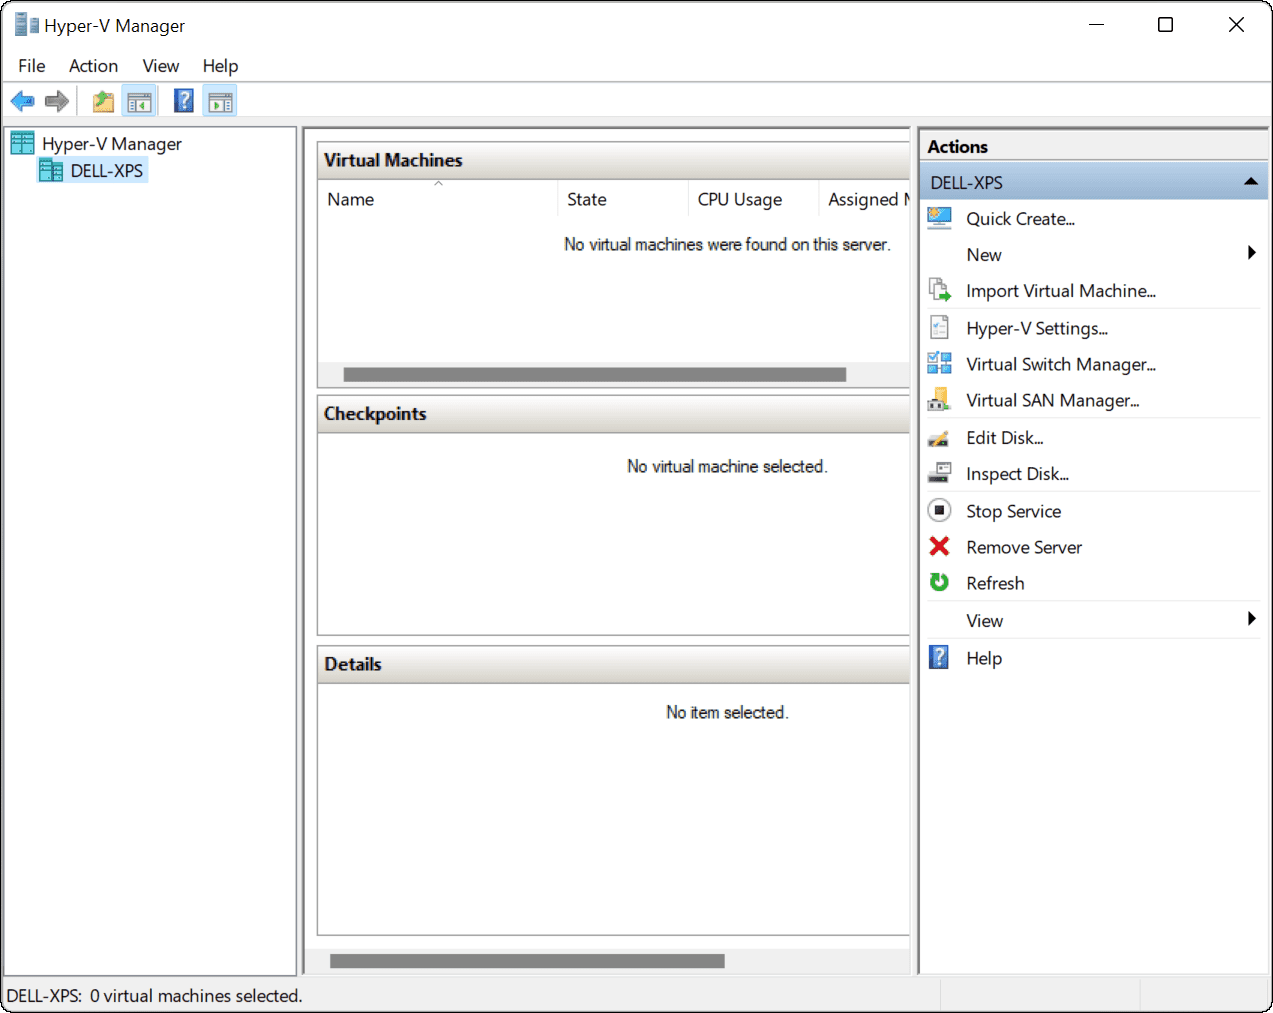
Once your PC restarts, you can begin using the Hyper-V Manager. This tool allows you to create and manage your virtual machines.
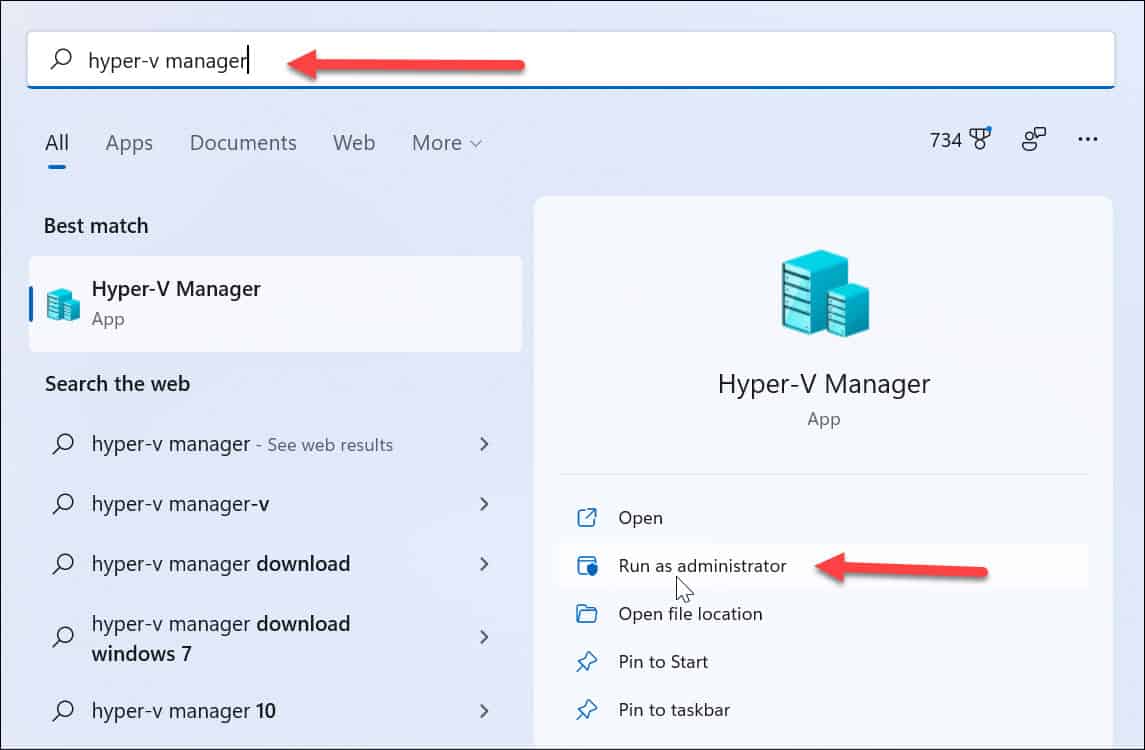
To launch the Hyper-V Manager, press Start and type hyper-v manager in the search bar. When it appears as the best match result, press Run as administrator on the right.
If you’ve used Hyper-V in Windows 10, the Hyper-V Manager shouldn’t look too unfamiliar. Nothing has changed, other than a few rounded corners.
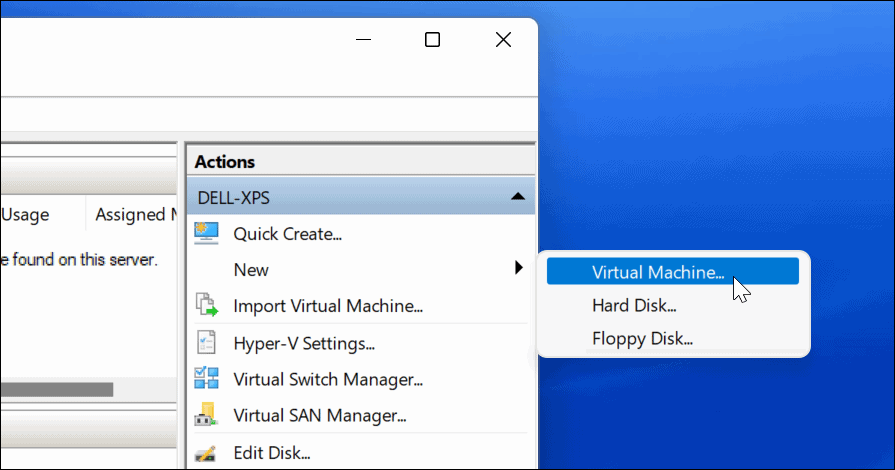
Using the Hyper-V Manager, you can begin creating new virtual machines running Windows, Linux, or another operating system. Like Windows 10, you can create new virtual machines in Hyper-V Manager using the New Virtual Machine Wizard.
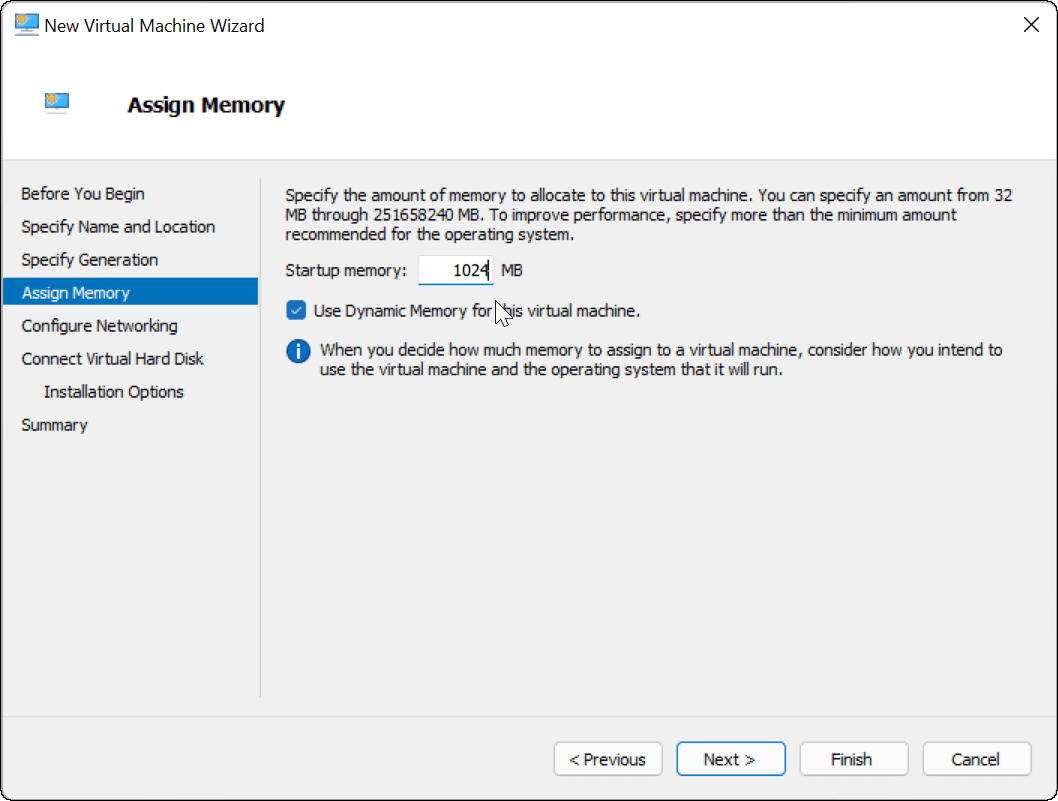
You can create several virtual machines, each with a specific purpose—as long as you have the disk space. For example, you could decide to use Hyper-V to test new Windows 11 Insider Builds to see new Windows 11 features in action.
Remember that when you create a VM, it uses your host machine’s resources. You don’t want to assign too much RAM or storage space to a VM, especially if your PC has limited hardware resources.
Using Virtualization on Windows 11
If you decide to enable virtualization in Windows 11, you can run several operating systems at once. The nice thing about using Windows 11’s built-in Hyper-V is you don’t need to install third-party software like VirtualBox or VMWare.
Make sure you’re running Windows 11 Pro on a PC with enough system resources to cope, however. If you try and run two (or more) operating systems at once, expect your PC to slow down significantly. Hyper-V is just one of several old-school Windows features and utilities you’ll see in Windows 11, including the classic Control Panel and the Task Manager.


R.Ridderman
February 17, 2022 at 7:13 am
In the Run dialog box, type optionalupdates.exe, then click OK.
Should be:
In the Run dialog box, type optionalfeatures.exe, then click OK.