How to Restore Windows 7 Using A System Image Backup
How to Restore Windows 7 Using A System Image Backup
Update: Windows 7 is no longer supported by Microsoft. You should be running Windows 10 or above on your PC.
Once you’ve created a Windows 7 system image, you’re probably curious how to use it to restore your computer. If Windows 7 is still operational, it can easily be done using the Backup and Restore tool. However, if Windows just won’t boot up correctly, there is an alternate method to get things back up and running, and luckily for you, the simple step-by-step is below!
Note: Before we get started, be certain you want to replace your existing Windows 7 install with a new system image. Restoring your computer using a system image means you lose all your data saved AFTER creating the image – including photos, applications, etc., so this should be your last resort! Ah, forgot one more thing, restoring to a System Image will erase all of your System Restore Points; just an FYI on that one.
How-To Restore Windows 7 Using A System Image Backup
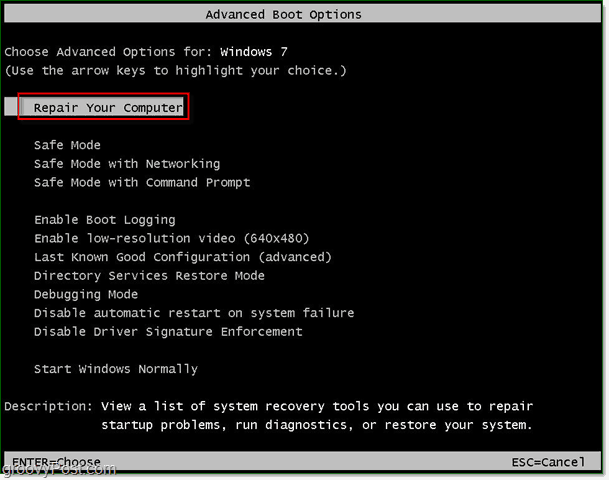
1. Boot your computer and continually Press the F8 key until you get to the Advanced Boot Options screen. Select Repair your computer and press Enter.
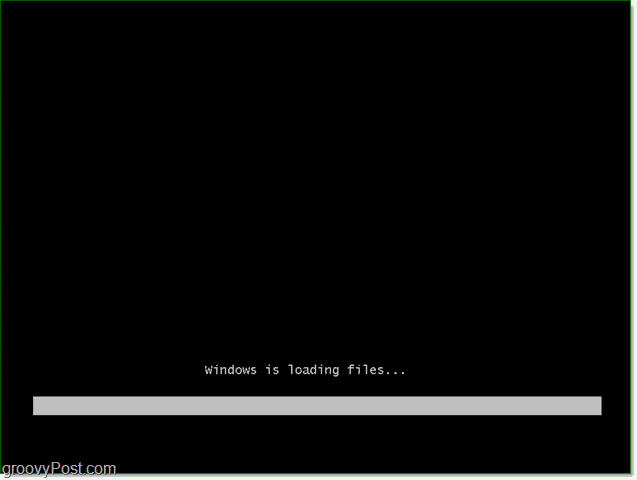
Windows will take a short amount of time to load up the repair boot.
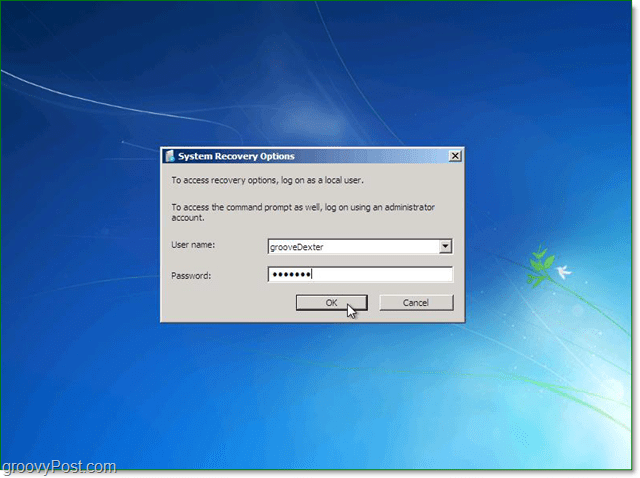
2. Once the repair boot loads, you’ll need to enter your username and password. Enter it and click OK to continue.
3. There are five options available to repair Windows, but in this case, we’re going to Click System Image Recovery.

4. When you select a system image to restore from, there are two different options. Usually, the Use the latest available system image is the better choice. If this option doesn’t appear, however, Click Select a system image.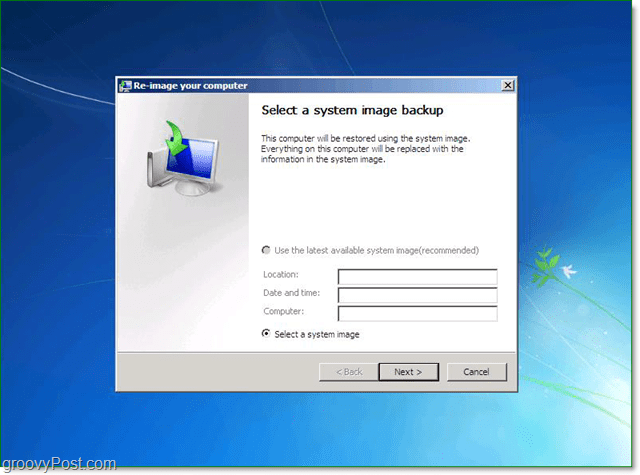
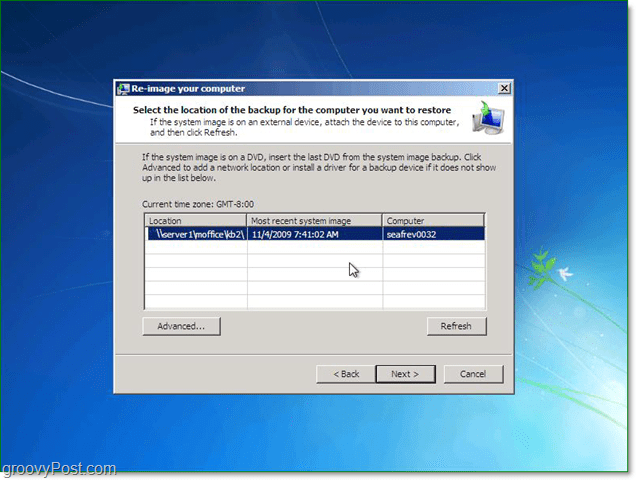
5. If you’ve saved your backup on the network, you can access it using the Advanced tab. Once you’ve located your backup image, Click Next to continue.
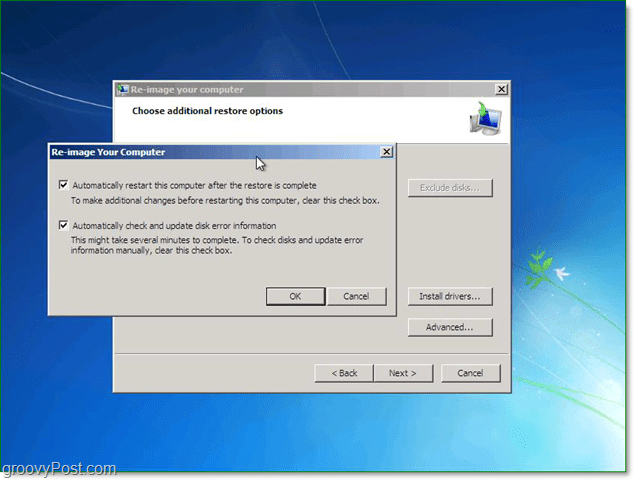
6. Next, you’ll be taken to the options screen, under Advanced make sure to check both of the boxes, and then Press Next.
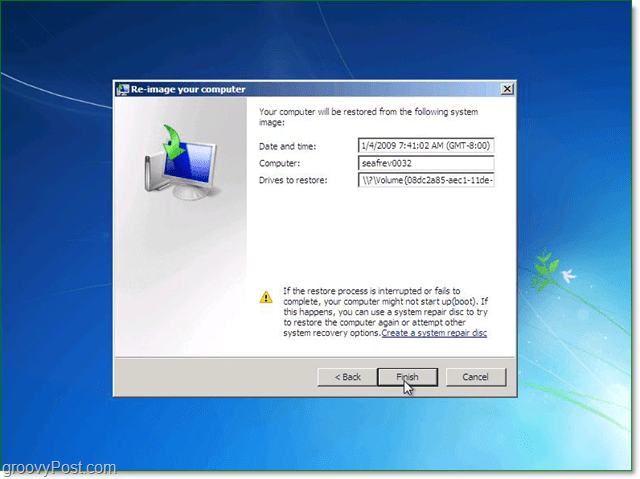
7. Now the confirmation screen should appear; confirm you are restoring the correct image and then click Finish.
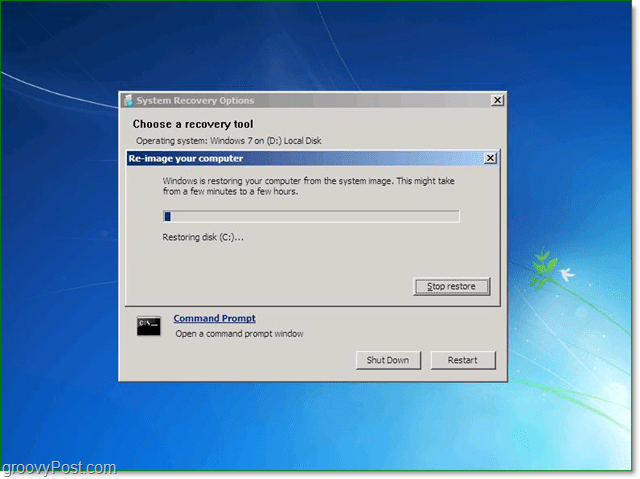
8. Now all you have to do is wait for the progress bar to fill, and avoid the temptation to click the stop button or reboot the PC.
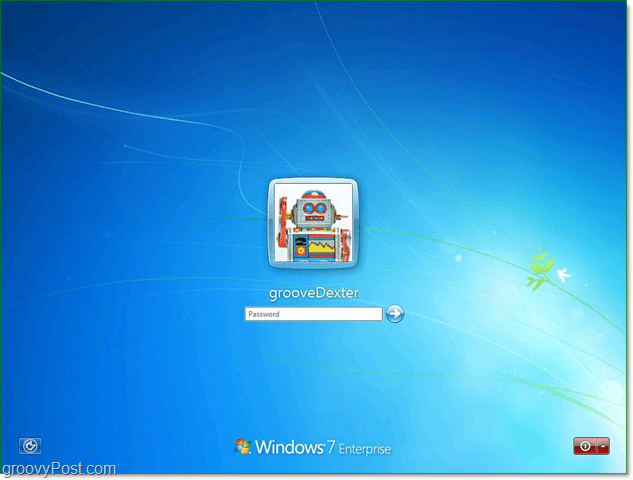
If everything went as it should, that should be it. Your system should reboot and restore to exactly the way it was when you created your system image.
Hopefully, things are better now. However if not, the problem could be hardware-related (bad hard drive or???) so post your issue in our free groovy tech support community.


EV Certificates
October 12, 2010 at 3:49 am
Hi, I’m solving one problem and maybe you could help me. First time when you start back up you have to click on “Set up backup”. When you do it you won’t get this message (Set up backup) again. I’m making some screenshots for Win 7 and I already set up backup, but I need to view this messege again and make a screenshot of it (in various languages). Is this somehow possible?
thanks a lot
Rob
October 14, 2010 at 8:41 pm
What do you do if you dont have a username and password?
thanks.
Frederick
December 12, 2011 at 5:35 am
Hi, you above description for restoring an image supposes that the PC still has an OS running.
How do you restore an image from a removiable drive if the PC has had it’s disks formatted or died and new disks were installed. How does one then access the external USB drive as the drivers are no longer installed on the PC?
Thanks
David webb
July 7, 2012 at 6:41 am
We appreciate your site.. Thanks
Steve Krause
July 7, 2012 at 7:27 pm
You bet! Thanks for visiting groovyPost @155298f8e4380d2fb6323a6dec1eb788:disqus. Hope to see you around the comments and the forum!
BoDikens
July 16, 2012 at 9:26 pm
nice post, this helped me out a lot…thank you :D
Jason Hovell
October 31, 2012 at 8:16 pm
i’m thinking of installing win8, but would like to have win7 handy as a fallback in case i dont like win8. will creating a system image of win7 now onto a DVD cover me in that case? could i go back to my win7 using the system image even after i’ve gone and installed win8?
Steve Krause
October 31, 2012 at 9:44 pm
Yes. You will be fine. Just make sure you do not mess with the drive partitions when you upgrade to windows 8. You should be fine.
Sue
January 24, 2013 at 11:06 am
I have been using this successfully with an external hard drive… love it as I am an IT Support and have lots of different computer images. I would like to use our network as a storage place, but seem to be missing a step in this process. I was hoping to move the images I already have to a share on the network. Any advise on this process?
Alison
December 18, 2019 at 7:40 am
Is there any way to print this guidance out, please? I want to send it to myself in email before I make a system image and then try to restore from it! Neither my Chrome printer plugin nor the Adobe plugin in Firefox can do it. The former just freezes and the latter can capture the text but not the very useful screenshot images.) Thanks!