How to Install Windows 11 Without an Internet Connection
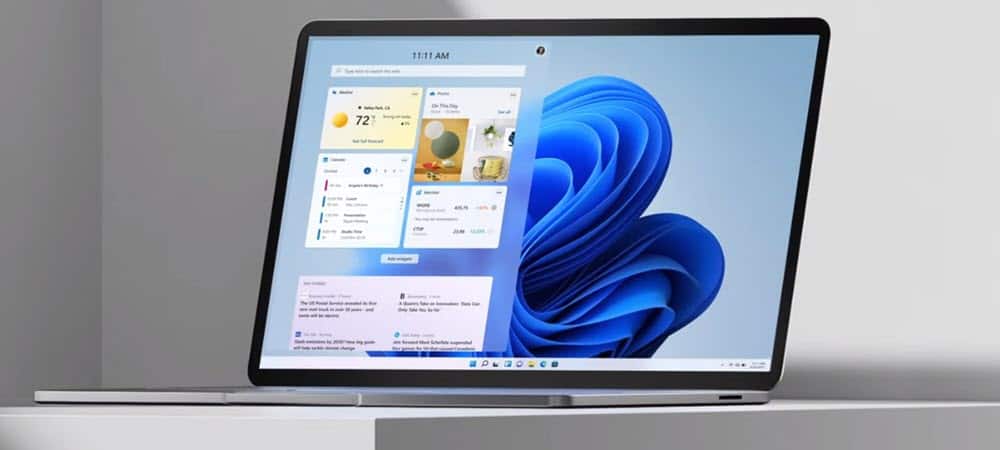
Windows 11 wants the internet when you set up a new device. So, we’ll show you how to install Windows 11 without an internet connection.
When initially installing Windows 11, it wants to connect to the internet. Microsoft wants you to create an account for your new device or when doing a clean install using a data connection.
However, you might not want to create a Microsoft account and instead have a more traditional offline experience. Or, you may need to set up your PC and don’t have internet. Note that installing Windows 11 without interenet is essentially creating a local account on your PC.
So, there may come a time when you need to bypass the internet requirement and luckily, you can. Here’s how you can install Windows 11 without an internet connection.
Install Windows 11 Without Internet Connectivity
If you need to install Windows 11 without the internet, there are a few steps to take. However, the process is straightforward.
How to Install Windows 11 Without Internet
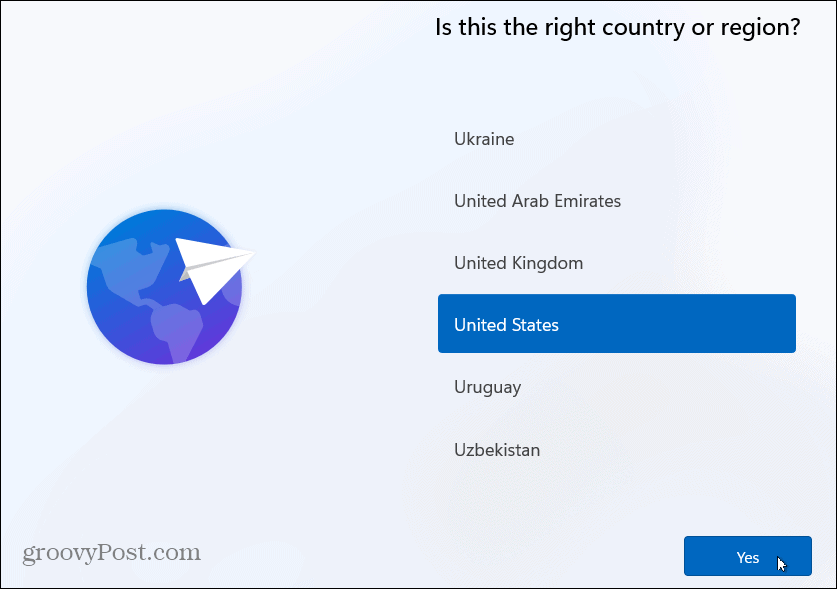
- Go through the initial setup screens and select your country on the first out-of-box-experience (OOBE) screen.

- Next, choose your keyboard layout on the following OOBE screen.

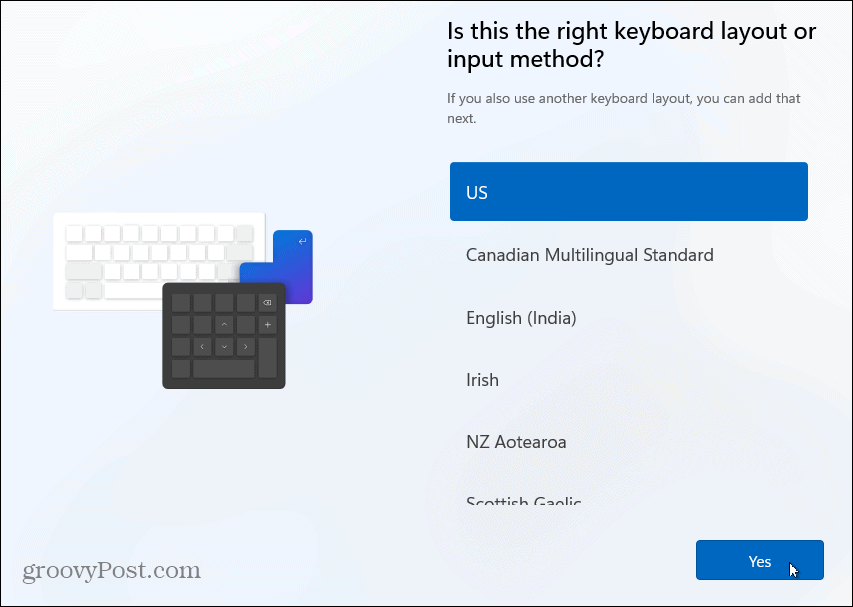
- Click the Skip button if you don’t need a second keyboard layout.


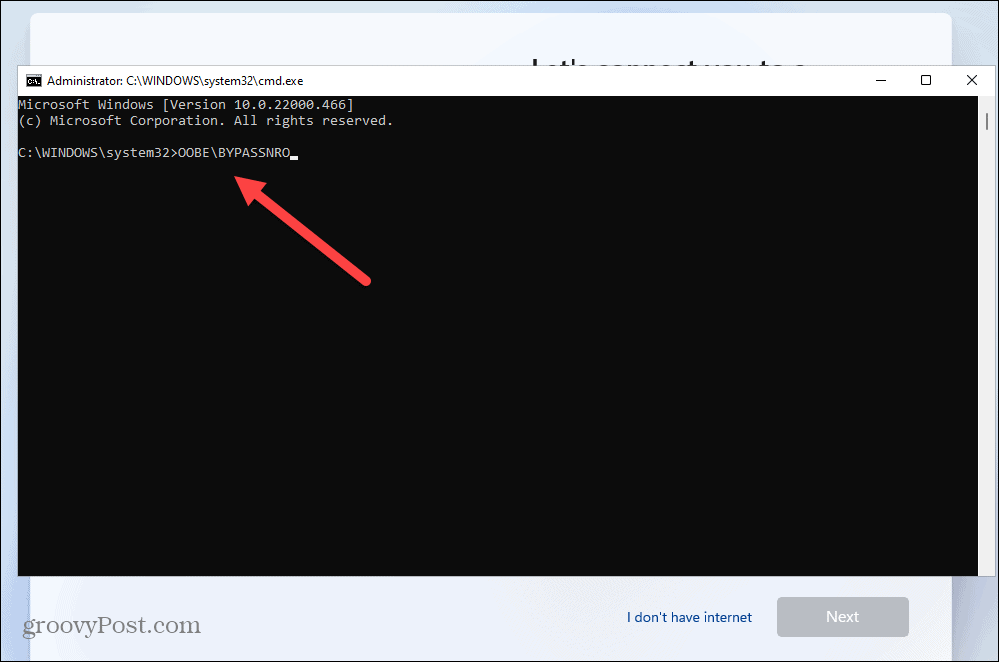
- When the “Let’s connect you to a network” screen appears, press Shift + F10 on your keyboard.

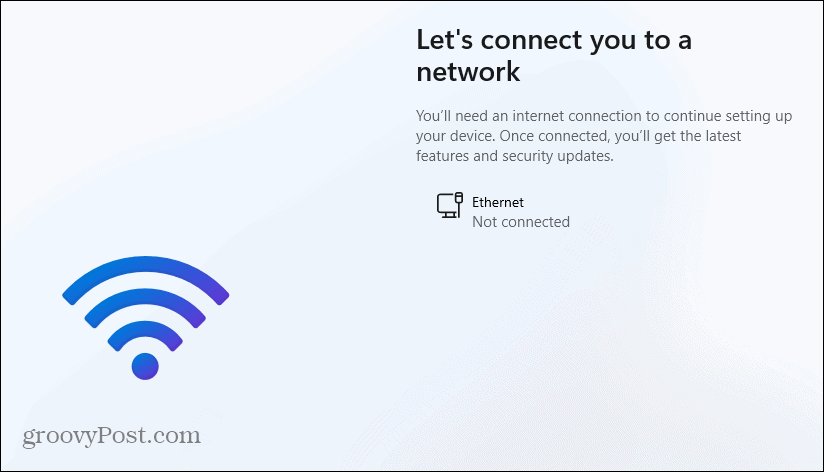
- In the Command Prompt window that appears, type the following command, and hit Enter.
OOBE\BYPASSNRO

- Your PC will restart and begin the OOBE again – enter your region and keyboard layout a second time.
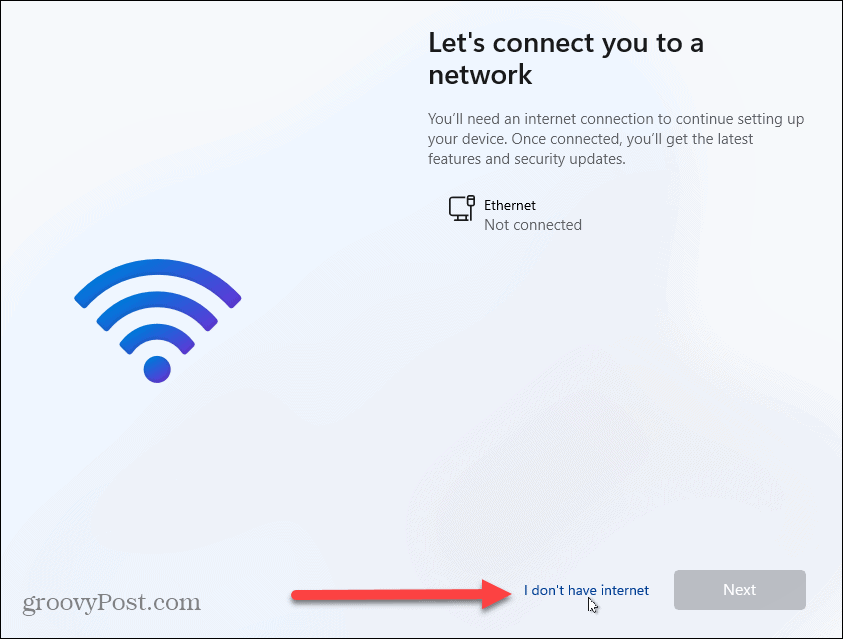
- When the “Let’s connect you to a network” screen appears, click the I don’t have internet link.

- On the following screen of the OOBE, click Continue with limited setup on the bottom-right.


- Click the Accept button when the EULA appears.


Create a Local Account on Windows 11
Now that you’re past the initial request to connect to the internet, you can create a local account following the on-screen instructions.
How to Create a Local Account
- Type in the name of the local user and click Next.


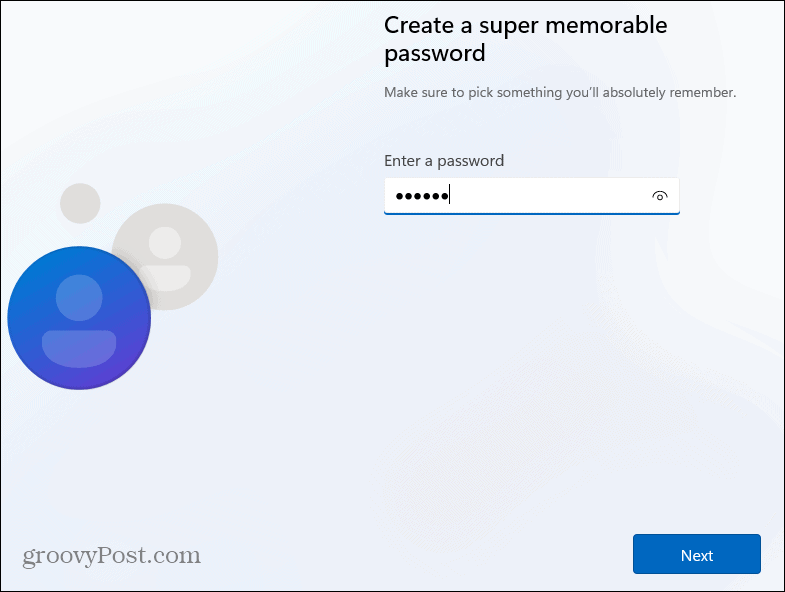
- Type in a password for the local user account twice to confirm.

- Complete the three security questions required to recover the account if needed.


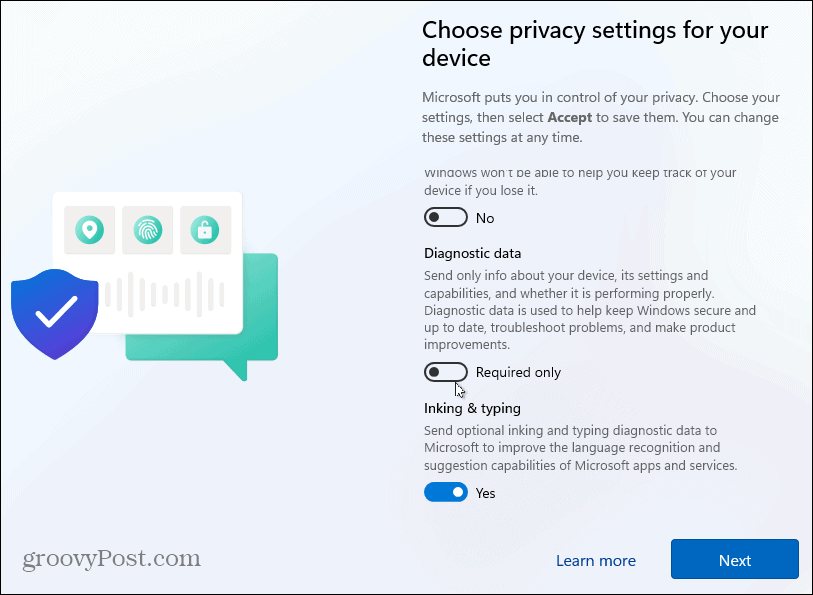
- Choose the privacy settings you want to use for the PC and click Accept. Note that you can change your privacy options in Settings.

- Wait a few moments while Windows 11 gets set up.


- When it completes the setup process, you can begin using Windows 11 as a local user.

Installing Windows 11 Without Internet
Now that you installed Windows, you can begin setting it up and using the OS. This method works on both Windows 11 Home and Pro and avoids the need to create a Microsoft account. However, it’s worth mentioning that your files won’t sync to other machines where you use a Microsoft account.
6 Comments
Leave a Reply
Leave a Reply


Bongo
August 29, 2022 at 9:53 pm
Thank you so much for posting this! To h”ll with Microsoft.
DavidC
August 31, 2022 at 3:18 pm
Yes very useful info, really annoying being forced to set up Windows 11 with a MS account!!!
Timucin
September 30, 2022 at 5:21 am
Thank you. You’re awesome
Korishan
October 21, 2022 at 4:44 pm
Don’t need to go through the Keyboard and other screens before pressing Shift-F10. Can do that as soon as the system shows the first options menu.
I haven’t tested during the set up configuration (where the drive and files are configured/copies) as Shift-F10 works there too
Freddy
December 15, 2022 at 7:10 pm
Hi Brian,
this method used to work for me until now. However, it stopped working. I’m trying to recover Windows 11 (WINDOWS 11 22H2) from a USB drive and do not get the option “I don’t have internet” and “Continue with limited setup” after running the command OOBE\BYPASSNRO.
Unfortunately, I cannot uninstall the update to 22H2.
Disabling the network adapter, or turning off Wi-Fi, or turning on Airplane mode, or Killing the process networkflow does not help either. The screen to connect to the internet does not offer any other option besides “Next” (no back button either).
Do you have any other idea, how to skip to or force limited setup?
TIA
R
May 8, 2024 at 4:50 am
thank you thath’s very helpful!!