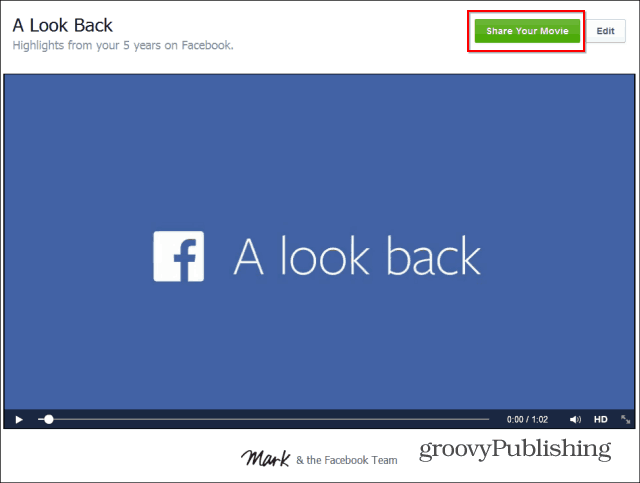
The Facebook Look Back video is the social network’s gift for its users to celebrate its 10th birthday which was on February 4. Basically it mashes together the photos and posts from your timeline with generic background music — creating a one minute video. But there’s also basic editing tools to make it more how you like it. Here’s a look at how to use them.
Facebook Look Back – What Is It and Where Can You Find It?
Facebook’s Look Back feature generates a video for each user, showing what it thinks his or her best moments on the social network have been so far. Or, if you like, what Facebook’s script generates for the video.
That includes the moment you joined Facebook, your most liked posts, and shared photos. If you’re a user that uses your Facebook profile is a chronicle life moments — the default results can be impressive. If you’re into posting cat pictures, your Look Back movie will probably show your collection of felines.
You can find your own Facebook Look Back movie here (you need to be logged in) and you can share the movie to your friends. The feature, which is signed by Mark Zuckerberg and the Facebook Team, has proved to be quite popular among users and tons of such movies have flooded Facebook timelines in the last few days.

There was even a grieving father who took to YouTube to ask Facebook to give him his deceased son’s video. His request was shared by thousands of people around the world and Facebook decided to grant him his wish.
While that’s all nice, there have been users complaining about wanting more control over what’s in their video. And Facebook answered the call. Editing what’s in your video is straight-forward and easy. Here’s how it works.
Facebook Look Back – How To Edit Your Video
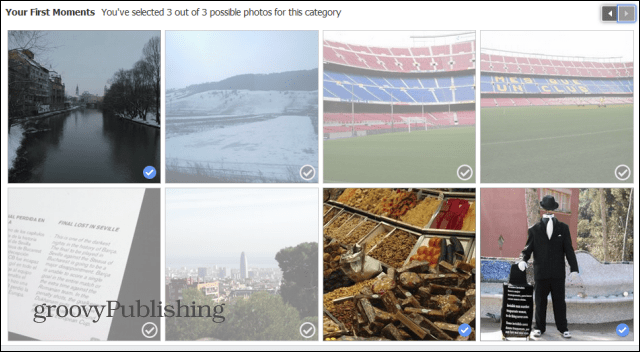
Start by going to your Look Back video; click the Edit button next to Share Your Movie. Scroll down to edit the Your First Moments section. If you don’t like what Facebook has picked, you can choose three other images that you find more appealing.

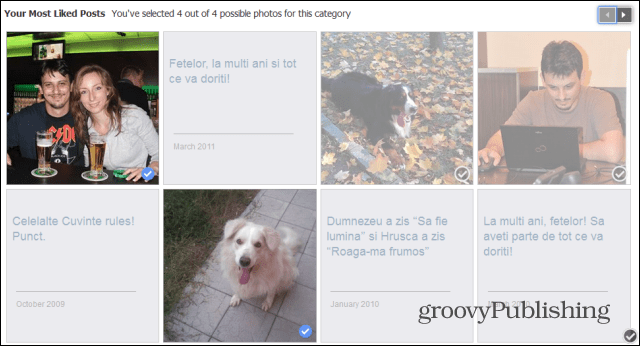
Next, you can select four of your Most Liked Posts for your video out of the list Facebook provides you with. Every time you change something, you can go back up to your video and preview your edits.

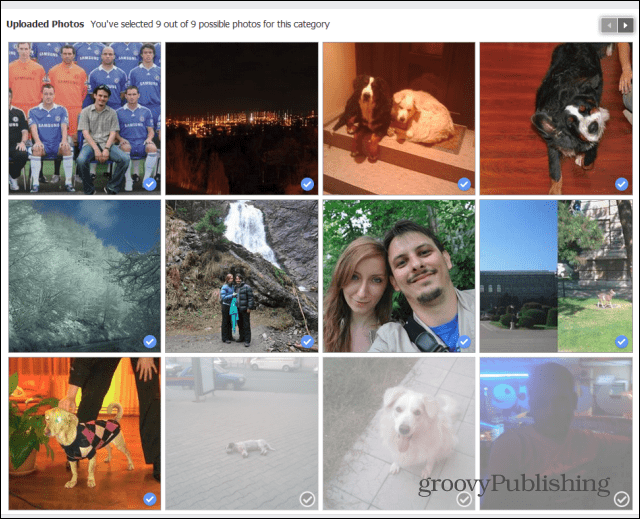
Uploaded Photos is the third section of the video you can play with. In this case, you can pick nine photos that you find suitable.

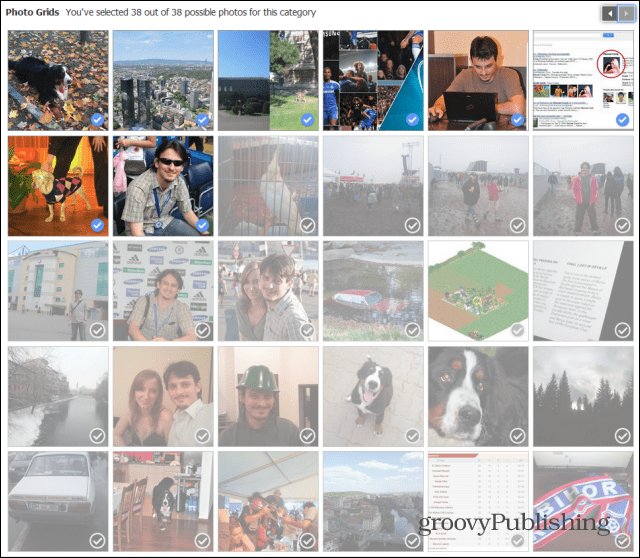
Last but not least, you can also edit the grid of photos which appears at the end of your video. This is the part where the biggest amount of work is required – no less than 39 photos need to be chosen.

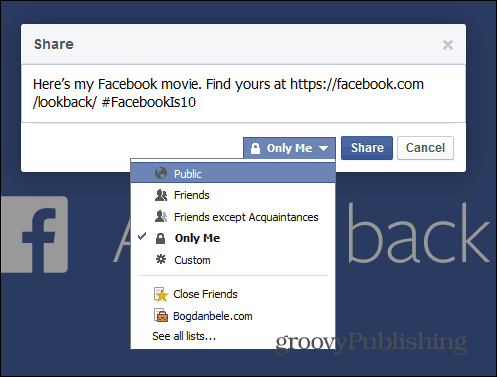
Once you’re done, don’t forget to Share Your Movie. I couldn’t find a button which saves edits, so I think this is the only way to do so. However, if you don’t want the rest of the world to see it, you can always only share it with yourself, like I did in the screenshot below.
If you’ve shared your movie before, you’ll notice that the Share Your Movie button now has Update on it.

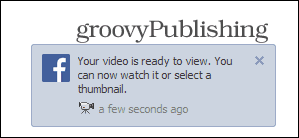
You’ll get a small notification when your edits are done. The editor is basic and only allows for some simple tweaks, but it’s easy to use. Hopefully Facebook adds more editing features so you can pick your own music and maybe put short video spots in it…anyway, it’s amazing how such a simple thing is pleasing so many users.

Leave a Reply
Leave a Reply

