How to Wrap Text in PowerPoint

Struggling to wrap text in PowerPoint? You’ll need to use a few workarounds. Here’s how.
Microsoft PowerPoint has been part of the Microsoft Office suite for thirty years. It’s come a long way since, developing a wide range of powerful features, including the ability to broadcast a PowerPoint presentation online or use 3D models in your presentations.
Unbelievably, however, a straightforward feature is missing—text wrapping. This determines how text should flow around an image, and it’s a feature available in Word. The good news is that there are ways to wrap text in PowerPoint, although they are a bit of a workaround. Here’s how.
Using Text Boxes
If you have a regular image that you want to wrap your text around, you can use text boxes to position your text exactly where you want it.
To get started, click on the Insert tab, press the Pictures option, and choose Picture from File.
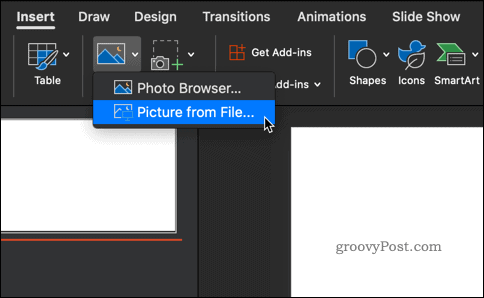
Browse to the image you want to insert. Once your image appears, click on Align to set the image to the left, right, or center.

Now it’s time to place some text boxes around your image.
From either the Home or Insert tabs, click on Text Box and drag out the boundary of where you want your first text block to go.
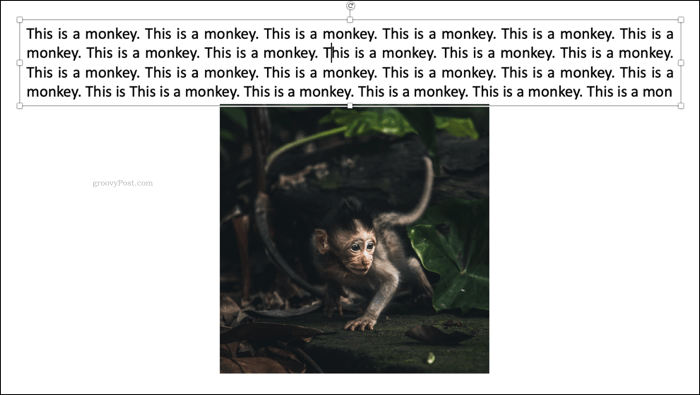
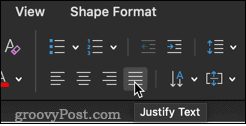
Type in your text and click on the Justify Text icon to fill the entire text box.
Once you’ve done this, add two more textboxes on either side of your image.

Finally, add a text box along the bottom of the image. This will ensure the image has a full set of text around it in the position you want.

Manual Spacing
If you want to wrap text around a more complicated shape, it’s possible to do it by hand. This involves inserting spaces between words until you achieve the desired effect.
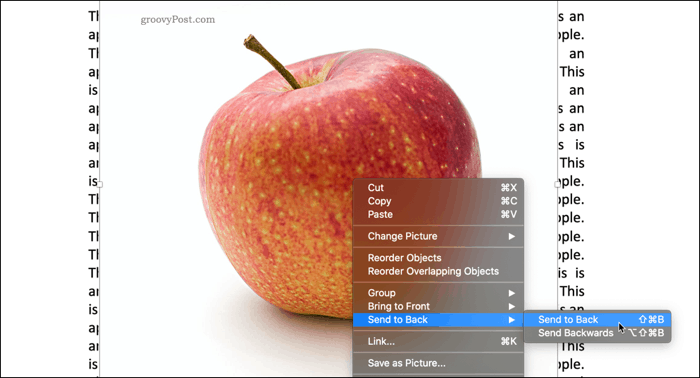
You insert your image in the same way as with the text box method. Once your image is in place, you’re going to add a text box directly over the top of it.
Click on Text Box and drag out the shape of the box you want to contain your text. You can then start typing in the text that you want. You should find that this text will appear over the top of your image.
If it disappears behind it, right-click on the image, select Send to Back, and then Send to Back again.
The final step is to reposition your text so that none of it appears on top of your image.
Click where you want to start inserting some blank space and then use Tab or Space to move your text.

The process isn’t ideal but could work well for certain images, especially transparent images or those with a matching white background.
Using Word Objects to Wrap Text
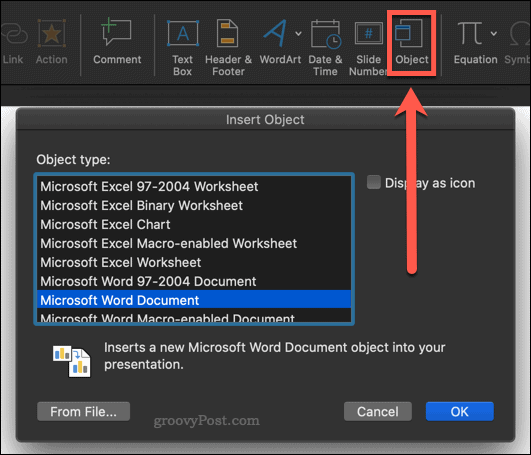
If you’re not happy with the options above, you could use the final option—use Word itself. Older versions of PowerPoint forced you to create your text wrap in Word and then insert it into your slide. You can insert a new Word document directly into PowerPoint as a slide object in more recent Office versions.
In Powerpoint, go to the Insert tab, select Object, and then Microsoft Word Document. This will launch Word in a separate window.
Fill your Word document with the text that you want to wrap around your image. Next, insert your image by going to the Insert tab and choosing Pictures > Picture From File.

Your image should now appear within your text—Right-click on the image and select Wrap Text, which will bring up several options.

Choosing Square will fit your text in a square around your image.

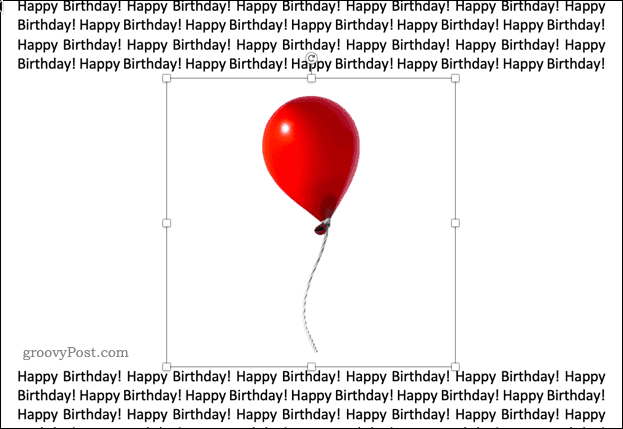
If your image has a transparent background, then Tight will fit your text tightly around your image.

Through may seem like it does the same as Tight, which is true in most cases. If your image has space between the visible images, Through will fill in these gaps with text.
Top and Bottom places your text above and below your image.
Close the Word document window once you’re done—this will take you back to PowerPoint, with your wrapped text and image visible on the slide.
Mastering PowerPoint
It’s frustrating that PowerPoint doesn’t have the same text wrapping features that appear in Microsoft Word, but using one of the methods above, it is possible to achieve the same result.
PowerPoint does have plenty of other powerful features that make it one of the most popular software packages for presentations. Learning techniques such as using a PowerPoint presentation or adding a video to your PowerPoint presentation can take your skills to the next level.
If you don’t have PowerPoint, grab a rebranded Microsoft 365 subscription. This gives you access to all the main Microsoft Office apps, including PowerPoint, as well as 1TB of cloud storage space.


