How to Use VeraCrypt to Easily Encrypt a USB Stick

In my recent “how to be a super-spy” article about VeraCrypt, I gave you a brief run-down on how to encrypt a file. But what if you want to be a super-duper spy and encrypt a USB stick? Yep, stay back, James Bond and Jason Bourne. We’re rolling out the big guns now.
USB sticks are small, which means they can be easily lost and/or stolen. This means that anything on your USB sticks needs to have some kind of encryption on it to deter at least the casual thief or snoop.
You won’t get a “this USB stick will self-destruct in five seconds” kind of drama but encrypting your files is still kind of cool.
How To Use Veracrypt to Encrypt a USB Stick
First, find a USB stick. If this is your first time doing this, maybe find one that you don’t mind ruining if something goes wrong. Nothing is likely to go wrong, but you never know. Connect it to your computer.
Now download, install, and open Veracrypt. Click “Create Volume.”

Choose the second option, “Create a volume within a partition/drive.”

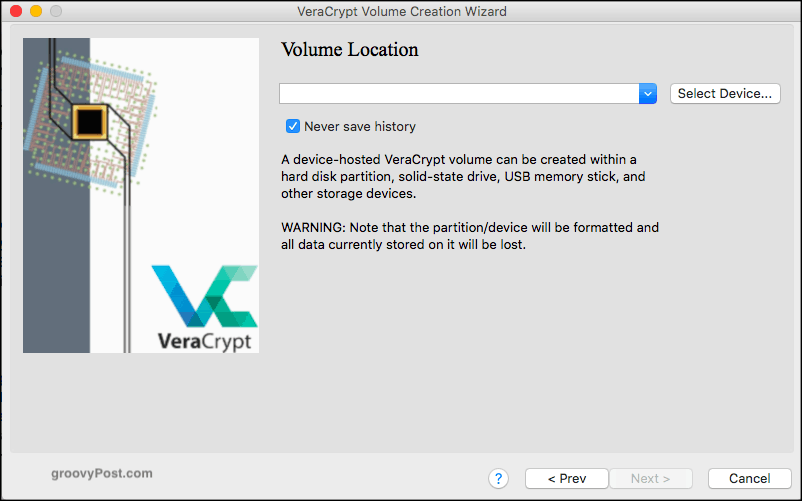
Now choose “Select Device.”
Enter your administrator password, so the program knows you are allowed to encrypt devices on the computer.

Then choose the device you want to encrypt. In my case, it’s the HAMA USB drive.

Next, you get Veracrypt warning you of the impending apocalypse if you proceed beyond this point. Trust me, Arnold Schwarzenegger does not get sent back to the past to protect John Connor if you decide to encrypt your USB stick.
So click “Yes” to proceed. Or in Star Trek language, “make it so.”

You are then warned that encrypting the drive will delete everything currently on the drive. So if you have anything important on there (David Hasselhoff music albums, for instance), then back them up first. Because the Hoff is about to get nuked by Vera. Click “Yes.”

Next up are the encryption options. Unless you work for the NSA and know the difference between each encryption protocol, keep it at the default AES and the SHA-512 hash algorithm. Nobody is going to bust through that wall.

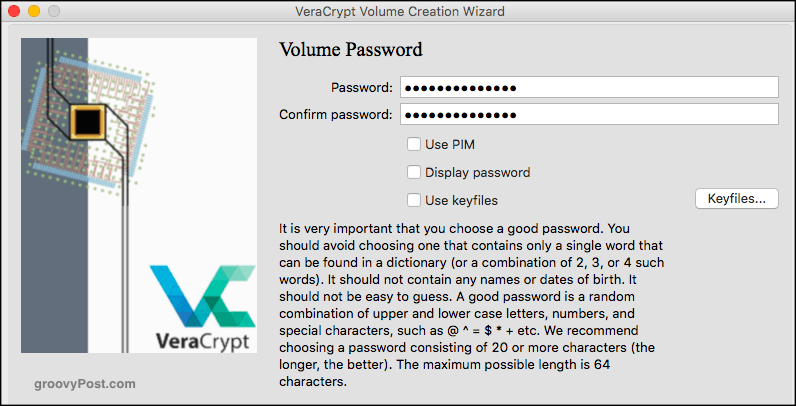
Now the most important part. The password. Please, don’t get cute. No 12345. No abcde. Don’t use your wife’s name, husband’s name, pet’s name, or kid’s name with their birthday on the end, etc.
Make a 25-30 character password, upper case, lower case, numbers, symbols, sign language, and Morse code. And store it in a password manager, so you remember it.
One tip – click “Display Password” to make sure you have entered it properly.
Leave the format options at their default settings. In this case, FAT.

Now you have to generate strong encryption keys. This is done by randomly moving your mouse around the Veracrypt window.
When the blue bar gets to the end, click “Format” and watch VeraCrypt do her magic.

But first, yet another reminder that the world will explode if you format your USB stick. Click “Yes.”
Trust me, I did it, and I’m still here. Unless I am now in the Matrix.

You will now see your USB device formatting and the time left until it’s finished. 11 minutes. Time for a nap.

Then it’s done! Click OK to exit the formatting wizard.

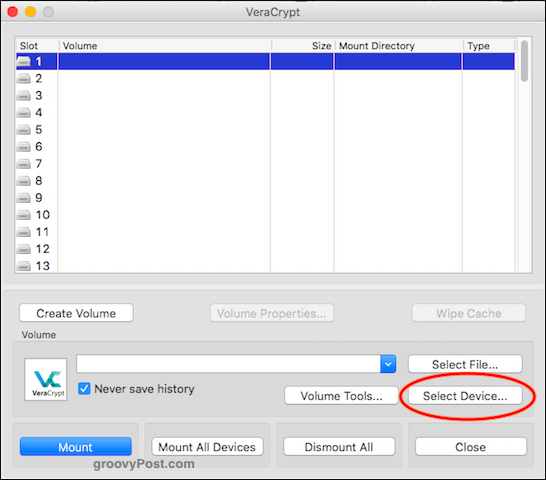
Now to test it. Highlight a slot (number 1 is fine), then click “Select Device.”
Navigate to the area of your hard drive and select the USB drive you have just encrypted.
Now enter the password to your newly-encrypted device and click OK.

Assuming you entered the right password, you will now see it open in VeraCrypt. To open the device, either double-click it in VeraCrypt, or go to your device’s folder in your hard drive.

Curious to know what would happen if you entered the wrong password. This is what you would see. It kind of looks as if your USB drive is broken, doesn’t it? Which wouldn’t be bad if the bad guys had your USB stick.

Conclusion
In the third and final part of the VeraCrypt series, I will be showing you how to hide an encrypted container inside another encrypted container on your device. Coming soon.


Tim
January 29, 2021 at 1:50 am
Hi, i read that VC and TC run everything through ram only? and thus no “imprints” are made on any of the computers H/D’s. Is this totally true and have you/them/ others tested this that there isnt even a image/ shadow copy somewhere that can be extracted forensically as windows tends to record everything even when you dont save files.
thanks
Tim