How to Use an External Drive with a Chromebook

Chromebooks are cloud-based machines and low on storage space. However, you can use external drives with them and it’s as straight-forward as Windows or macOS.
Chromebooks are cloud-based computers that are low on local storage. This keeps the price down, but you might have a lot of data and need more storage space. Google Drive is an effective method of storing your files in the cloud so they are always available – and you can always buy more space.
But sometimes you might need to transfer files by moving a flash drive or have a bunch of movies on an external drive for times when you don’t have an internet connection. Or, perhaps you have sensitive files that you don’t want to store online. Whatever the case, whether it’s a flash drive or large external hard drive, here is how to use it with your Chromebook.
Using an External Drive with a Chromebook
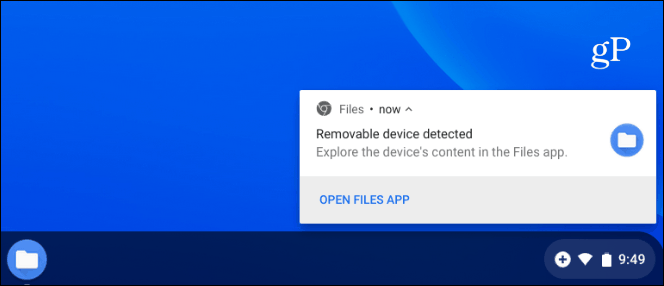
When you plug in your external drive (here I’m using a flash drive) you should see a notification in the lower-right corner of the screen. Click on it to open the Files app to view the content on the drive.
If you miss the notification or want to look at the files on your external drive, you can click the Launcher button and open the Files app.

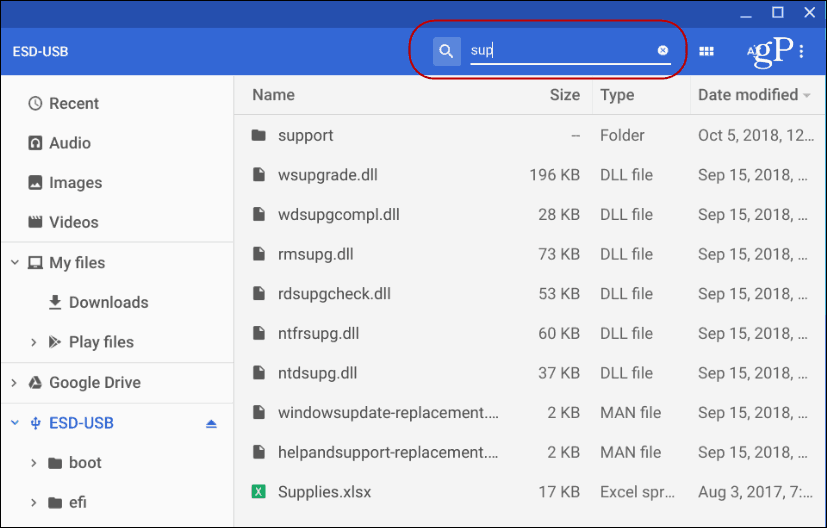
Choose your drive and like you can with other file management systems such as File Explorer on Windows or Finder on macOS. You have all the options you’re familiar with such as changing the file view, renaming or deleting files, sorting by type, name, or date modified.

If you need to search for a file, click the magnifying glass icon at the top and type in your query.
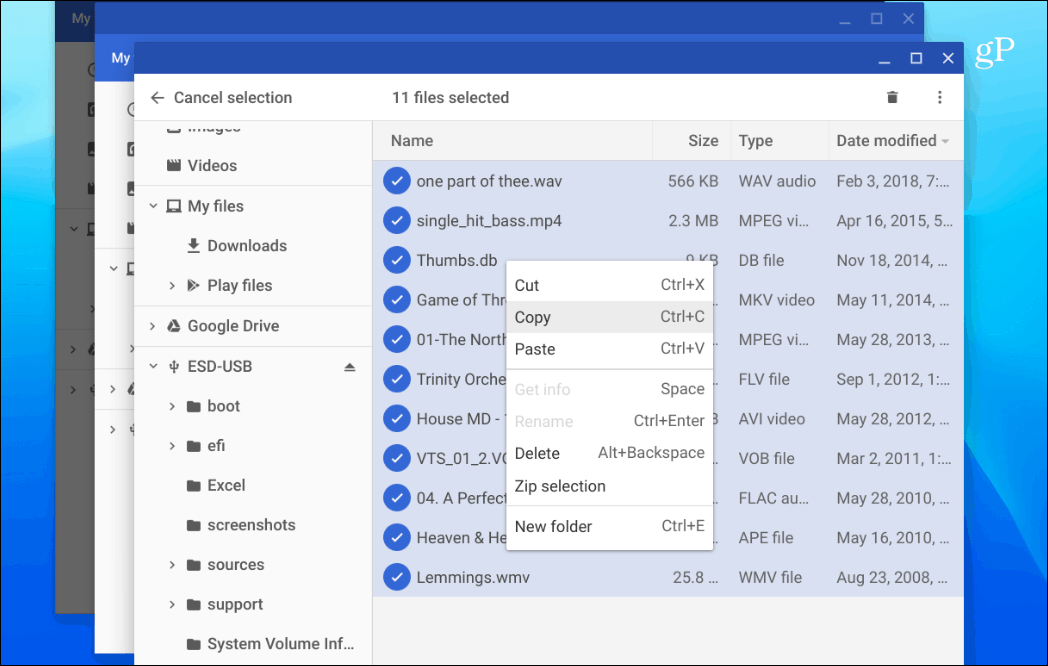
The process of moving files in and out of the drive or into other folders is also the same as other computer systems. You can drag and drop items or copy and paste. Keyboard shortcuts are essentially the same as on Windows, too. Hit Ctrl + A to select all, Ctrl + C to copy, and Ctrl + V to paste them. Of course, there is also the ability to “Cut” instead of “Copy” if you are moving a file and not copying it.
Another important thing when using an external drive on your Chromebook is you need to eject it. On Windows, you just remove the drive, but Chrome OS is pickier. If you just remove a drive, you will see a notification like the one below.

To eject a drive properly, click (or tap on a touchscreen) the small “Eject” button to the right of the drive.

Your Chromebook will work with the most common file types including Office files, video files like AVI and MP3, and image files such as JPG, GIF, and PNG. To see all supported files check out this Chromebook support page.
However, if you have a file that your Chromebook can’t open, there’s probably an app for that. When that happens, Chrome OS will ask which app you want to use and even make suggestions. For example, in the shot below I need to open a VOB video file and it’s suggesting VLC. And because VLC isn’t installed yet, it gives me a link to install it from the Web Store. If you don’t like the app suggestion, hit the “See more” link at the bottom of the window.

Using an external drive on a Chromebook is straight-forward. If you’ve used one with a PC or Mac, you’ll have no problem using it and getting things done.


