Run Chrome OS from in a Virtual Machine

Chrome OS is gaining in popularity but what if you want to try it before buying one, you can run Chrome OS from a virtual machine.
The Chrome OS is gaining plaudits as more and more features are added. So it makes sense if you are curious and you want to give the system a spin. But since the Chrome OS is really only available on Chromebook laptops, you can’t really use Chrome OS on other operating systems. But there is a (sort of) workaround.
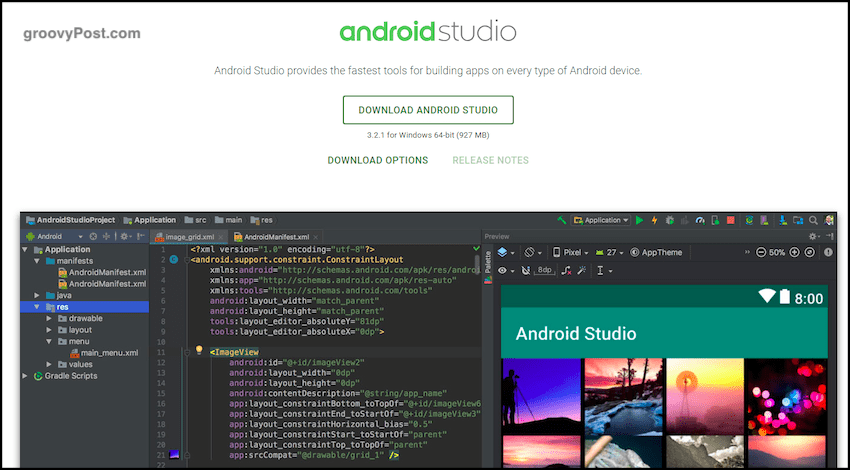
You can set up a virtual machine on Windows, macOS, and Linux computers using the free Android Studio, then run the Chrome OS inside it. You won’t get the complete Chrome OS experience on it, but you will see enough to know whether or not the operating system is for you. The Chrome browser that comes with it is fully functional, and you can sync all your browser settings to it.
Setting Up Chrome OS On Your Computer Using Android Studio
When setting this up for the first time, there is some work involved. But Android Studio more or less holds your hand. Well, that’s what we’re here for when it doesn’t.
Note that you will need at least 3GB for the installation and another 2GB or so in RAM to make it go smoothly. So make sure you have those specs before you start. The virtual machine will take up a lot of memory (more than 50%), so shut down all unnecessary programs first.
Download The Installation File
The first step is downloading the installation program to Android Studio.
Install The First Part Of Android Studio

Now install it. This part is fairly straightforward. This, however, is only the first part of the installation and the easiest part.

When this part of the installation is over, you will be asked if any settings and configurations from a previous installation. If so, you can import them in. If not, choose “Do not import settings” and click OK.
Run The Setup Wizard

Time to start up the wizard. You can choose things such as the color of your Chrome OS skin. I like the dark color, but you can easily change it later if you decide you don’t like it.
Wait For The Next Part To Download & Install

It will then start downloading, unzipping, and installing the rest of the necessary packages. This part took a while for me, so be patient. It helps if you shut down all unnecessary running programs, especially browsers.
Eventually, you will see this window.

Get Chrome OS From The SDK Manager

At the bottom left of that window, you will see a “Configure” option. Click that and choose “SDK Manager.” We are now going to choose our Android version and get Chrome OS.
After selecting “SDK Manager,” choose “SDK Update Sites” and click on the green “+” icon on the far right of the screen. A box will now come up. Under Name, type “Chrome OS Repository.” In the URL field, type :
https://storage.googleapis.com/chrome_os_emulator/addon2-1.xml
Click “Apply” then OK to save and close the box.
Now open a new box, and call it “Chrome OS System Images” and under URL, type :
https://storage.googleapis.com/chrome_os_emulator/sys-img2-1.xml
Now switch to the SDK Tools tab and tick “Chrome OS device.”

When you click OK, the selected tools will be installed. Again, this might take a while as you are getting the Chrome OS file. When the installation has been done, restart Android Studio for the changes to kick in.
Create a New Android Project

Now it’s time to go back to the main Android Studio screen and create a new Android Project (assuming you haven’t imported it in any previous project).
As you can see in the screenshot above, call your application “Chrome OS.” Under company domain, leave it alone. In my case, “mmpc” is the name of my hard drive, so let yours default to whatever name Android Studio gives you.
The project location will automatically default to where Android Studio is installed on your computer. Unless you have a good reason to change this location, leave it as it is.
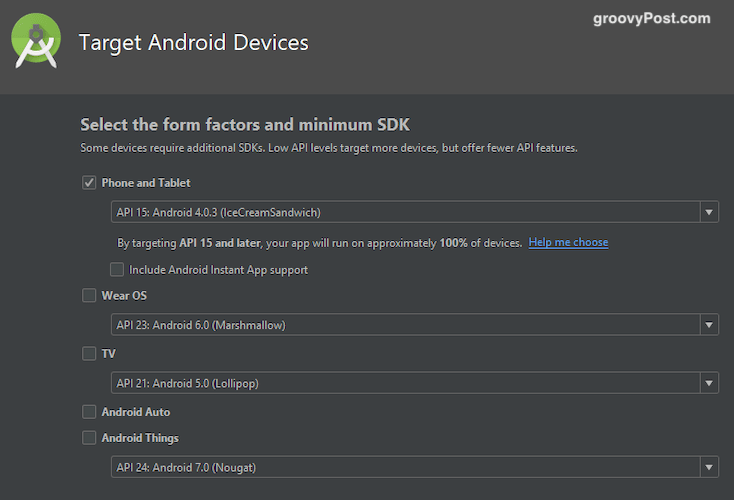
Now choose which “devices” you want to use Chrome OS on. To make things simple, select “Phone and Tablet.” Of course, you are free to choose others if you want.
Create a New Virtual Device

Now it is time to create the virtual device on which you will run Chrome OS. Click the AVD Manager icon on the next screen, which is a pink rectangular icon.

Select “Tablet” on the left-hand side and then “Pixelbook (beta)” from the main list.
Download & Install Your Preferred Android Version

The next screen will ask you to select and download your Android version. It makes sense to go with the latest version, but if you want an earlier version, you can choose it and download it.
Now click “Finish,” and the installation is finished.
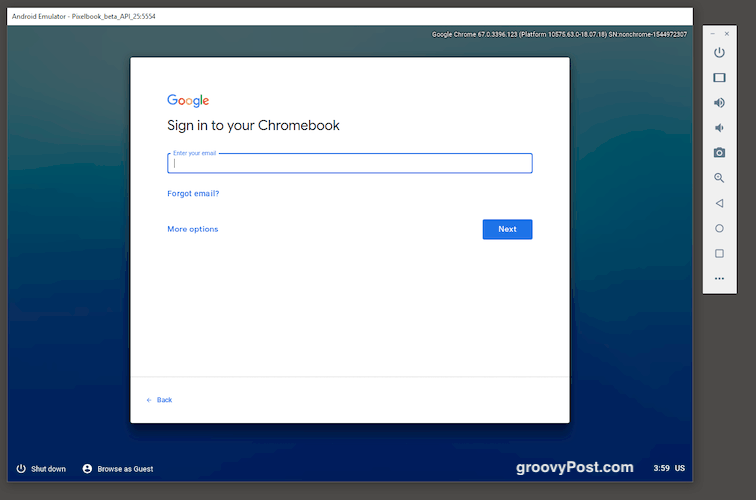
Switch On The Virtual Device & Log In With Your Google Account
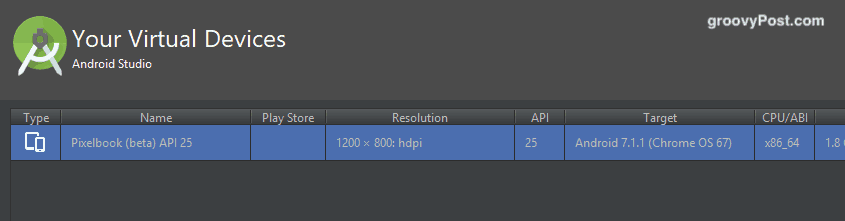
The next screen is your Virtual Devices screen (you can make multiple virtual devices with different OS’s). You will see a green play button to start it up on the right-hand side.

Once you click the play button, your newly minted Chrome OS will boot up. You will then be asked to log into your Google account and invited to sync your browser settings.
It is worth pointing out that you are going to experience some keys on your keyboard not working. Including, believe it or not, the @ key! So I recommend you set up a disposable email address just for trying out the Chrome OS. Give it a straightforward password with no special characters. That way, you won’t blow your stack trying to log in with your 35-character complex password.


Jim S
January 3, 2019 at 1:21 pm
Great article Mark. One quick question: Is it still necessary to install Java before installing Android Studio? In the past it was a requisite for Android Studio so just wondering.
Thanks again for the great article.
Don
April 13, 2020 at 7:34 am
Back again.
Now just one step later it says
“Click on Review Permissions, and you’ll see another alert screen that you’ll need to bypass. I find no clear indication on how to bypass. I went back to read the directions and in a disconnected way it says to click on advanced. But then when I went back to myfunction (which I renamed as LearningSENDemail) I no longer saw the screen telling me to click on review permissions. I am so lost.
Dave
April 23, 2020 at 11:27 am
This guide still works perfectly.
robert
July 20, 2021 at 7:05 pm
M1 Mac did not support “VT-x
Brian
July 5, 2022 at 10:47 pm
“IO exception while downloading manifest” for both URLs listed for SDK update sites. Have the URLs changed?
I’m guessing this is the reason why in the next step, there is no “ChromeOS device” listed in the SDK Tools tab.
Paul
July 23, 2022 at 9:42 pm
I had the same problem, does anyone know the new address?
Arham
November 15, 2023 at 3:01 pm
Same happened to me
Kevin
January 4, 2024 at 2:31 am
why is there no Chrome OS device in my SDK Tools?
BestBurger
January 12, 2024 at 8:36 pm
i had the same problem if i can get an answer that would be great