
If you are a PC gamer, you’ll love the Game DVR feature for sharing your most awesome gaming moments with friends via the Xbox app. Even if you aren’t a gamer, you can make use of the Game DVR tool and take screenshots of important moments during your computing experience.
Take Screenshots with Windows 10 Game DVR
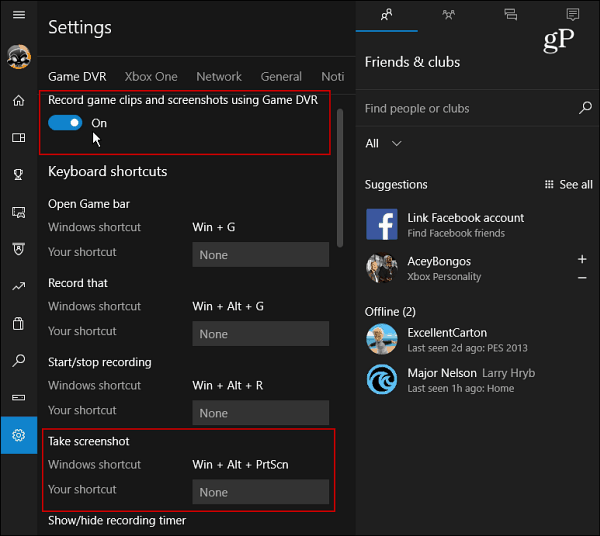
The first thing you will want to do is launch the Xbox app. Then go to Settings > Game DVR and make sure that “Record game clips and screenshots using Game DVR” is turned on. Also, verify which keyboard shortcut is set for taking a shot. It should be Windows Key + Alt + PrtScn by default but you can make it something else that works best for you.
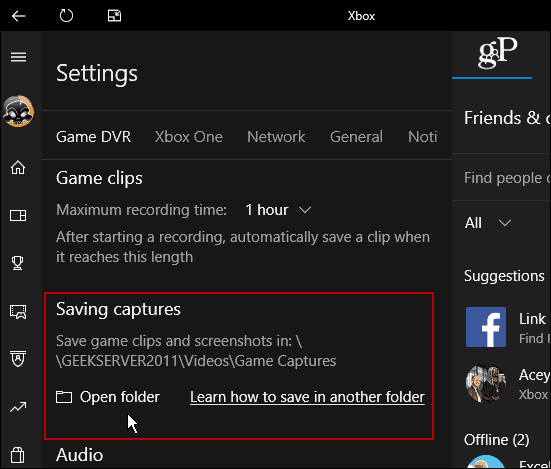
Scroll down a bit further and you can see the folder where your screen captures are kept in the Saving captures section. The images are saved as PNG files stored in the Videos directory in the Captures folder on your C:\ drive by default. However, if you find that space on your drive becomes an issue, check out our article on how to change the Game DVR Captures Folder location.
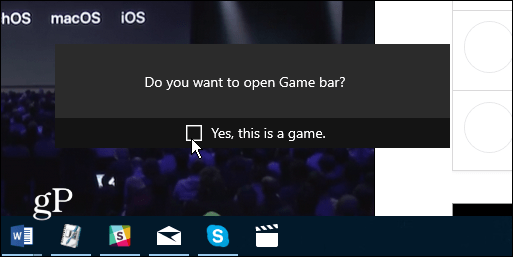
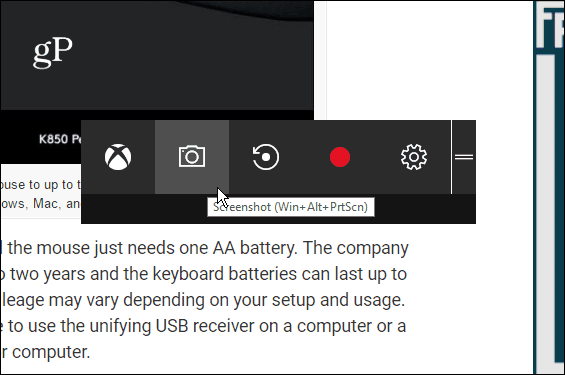
Once you have everything setup, you’re ready to take a screenshot. While you’re in a program you want to take a shot, hit Windows Key + G to bring up the Game Bar and click or tap “Yes, this is a game” box.
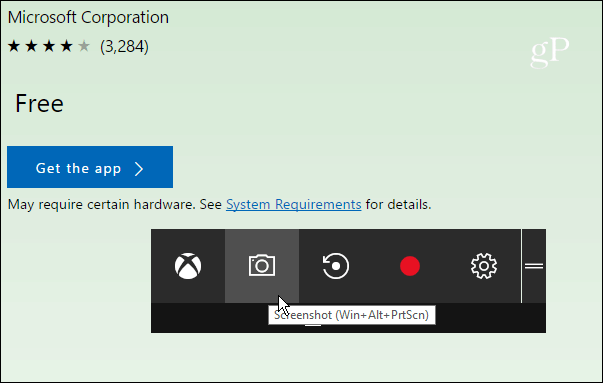
Next, click or tap the camera icon to take a shot. Note that the keyboard shortcut will only work if you previously checked the “Yes, this is a game” box.
Each time you take a new shot you’ll get a notification in Action Center.
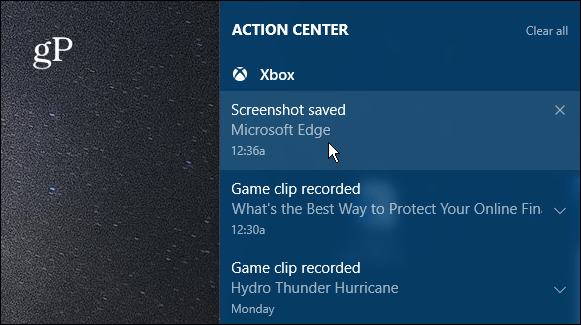
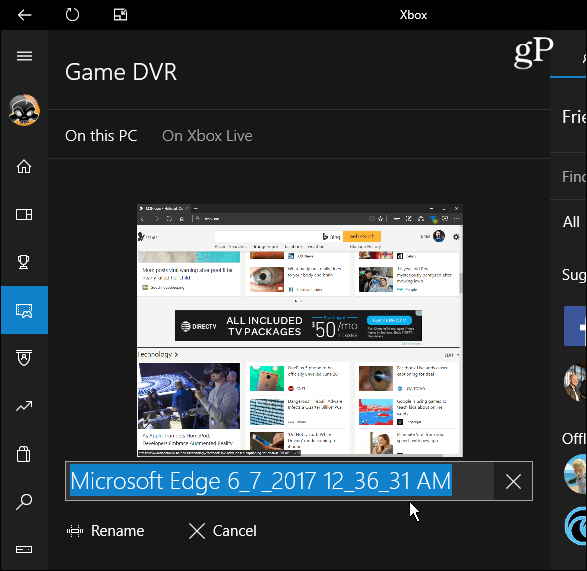
When you select the notification from Action Center it will open to the shot in the Xbox app so you can see it. You’ll also see previous shots or video clips you’ve taken. The screenshot file will be given program’s name as well as the time and date it was taken (down to the second). For example, in the image below I took a shot of Microsoft Edge on June 7th at 12:36 a.m. But, you can rename the shot within the Xbox app easily enough.
Using the Game Bar isn’t necessarily the best way to take a screenshot in Windows 10 (but is awesome for games). If you want additional control over the specific area you get a shot, check out the Snipping Tool. Or, if you want even more control including editing capabilities, take a look at a third-party program such as Techsmith Snagit.
For more on different methods for taking screenshots on all platforms including Mac, Windows, Linux, and mobile devices check out our complete guide.
What is your favorite way to take screenshots on your desktop or mobile OS? Leave a comment below and share your tips!


