How to Start and End a Column in Microsoft Word 2016

Columns are a great way to neatly fit more text into your newsletters, flyers, and other documents.
If you want to create fancy documents with text layouts similar to a newspaper or newsletter, you can use the column feature in Word 2016. Columns are a great way to maximize the use of text in a document so you can incorporate additional information, such as a table or images. Breaking the column is usually the tricky part for some users. Also, remembering at what part in the document you want to start the column is important. In this article, we show you how to define a column and break it properly.
Format Text as a Column in Microsoft Word 2016
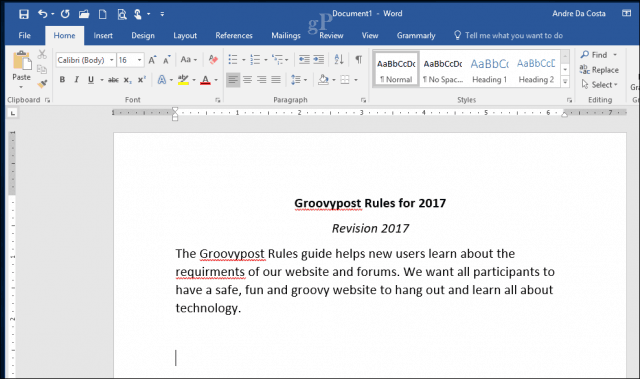
Before you create your columns, you might need to enter information such as a title and an introduction. It’s easier to format a column if there is some existing text on the page, so it’s better if you have some text, even it’s just a placeholder. Once you have some text on the page, begin a new line in your document. This is where you will create your column.
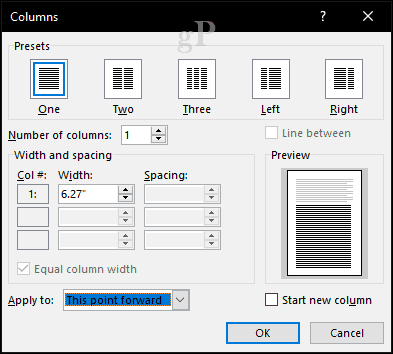
Select the Layout tab, then click Columns. You can choose from the list the number of columns you want or if you need more than three, click More Columns. Microsoft Word 2016 lets you create up to 12 columns in a document.
For this article, we will go with two columns. Next, click the Apply to drop-down and choose This point forward, then click OK. This will tell Word to start the column at your cursor position in the document. If you don’t do this, your title and introduction will end up being a part of the column. Click OK to confirm the changes.

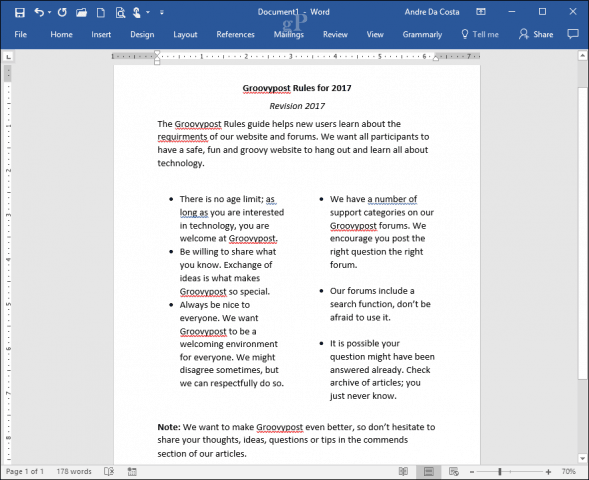
You can begin typing the additional information for your columns. Different formatting can be applied just like normal, such as bullets, font styles, or line spacing.
Creating a Column Break
An important part of creating columns is breaking them. This helps to define the structure of the document. Instead of pressing the enter key until the cursor is in the next column, breaking gracefully tells Microsoft Word to place the cursor on the next side. To do that, place the cursor on a new line, turn off bullets if you were using any, go to the Layout tab, click Breaks, then click Columns. You will notice the cursor jumps to the next column. You can continue typing the rest of the column.

Return to a Single Column
So, we have completed the second column; your next step is to return to a single column in the document. To do that, place the cursor on a new line, turn off bullets if you were using any, go to the Layout tab, click Columns, and then More Columns. Select One, click the Apply to drop-down and choose This point forward, then click OK.
You can then type the remainder of the document.
If you would like to squeeze more space for text in your columns, you can resize each using ruler. Another feature you can incorporate columns with is page breaks. This is great for creating complex documents with different page sizes and content.
Do you use columns in Word 2016? Let us know what you think of this handy feature.


Richard
May 17, 2017 at 8:52 am
Thanks Andre for the Post! Columns make a document look very professional. Have bookmarked your post. Thanks for making the explanation easy to understand!
Andre Da Costa
May 17, 2017 at 12:29 pm
You are welcome Richard. Glad you found it helpful.
Harry
August 3, 2021 at 9:57 am
Thanks Andre!!