How To Password Protect and Encrypt Microsoft OneNote Notebooks

Whether you use Microsoft OneNote for Home, School or Work, encrypting your notebook or a single section is an important feature. Here’s how it works.
There are a lot of great features in Microsoft’s OneNote app. One of those is the ability to secure your data by adding passwords to notebook sections. Enabling and using the feature is relatively simple and takes just a few seconds once you’re up and running. Here’s a look at how encryption works on OneNote.
In nearly all cases, I recommend password-protection entire notebooks in OneNote vs. only encrypting sections. However, those who do a lot of sharing through the app might not agree with this assessment. Regardless, adding security to each is pain-free.
Password Protect a Notebook
When you add a password to a notebook section in OneNote, all pages get locked until you enter the correct password.
To get started:
- In OneNote, right-click on the name of the notebook section that you want to protect.
- Select Password Protection.
- Choose Add Password.
- Add the password you’d like to use in the Enter Password box.
- Type the same password again in the Confirm Password box.
- Click Enter.

For protected notebooks, you’ll now see a lock icon next to the name:

Open Protected Section
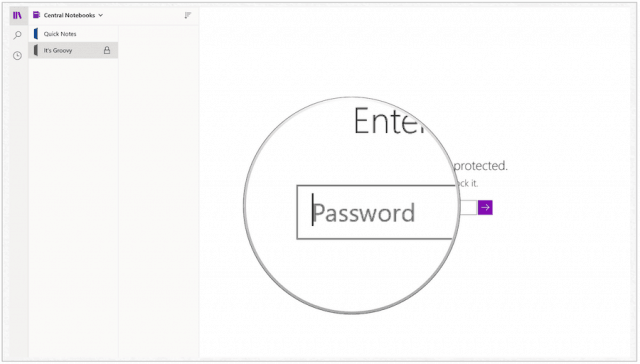
To open a password-protected section in OneNote:
- In OneNote, highlight the protected section on the left.
- Enter the password to unlock under the This section is password protected location.
- Click Enter to unlock the section.
Lock Protected Sections
Sections in OneNote with password protection become locked after a few minutes of inactivity (see below). You can also manually lock the sections.
- In OneNote, right-click the protected section.
- Choose Password Protect This Section.
- Select Lock All.
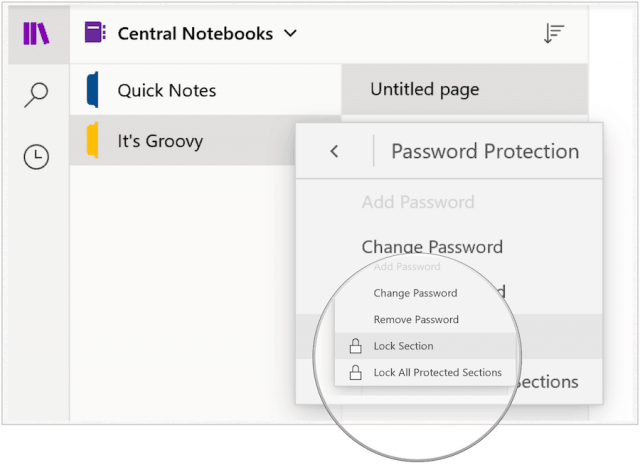
You can lock all password-protected sections in OneNote:
- In OneNote, right-click the protected section.
- Choose Password Protect This Section.
- Select Lock All Protected Sections.
Change a Password
If you have to change the password for a OneNote section, you can do so at any time:
- Right-click on the section that has the password you wish to change.
- Choose Password Protect this Section.
- Select Change Password.
- Add the new password you’d like to use in the Enter Password box.
- Type the same password again in the Confirm Password box.
- Click Enter.

Remove a Password
If you wish, you can remove a password for a OneNote section:
- Right-click on the section that has the password you wish to change.
- Choose Password Protect this Section.
- Select Remove Password.
- Enter your current password in the Enter Password box.
- Click OK.

As you can see, the lock symbol is now removed:

Odds and Ends
There are some important things to understand about OneNote. As Microsoft explains:
- Passwords can be applied only to notebook sections, not to entire notebooks.
- Passwords are case-sensitive. Make sure that the Caps Lock key is off before you add or enter a password.
- OneNote uses encryption to secure password-protected sections. If you forget any of your section passwords, no one will be able to unlock those notes for you (not even Microsoft Technical Support). Take care when adding passwords to your notebook sections and when changing them.
- Password-protected sections aren’t included in notebook searches. To include the notes in a protected section in a search, you’ll have to unlock that section first.
You can find Microsoft OneNote in Windows 10, macOS, Android, iOS, among other platforms.


