How to Migrate Your Files and Settings from an Old Computer to Windows 10

When you buy a new computer, it’s always a pain moving all your old files over to your new one. This article details how you can simplify the process for Windows 10 using a free tool from Microsoft.
If you buy a new PC, there is the chore of bringing over your personal files and settings. We have looked at a number of options in the past, such as the excellent File History tool built into Windows since Windows 8. There is one solution however designed just for Windows 10 which we’re going to review with you in detail, Laplink PC Mover Express.
In partnership with Microsoft, Laplink provided a basic transfer tool for free to aid users with migrating their files and personal settings to a new PC running Windows 10. PCMover Express can transfer files and settings from computers running Windows XP to computers running Windows 8.1 or later. Previously, users depended on the built-in Windows Easy Transfer wizard, but this is no longer supported. In this article, I’ll review downloading, installing, and transferring your files using PCMover Express.
Use PCMover Express to Migrate Personal Files to a New Windows 10 PC or Device
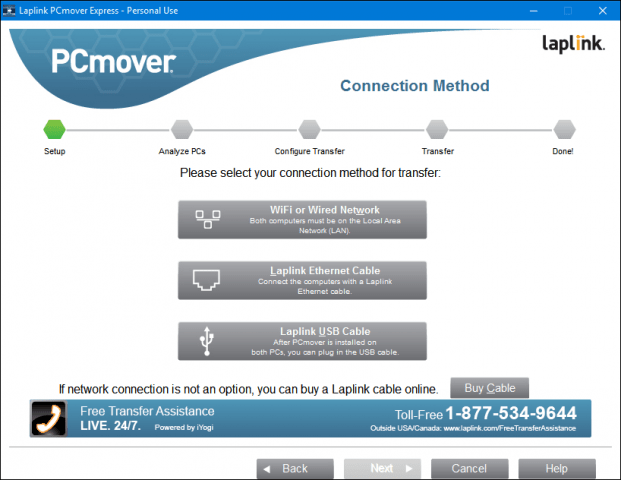
PCMover Express supports multiple methods for transferring your files to a new PC. For this tutorial, I will be using a wired network. This will require setting up a basic network between the old and new PC. If this is too involved, you can consider the other options available such as Laplink’s own proprietary Laplink Ethernet cable or Laplink USB cable.
Install and Configure PCMover Express Old PC
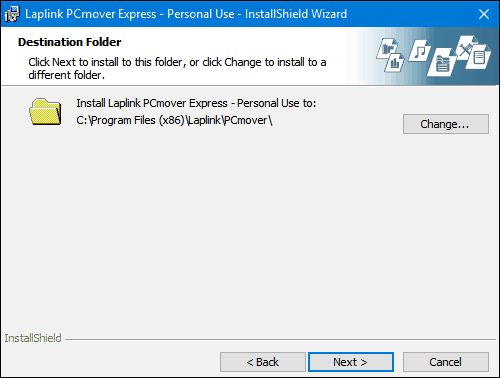
Once you have your devices connected, go to the PCMover Express page, then click the Download now link. After downloading, launch the PCmoverExpressPersonalUse_EN file, proceed to install it on the old and new PCs. The PC Mover Express wizard requires providing some information for registration purposes, which will require Internet access.

Click Next to begin

Accept the license agreement

Enter your customer information.

Click Next
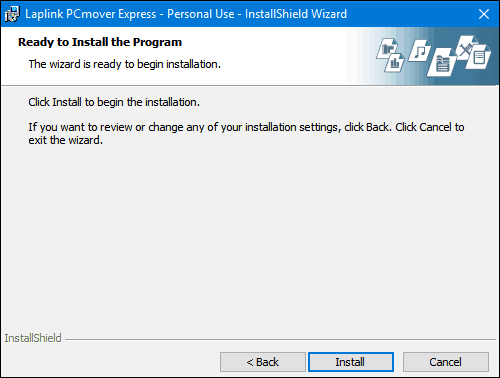
Click Install
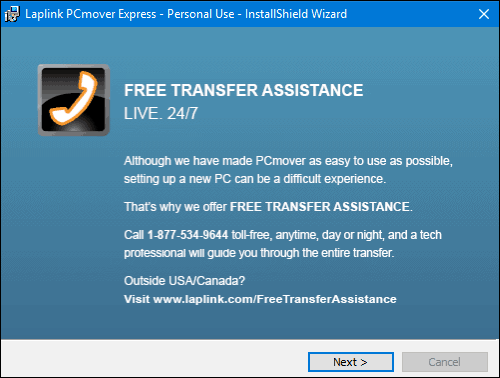
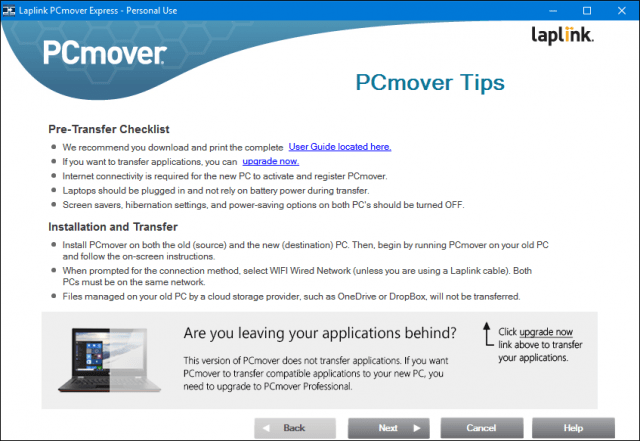
During the post-setup, Laplink will go hard on the upsell, ignore it then click Next.
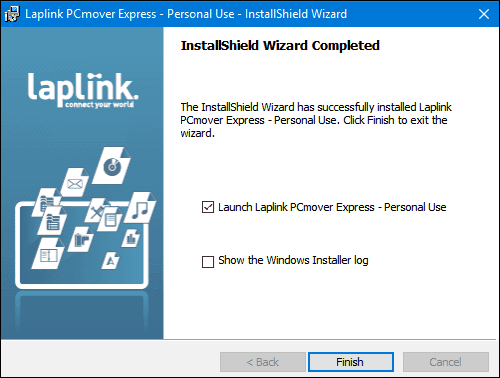
Click Finish
The free version of PCMover Express does not transfer applications; the wizard will offer to upsell you to a Professional edition if you want that option. Ignore it and follow the other instructions such as ensuring both devices are connected. Besides, reinstalling applications from their original setup files and install discs is always best. If you are transferring from an older computer running Windows 10, check out our article for instructions on how to reinstall purchased UWP apps from the Windows Store.
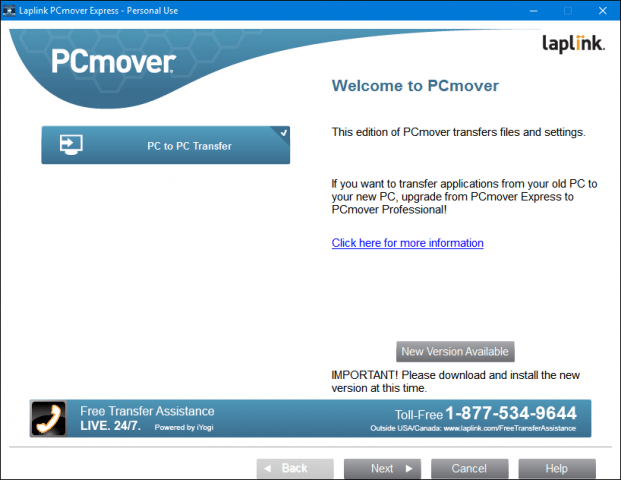
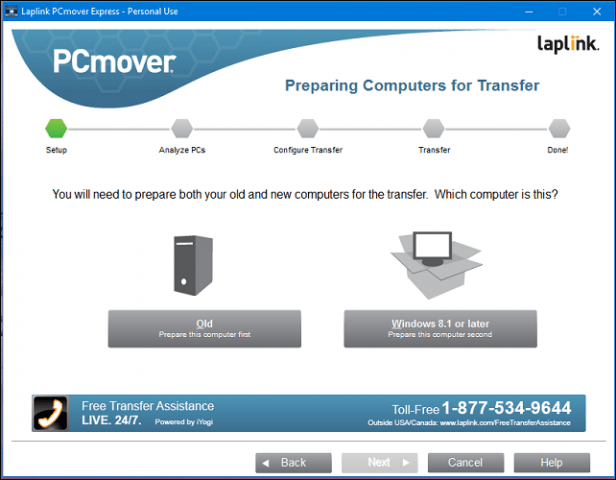
Select PC to PC Transfer then click Next.
Click Old then click Next.
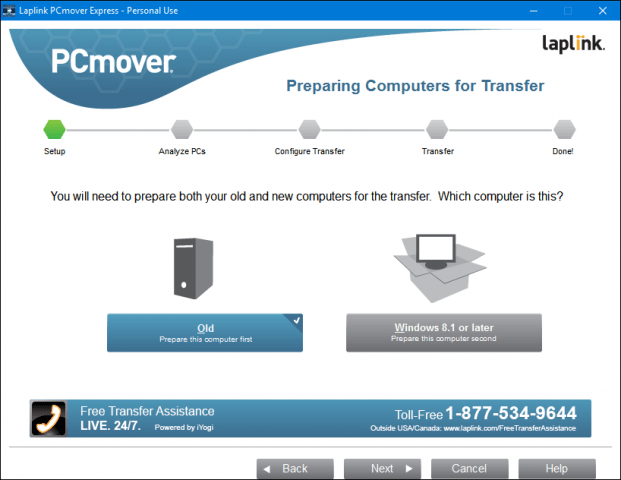
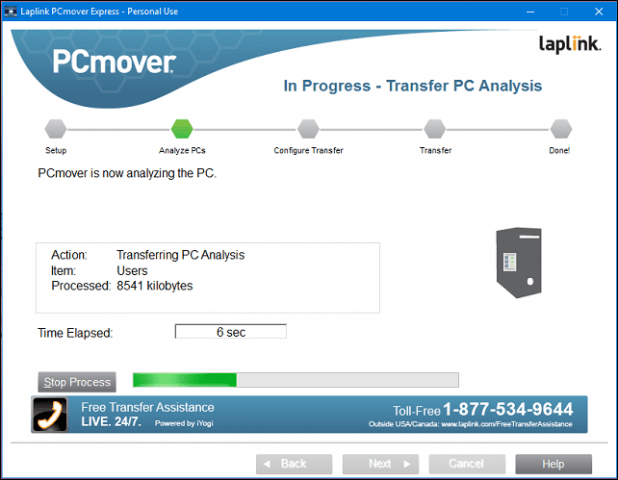
Wait while PCMover Express analyzes your old PC then configures it to begin the transfer.
Configure PCMover Express on New PC
Now that we have our old PC configured, we are ready to transfer our files over. Launch PC Mover Express on the new PC. You will have to go through some of the same steps performed initially on the old PC such as registration. On the new PC, make sure you select Windows 8.1 or later then click Next.
PCmover should automatically detect the old computer we configured earlier. If you don’t find it, click Browse, Network then select your computer if it’s listed. Click Next.

Your PC’s will be analyzed for what’s available to be transferred.
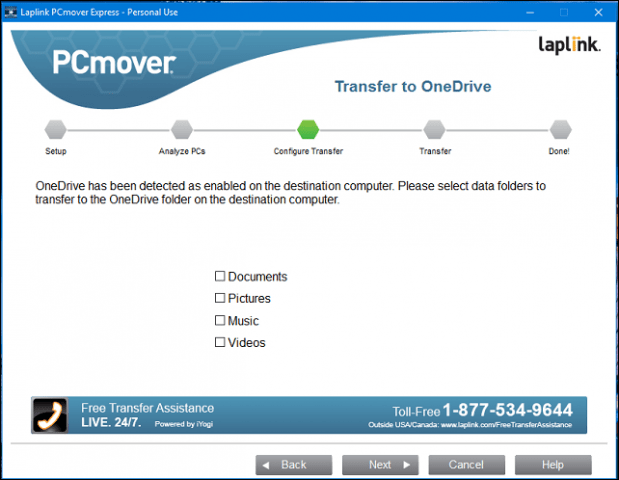
If OneDrive is detected, PCMover Express will offer the opportunity to select which folders you would like to migrate from the cloud storage service. Click Next.
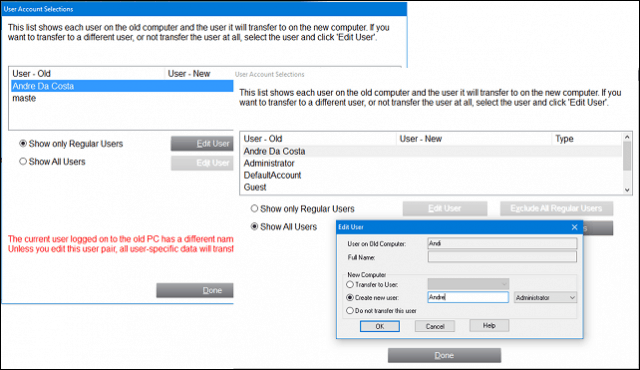
The exclusion screen allows you to choose what you don’t want to migrate such as User Accounts, Drives, File types, and folders.
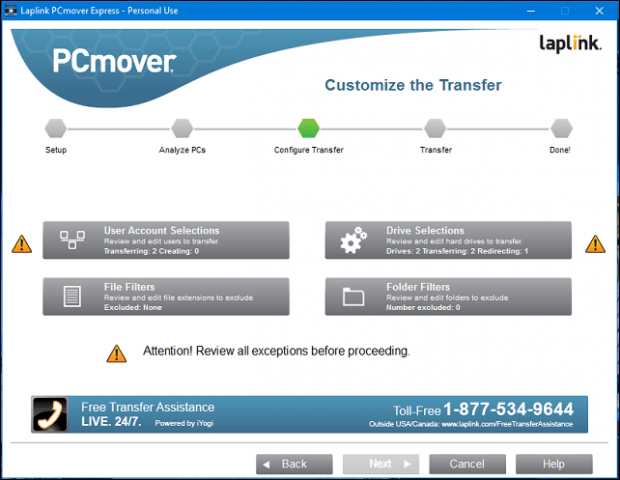
The User Account Selections let you edit and choose which accounts you to transfer. Also, you can have its contents migrate to a new account instead of the currently logged-in user.
Partitions can also be included or excluded from your migration.

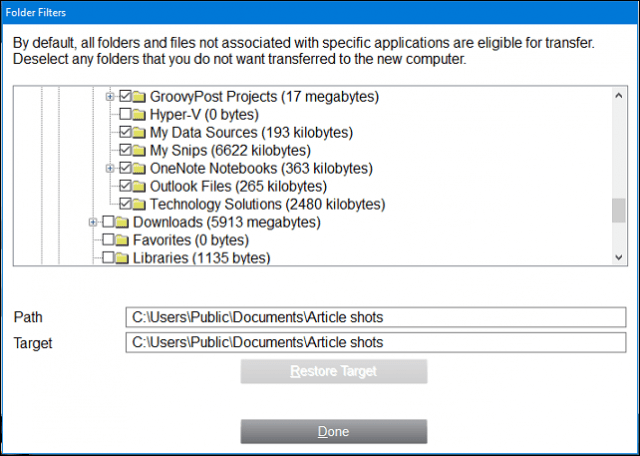
If there are specific folders you would like to add or exclude; the Folder filters can help you do so.
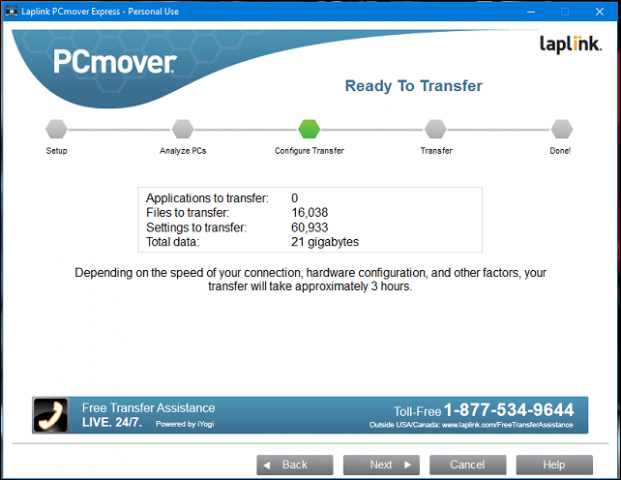
Once you’ve defined your exclusions, click Next to review the summary. PCMover will provide a summary and estimation of how long it might take to transfer. If you are not satisfied, click Back to make appropriate changes. Click Next to begin the transfer.
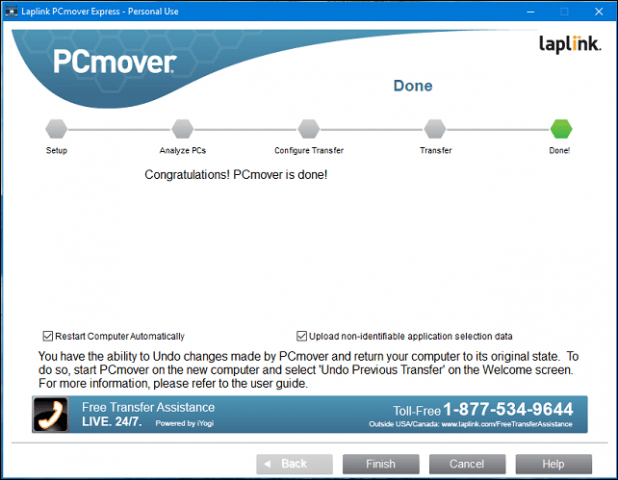
Wait while PCMover transfers your files.

When complete, click Finish to restart so that changes are written to disk. That’s it.
It’s a little bit more involved than other options, but it’s thorough and easy to follow. Make sure you check out our other articles about backing up your data.
How is your Windows 10 upgrade going so far? Did upgrade an older computer or get it preinstalled on a new device? Let us know in the comments. If you are experiencing trouble with the upgrade, join us on the Windows 10 Forum for expert help and support.


Ricardo
August 9, 2016 at 9:03 am
Whoa.
That was, what, 20+ steps? To transfer just files?
No thanks, I’ll stick with Zinstall.
“This is my old computer”. “This is my new computer”. “Start transfer”.
3 steps and it transfers programs, too.
Bruce
August 9, 2016 at 9:45 am
I went from XP to WIN 10. Will Zinstall transfer files from XP to WIN 10?
Ricardo
August 10, 2016 at 2:32 am
Yes, I used it both for XP to Win10 and Win10 to Win10.
Both worked fine, transferred files and programs.
Andre Da Costa
August 10, 2016 at 10:51 am
Thanks Ricardo, will check it out.
Cookie
August 22, 2016 at 7:40 pm
Did u manage to check it out yet? Also, will the email app in Win10 read the old Outlook files?
Tx
Ian
August 21, 2016 at 3:19 am
Sounds good. Is there a free version for home users?
Steve Krause
August 21, 2016 at 7:51 am
Yes – Use the link provided by Andre – https://www.microsoft.com/en-us/windows/transfer-your-data. Microsoft partnered with Laplink to make it available for a bit.
Ian
August 21, 2016 at 9:03 am
Thanks. Zinstall sounds good. Is there a free version for home users?
James
August 9, 2016 at 9:56 am
Re
“such as the excellent File History tool built into ”
What you mean they have fixed it so:
It doesn’t just stop – and need manually restarting ?
It doesn’t just ignore files with fullnames longer than 210 characters ?
It doesn’t keep the backups in a store accessible to anyone using File Explorer on that PC ?
It doesn’t let anyone who can remove the read only attribute change the content of a ‘backup’ ?
It doesn’t require the backup drive attached at all times – for east crypto-malware to ‘fix’ the store ?
It doesn’t backup files while you are changing them – so ‘sets’ may not match ?
( move emails from the inbox to an archive, and the moved emails are not in either backup)
It now allows a good backup retention plan – rather than drop everything older than a month ?
(OK – you can manually delete stuff not wanted using file Explorer – just do it carefully!)
Brian ahood
September 4, 2016 at 7:07 pm
Maybe I am just a dunce but what has been said to date hasn’t assisted me in the process of shifting files (potentially large numbers) from where they are at present located in Windows 8 through to Windows 10. If you have any useful instructions I would be grateful if you would let me know where I can find them? So that I can implement them.
Brian
Ian
September 5, 2016 at 9:43 am
With large file numbers… I suggest the easiest way is to COPY the files to an intermediate location (e.g. external portable disk drive) then copy(or move) them to the new computer. Totally under user control and free and easy to do.
Where are your files?
C:\Users\\documents
C:\Users\\pictures
C:\Users\\music
Does that cover all your files? Do you understand? If not please ask.
Ian
September 5, 2016 at 9:55 am
Damn editor… above should say, for example, c:\users\username\documents where username is … your own username.
Gloria
October 10, 2016 at 6:32 am
I think I have the best solution. Just keep all you documents, pictures, downloads, etc., on a USB. Put in the new computer (you may have to change save file location say from F:/ to E:/) but it has no pain or time constraints. Unfortunately the long part is reinstalling all the programs, but at this point there are some that you hardly ever used and they probably don’t need to be installed immediately. Install to an external drive and your up and running in no time.
Jan Söderman
August 10, 2018 at 9:21 am
I used PC Mover Express today for transfering all files from my old PC to my new one. And now i cant open Outlook 2010 on my new PC….Solution?