How to Geotag Photos with Smartphone Apps
Geotagging, storing GPS coordinates within a photo’s metadata, creates the ability to do these things and more.
Have you ever wanted to pinpoint the location your photos were taken or overlay them on a map to view a geographical snapshot of your vacation? Geotagging, storing GPS coordinates within a photo’s metadata, creates the ability to do these things and more. GPS-equipped camera smartphones can automatically geotag photos, but people often use high-quality digital cameras for important shots. Here is an easy way to combine the geotagging capability of a smartphone with the quality photography of a digital camera.
Geotag Photos with Apps
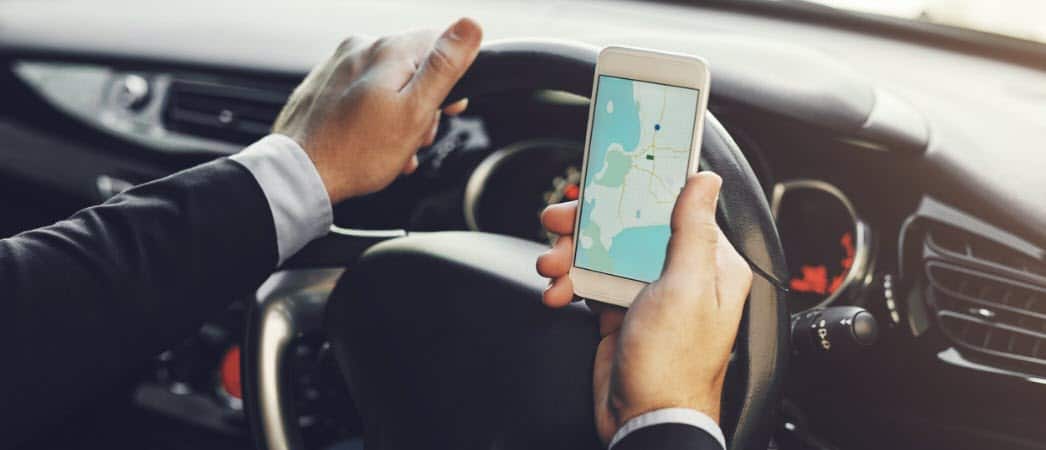
To start, you need a way to create a GPS track: a time-stamped series of GPS coordinates taken at a certain interval (usually distance or time). The most common format for tracks is GPX. Both iOS and Android GPS-equipped devices can create and export GPX tracks with downloadable apps. Trails (iOS, $2.99) and Speedview or My Tracks (Android, free) offer such capabilities. Choices abound for similar apps, so find one that appeals to you in both price and options. Additionally, most recreational GPS units support GPX exporting; follow the instructions for each unit.
Next, synchronize the clocks of the camera and GPS device. This will help when GeoSetter matches the timestamps of the photos with the time-stamped coordinates in the GPX track.
Now go take some photos. Keep the GPS tracking for all the shots.
When home, export the GPX track and photos to your computer.
The best tool I have found for combining photos and GPX tracks is GeoSetter. It’s a helpful program that displays photos, includes a map for location viewing, and edits the metadata of photos. Navigate to its download page and save the installation file to your computer.

Find the folder where the “geosetter_setup” application is saved and launch the installer by double-clicking it. For this example it is in the Downloads folder.

Click OK after selecting a language.

Click Next through the Welcome page. Read and accept the EULA and continue.

Choose where you would like the application to be installed. The default settings are recommended. Click Next.
Leave Add GeoSetter shell extension checked. Click Next.

Use the default Start Menu settings and click Next.

If you plan on using the program often, install a desktop icon. If not, leave the checkboxes blank. Click Next. Click Install. Click Finish.

GeoSetter will automatically launch and give you an information box on file types. Click OK.

Depending on your computer, GeoSetter may ask to update the ExifTool. Click Install Version 8.55 (or later version if available). When finished, click OK.

The Settings windows open automatically. If not, open it by clicking File, Settings.

Under the File Options tab, click Select All. Check and uncheck the boxes according to the screenshot below. These are recommended settings, but feel free to adjust as you wish. If you want to keep a copy of the original files without the GPS data, uncheck Overwrite Original File when Saving Changes. Click OK.

Add the folder containing your photos to the program by clicking Images, Open Folder.

Find the folder in the navigator window and double-click it.

Your photos will populate the left pane of GeoSetter. Don’t worry about the map on the right for now.
Click Images, Select All.

Click Images, Synchronize with GPS Data Files.

Import the GPX track that was taken with these photos by selecting Synchronize with Data File and clicking on the “…” button.

In Windows Explorer navigate to the GPX file and click Open. For this example, the GPX file is in the Downloads folder.

The default settings will work for most of the options listed. Time Adjustment is an important setting that synchronizes the timestamps of the GPX file with the timestamps of the photos. Since the devices in this example were synchronized and in the same time zone as the computer, we will select Use Local Windows Settings. If the photos were taken in a different time zone, choose Use Time Zone and select the time zone where the photos were taken. If the clocks were not synchronized, additional adjustments can be made with the Additional Time Adjustment options. Click OK after choosing the appropriate time settings.

A confirmation window will inform you if GeoSetter was able to match the data from the photos and the GPX file. Most of the photos will be matched, as shown in the screenshot. There are a few reasons why photos might not match. First, the Time Adjustment might be wrong. Try adjusting those settings. Second, if the GPS was shut off or unable to get a signal for some time, there might not be any GPX data points close enough in time to the photos’ timestamps. You can adjust the Maximum Time Difference option and see if that helps. Click Yes.

Decide if you would like GeoSetter to save the GPX tracks for future use. Here we chose not to and clicked No.

A geotag icon appears on the upper left of each photo.

When you click on a photo in the left pane, a marker in the right pane will be highlighted, marking the location of the photo. The colored line is the track from the GPX file.

If a different map view is preferred, click on the Select Map Type button and choose the proper map from the drop-down list. In the above example, we chose the Google Terrain Map.

If the photo locations are correct, save the changes to the images by clicking Images, Save Changes.

You have now saved the GPS coordinates to the metadata of the photos. Go have some fun finding new ways to view these geotagged photos.
Possible Errors: After GeoSetter matches the GPX file and photos, you may get a screen saying there were errors. In most cases this screen can be ignored without a problem. If, however, it stops you from continuing, try the following solution. Click Images, Settings to open the Settings window.

After clicking Select All, check the Ignore Minor Errors box. Click OK. This should fix many problems.

Privacy Concerns: If you upload geotagged pictures to a public website or share them with friends, the location information stored in the metadata is freely available. Therefore, use caution when sharing these photos if they contain sensitive location information. Such data might be the location of a home, work, or child’s school. As always, use common sense when sharing information. If you wish to share pictures without the geotagged data, there are various ways to scrub the location information. In GeoSetter, choose the photos you would like scrubbed by holding Ctrl while clicking them. Next, click Images, Edit Data.

Under the Location tab, clear the Latitude and Longitude fields. In the example below, I have cleared the Latitude field and still need to clear the Longitude field.

Once both fields are cleared, click Set Current Values for All Selected Images.

Make sure the Coordinates box is checked and click OK.

Save the changes by clicking Images, Save Changes. The geotag icon no longer displays on the picture preview.


Tom
May 1, 2012 at 7:24 pm
Thank you for this tutorial. I was using Geosetter correctly, but without your extra comments about why it might fail, I never would have realized that my GPS and camera were off by an entire day.
Steve Krause
May 1, 2012 at 10:13 pm
Ouch! You should check to see if your camera has a newer BIOS or Firmware update. It’s amazing how many things you can flash now with newer bios!