How to Delete Windows.old Folder in Windows 11

If you’re running out of disk space soon after upgrading your PC to Windows 11, delete the Windows.old folder to make room. Here’s how.
If you’ve recently upgraded from Windows 10 to Windows 11, you’ll have one week to revert back. After you upgrade, Windows will create a Windows.old folder on your system drive. This folder includes any old Windows installation files and other system data from your previous operating system.
Unfortunately, the Windows.old folder can take up a significant amount of space on the PC’s system drive. If you have a laptop or PC with limited storage, you might want to delete the folder. While Windows should eventually remove this folder, deleting it yourself will help reclaim gigabytes of space immediately.
If you want to delete the Windows.old folder in Windows 11, here’s what you’ll need to do.
How to Find and Delete the Windows.old Folder in Windows 11
To find the Windows.old folder, launch File Explorer from the Taskbar or the Start menu.

Most users should find the Windows.old folder in the standard C drive (eg. C:\Windows.old). If your Windows installation uses another drive letter, make sure to check there instead.
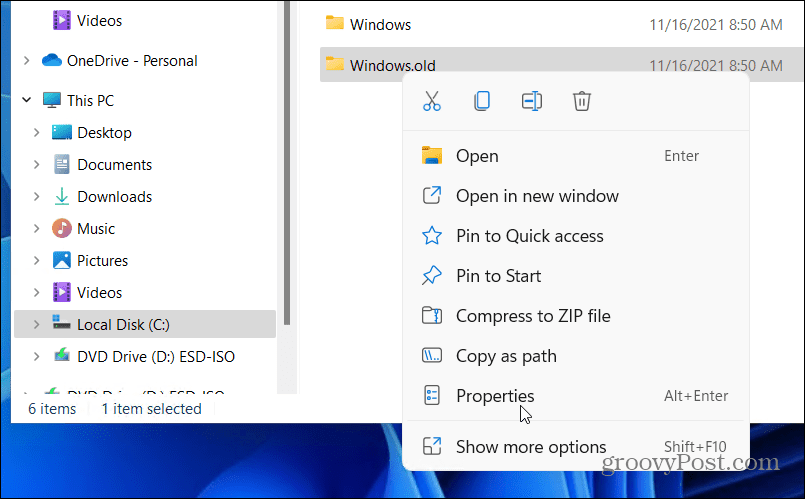
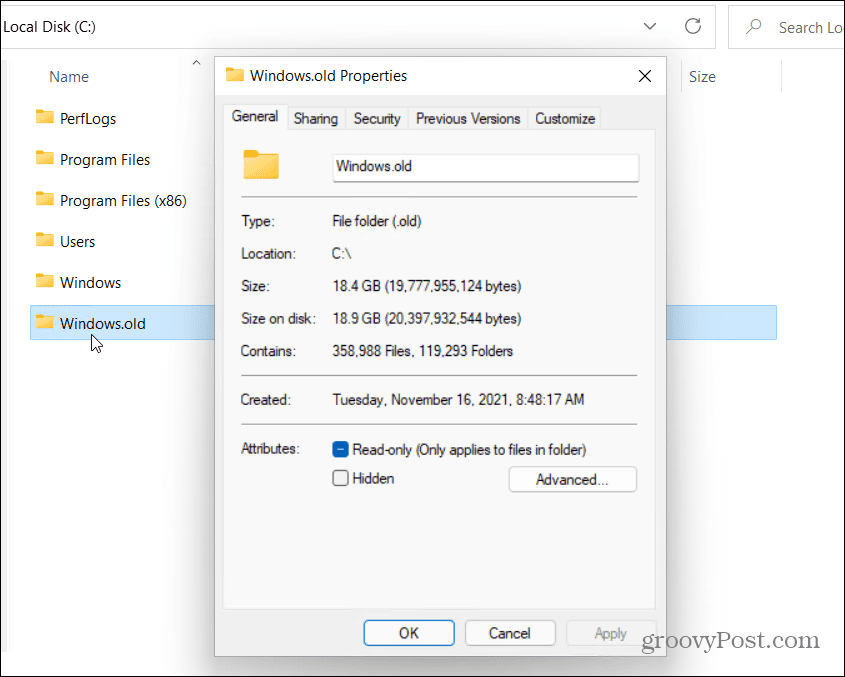
If you want to see how much space the folder is currently using, right-click the folder and select Properties from the context menu.
The Windows.old Properties window will give you an indication of the current folder size. This will vary, depending on the size of the previous installation, but expect to see this folder use 15GB or more of storage space.
Deleting the Windows.old Folder Manually
Assuming you’re happy to delete the Windows.old folder, click OK to close the Properties window. Right-click the folder in File Explorer and press Delete to proceed.
Windows is protective of the Windows.old folder, so you may be asked for permission to remove the folder. Press Continue, then follow any additional on-screen instructions to do this.
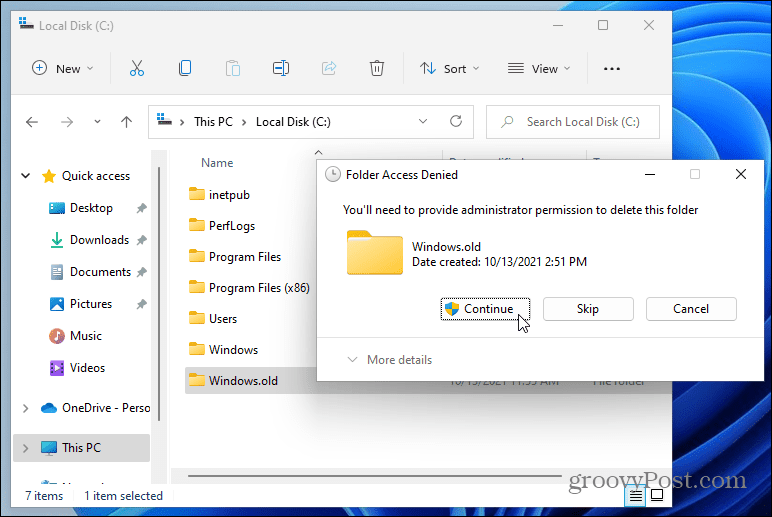
If your user account lacks administrator privileges, you’ll need to sign in (when prompted) to authorize the deletion.
Using Disk Cleanup
You can also use the Disk Cleanup tool to remove the Windows.old folder. To use this, open the Start menu and type disk cleanup. Select the top (best match) result at the top.

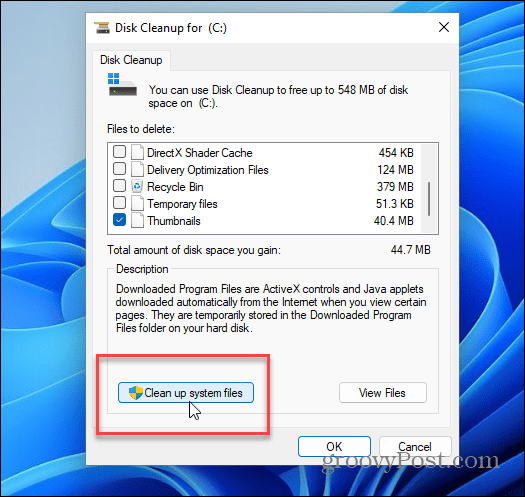
When the Disk Cleanup window opens, press the Clean up System Files button at the bottom.
It might take a few moments for the tool to scan your PC.
When it finishes, find and select Previous Windows Installation(s) in the Files to delete section. Disk Cleanup will show the total amount of space you’ll gain by removing this.
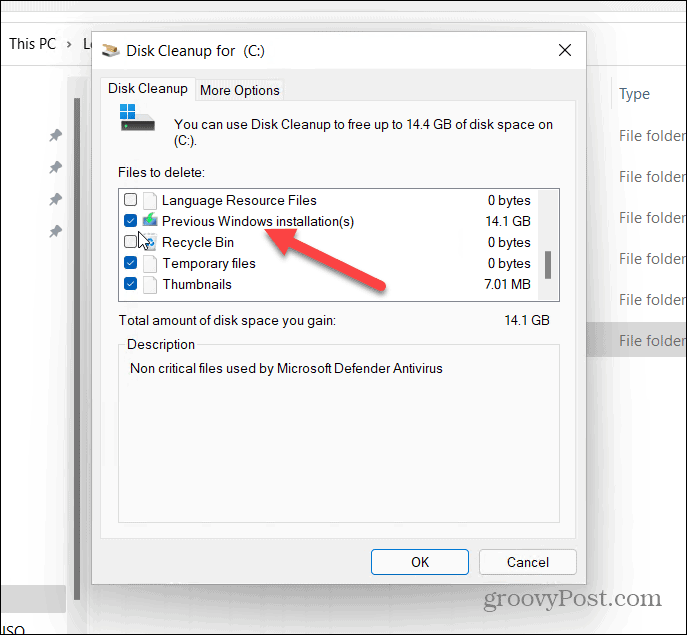
You can select other unnecessary files found by Disk Cleanup at this point to remove those, too.
When you’re ready, click OK, then press Delete Files when the verification message appears.
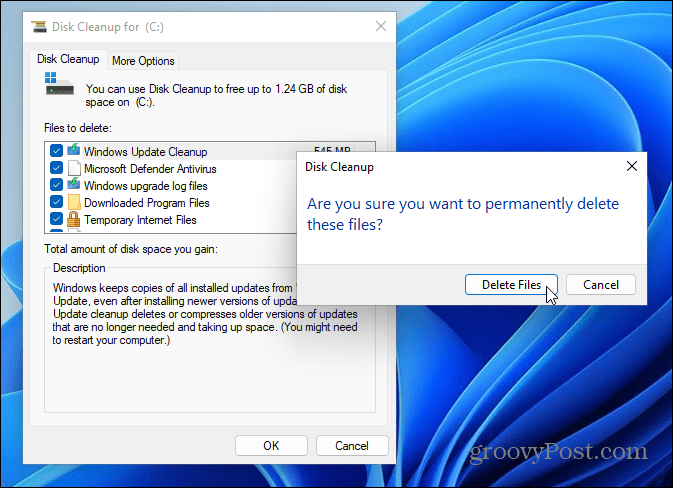
If this is the first time deleting Windows.old, you’ll get a second notification message asking if you’re sure. Click Yes to verify you want to delete it.

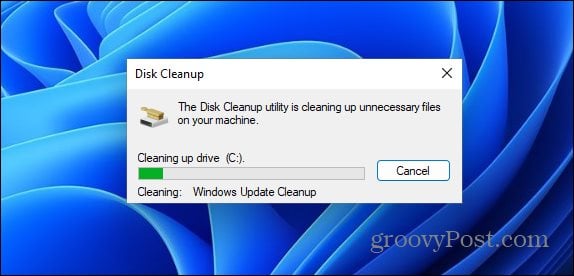
Allow time for Windows to remove the Windows.old folder and any other items you select. The amount of time it takes will vary based on the size of the folder.
Rolling Back Windows with Windows.old
Microsoft uses the Windows.old folder to make it easy to roll back your installation. If you want to delete Windows.old from Windows 11, you can, but don’t forget that you’ll lose the ability to downgrade. Windows will stop you downgrading a week after installing Windows 11 anyway, and should remove the folder for you at some point afterward.
If it doesn’t delete it (or if you need the space immediately), removing Windows.old won’t damage your PC, and you can always roll back by performing a clean installation of Windows 10. If you want some Windows 10 features, but you’d prefer to keep Windows 11 as your primary OS, you can always enable virtualization on your PC. You can then create a new Windows 11 virtual machine instead.


Jim
June 1, 2022 at 7:36 pm
The last one worked perfectly. All the others (and Cleaner One Pro) snagged. I didn’t trust Microsoft to delete the old Windows. Thanks!