How to Create a Drop-Down List in Microsoft Word

Make data entry easier or avoid issues like misspellings by adding a drop-down list in Word. It takes only a minute, and we’ll show you how.
You don’t have to make a long, fillable form in Microsoft Word to take advantage of form controls. You may have just one or two spots where you want to add something like a drop down list. This allows you or your reader to select an item from your choices. It can help eliminate errors with data entry and spelling.
Here, we’ll show you how to add a drop down list to a Word document.
1. Add the Drop Down Form Control
You must use the Developer tab to work with form controls in Word. If you don’t see this tab, you’ll need to enable the Developer tab in your Office settings.
- Place your cursor in the document where you want to add the drop down list.
- Go to the Developer tab and click the Drop-Down List Content Control button.
- You’ll see the control pop into your document as a box with “Choose an item.” inside. You can then move on to setting up the list.


2. Create the Drop Down List in Word
Next, you’ll want to start creating your Word drop down list by adding the list of items, giving the control a name, and adjusting a few other settings per your preference.
To do this, select the control, go back to the Developer tab, and click Properties in the Controls section of the ribbon.


The Content Control Properties window will open, ready for your list details.
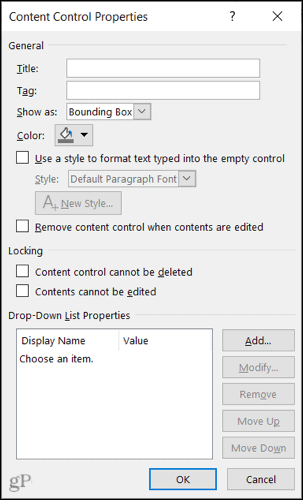

The options include:
- Title and Tag: Enter the Title and, optionally, a Tag you want to use for the list.
- Show as: By default, this is set to Bounding Box. If you prefer, you can change it to display with Start/End Tags.


- Color and Style: If you want to give your control color or a particular style, you can select those next.
- Remove the control: Optionally, you can remove the control when contents are edited by checking the next box.
- Locking: You’ll see two locking options for the control. So you can restrict it from being deleted and the contents from being edited by checking one or both of those options.
3. Add Your List Items
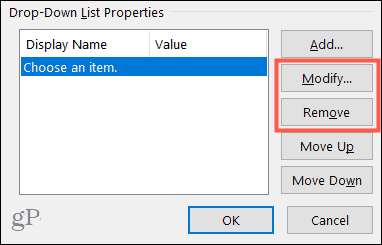
Finally, you’ll add your list of items to your drop down list. You’ll notice that “Choose an item.” is a list option. You can keep it, edit it by clicking Modify, or delete it by clicking Remove.

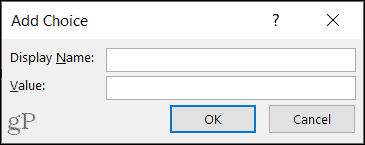
Next, click Add to insert a list item. The Value will automatically enter as you type the Display Name. Click OK when you finish. Then continue to insert your remaining list items the same way.

Once you have all of your list choices, you can rearrange them using the Move Up and Move Down buttons on the right.


When you’re happy with your list set up, click OK to apply the properties.
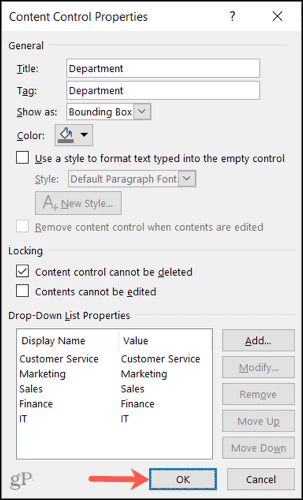

And that’s all there is to it! To use the drop down list, click it and choose an option using the arrow.
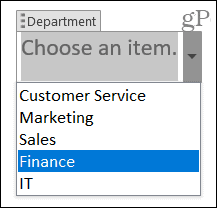

Limit Data Entry Options Using a Drop Down List in Word
Using the steps above, you can quickly add a drop down list in Word. A drop down list is a useful form control in Word for simplicity or to avoid data entry issues. You can make sure that only specific items are available for yourself or others to select.
For more, take a look at how to automate forms in Word with custom fields or how to create a simple Word checklist.
2 Comments
Leave a Reply
Leave a Reply


Clare
August 20, 2023 at 4:20 pm
Thanks for your very clear and useful instructions.
Juliet
September 15, 2023 at 12:00 pm
Agreed! Thank you for the clear instructions.
Question, is there a way to have this drop down be like a hyperlink to whatever item you click on?
Almost like a Table of contents with hyperlink. Thank you!