How to Create a Bootable Linux USB Drive on Mac
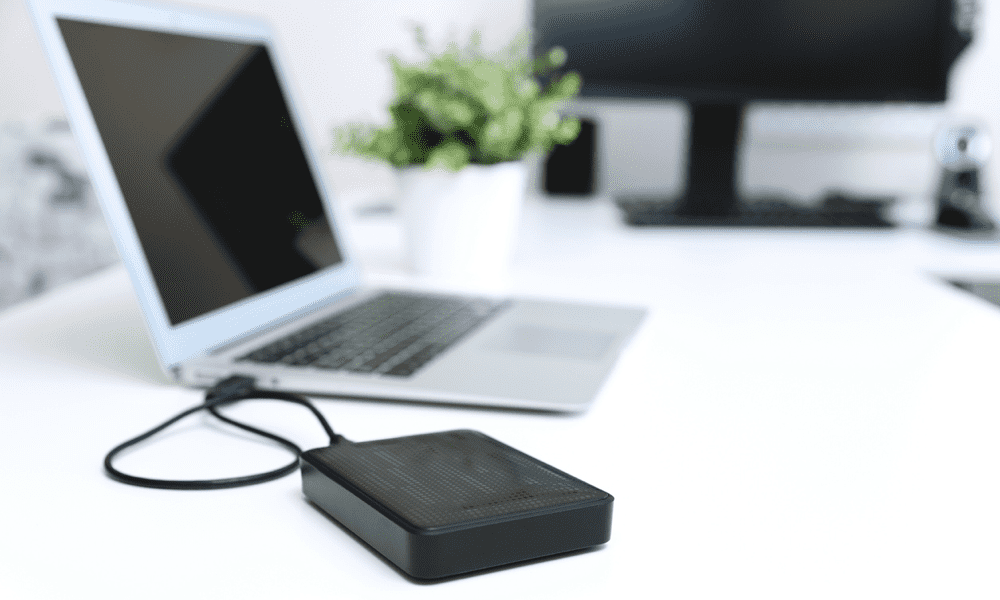
You might want to run Linux on your Mac without removing macOS. Learn how to create a bootable Linux USB drive on a Mac here.
There are a lot of benefits to Linux. The open-source operating system is lightweight, stable, and completely free. If you’re a Mac user, you may be thinking about giving Linux a try. There’s always a risk involved in installing any new operating system, however. If things go wrong, you could end up wiping files you had no intention of destroying. You might also want to be able to run macOS but not want the hassle of setting up a dual boot system. The good news is that you can run Linux from a bootable USB drive. You don’t need to touch your current macOS installation or make any changes to your hard drive.
If you’re ready to give Linux a try without having to install it, we’ll explain how to create a bootable Linux USB drive on your Mac below.
Why Create a Bootable Linux USB Drive on Mac?
There are several reasons why you might want to create a bootable Linux USB drive for your Mac.
The beauty of a bootable drive is that you don’t need to make any changes to your macOS installation to run it—everything you need is on your USB drive. It means that you don’t have to worry about messing anything up on your Mac. When you’re done, just restart, take out the USB drive, and boot into macOS as normal.
Another benefit is that it means you can take Linux with you wherever you go. Want to use someone else’s Mac? Just plug your USB drive in, and you can run Linux on their machine, too. Creating a bootable USB drive is also a great way to try out different Linux distros without having to install and then uninstall each one.
How to Create a Bootable Linux USB Drive on Mac
To create your bootable USB drive, you’ll need a few things. Firstly, a USB drive with about 4GB of storage. Then, you’ll need your Linux distro. You’ll also need a way of writing the Linux ISO to the USB drive. You can do this using Terminal, but in this example, we’ll be using a free tool called Etcher. And, of course, you’ll need your Mac.
Once you’ve got everything you need, there are just two main steps to create your bootable Linux USB drive: format your USB drive and then write to it.
How to Format Your USB Drive
Formatting your USB drive ensures that it’s in the correct disk format and is ready to be written to. You can format the drive in macOS.
- Plug the USB drive into a USB port on your Mac.
- Press Cmd+Space to open Spotlight.
- Type Disk Utility into the search bar.


- Click the Disk Utility app in the results.


- Select your USB drive in the left-hand menu.


- Click Erase.


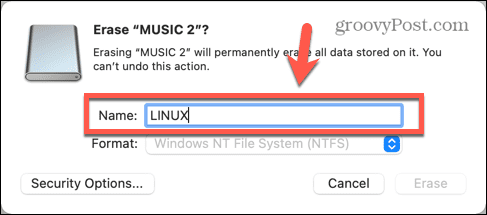
- Change the name of your USB drive if you wish.

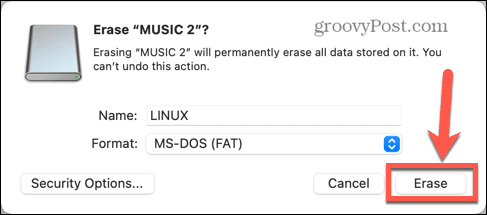
- Select MS-DOS (FAT) as the format.


- Click Erase.

- Wait for the formatting to complete.
How to Install Etcher
If you don’t already have it on your Mac, you’ll need to download and install Etcher, which is the app we’ll be using to write the ISO file to your USB drive.
- Download the Etcher app.
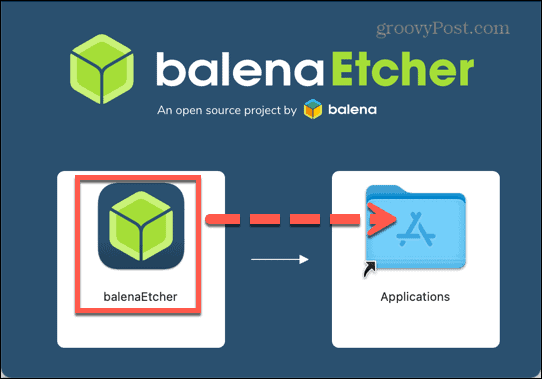
- Open the downloaded DMG file.
- Drag the balenaEtcher icon over to the Applications Folder icon.

- Navigate to your Applications folder and open balenaEtcher.


- If the app doesn’t open, click the Apple icon in the menu bar and select System Preferences.

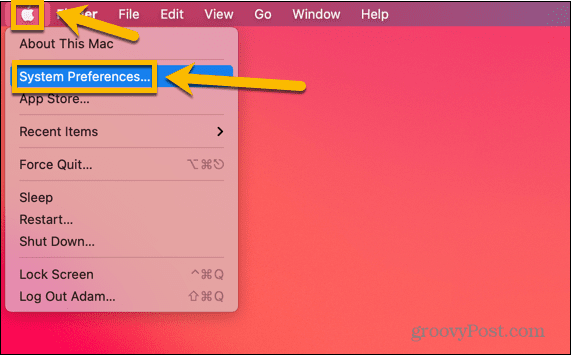
- Click Security & Privacy.


- Under General, make sure that the App Store and Identified Developers option is selected.


- Try opening Etcher again.
How to Write to Your USB Drive Using Etcher
Once you have installed Etcher, you’re ready to write your bootable image to your USB drive. You’ll need to download the image for the version of Linux you want to install. There is a wide variety of bootable Linux distros to choose from, each with its pros and cons. Once you’ve decided what flavor you want to run, you can use Etcher to write it to your USB.
- Download your Linux distro of choice. In this example, we’ll be using Linux Lite.
- Open Etcher.
- Click Select Image.


- Choose the Linux image that you just downloaded.


- Click Select Target.


- Select your USB drive and click Select. Your USB may not be listed under the name you gave it, but you can use the disk sizes to ensure that you’re selecting the right target.


- Click Flash and the writing process will start.


- When it is done, you’ll see a message that the flash is completed.


How to Boot Your Mac From Your USB Drive
Now that your bootable USB is done, you’re ready to start running Linux on your Mac. To do so, you’ll need to restart your Mac so that it can boot from the USB drive.
How to Boot an Apple Silicon (M1, M2, etc.) Mac from a USB Drive
- Turn off your Mac.
- Hold the power button on your Mac until the display prompts “Loading Startup Options.”
- Select your USB drive and click Continue.
To boot your Intel-based Mac from your USB drive:
- Restart your Mac.
- When it has shut down and is about to restart, press and hold the Option (Alt) key.
- You should see a screen offering a choice of boot options—click EFI Boot.


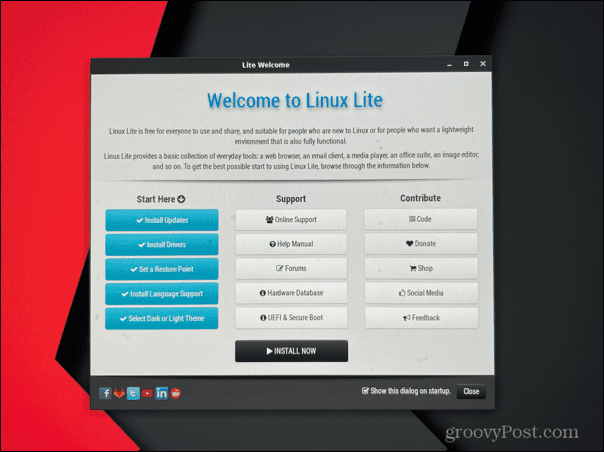
- Select Boot Linux Lite 6.2 Live System or the equivalent option for the distro that you’re using.


- Your Mac should boot into a live Linux session.

- When you want to return to macOS, restart your computer and don’t press any keys as it restarts.
- You should find that macOS boots as normal.
Learn More About Linux
Learning how to create a bootable Linux USB drive allows you to use Linux on any computer without the need to install it. You can run Linux wherever you want and then simply restart your computer without the USB drive in place to return to your regular OS. If you’re ready to go, you’ll need to make sure you pick a bootable USB Linux distro that suits your needs first.
1 Comment
Leave a Reply
Leave a Reply


Jimmy
September 6, 2023 at 6:37 pm
Etcher keep asking the password. I entered user password, admin password, Root password, none of them work. Any solution?