How to Change Font in Gmail

Want to jazz up your email messages in Gmail? You can change font in Gmail, apply new font sizes and colors, and use additional formatting.
If you’re typing up an email in Gmail, you’ll see the same font in use for each email you draft. Gmail uses a default formatting style for emails, ensuring consistency when you’re sending emails to users.
If you want to change font in Gmail (and make additional formatting changes), you have a couple of ways to do it. You apply new font styles to email text temporarily. Alternatively, you can edit your Gmail font style to always use a certain type of font, size, color, and formatting.
If you want to know how to change font in Gmail, follow the steps below.
How to Change Font in Gmail Temporarily
When you’re typing up an email in Gmail, the same font style will apply. Google typically uses the Sans Serif font for emails, with text size set at normal and the text color set to black.
You can temporarily change your font style in Gmail as you compose an email.
Changing Font in Gmail on PC and Mac
If you want to change this font style temporarily on a PC or Mac, follow these steps:
- Open the Gmail website.
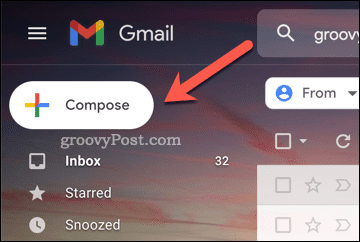
- Click the Compose button.

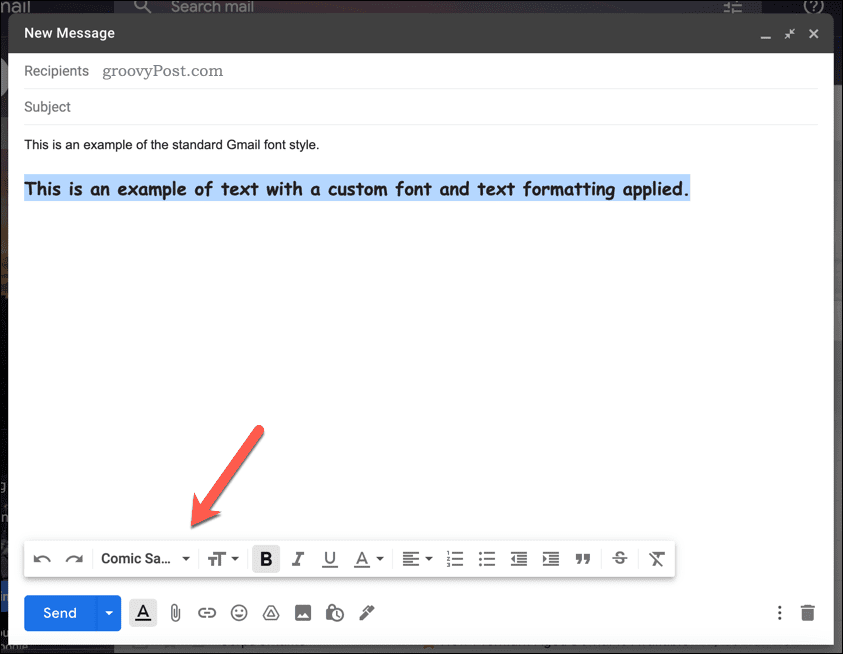
- In the New Message box, use the toolbar at the bottom to change your font settings.

- If you want to change existing text, select it first, then apply new formatting using the bottom toolbar.

- Click Send to send the email when you’re done.

Changing Font in Gmail on Android, iPhone, or iPad
You can also change your Gmail font using the Gmail app on Android, iPhone, and iPad devices.
- Open the Gmail app.
- Tap Compose.

- Write the body of your text.
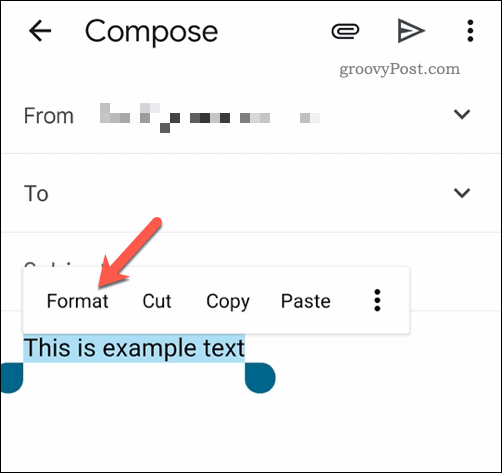
- On Android, select the text and tap Format. iPhone and iPad users can skip this step.

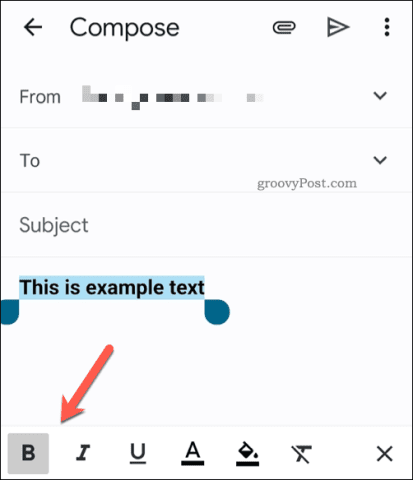
- Use the formatting toolbar at the bottom to apply a new font style to your text.

- When you’re finished, press the Send button to send your email.

How to Change Font in Gmail Permanently
If you’re sick of changing Gmail font settings as you compose each email, you can set a new style in your Gmail account settings.
This only works on the Gmail website, however. If you’re using the Gmail app on mobile devices, you won’t be able to apply a new font style to every email you write.
To Permanently Change Gmail Font
- Open the Gmail website.
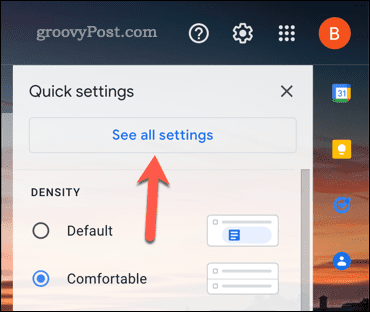
- Press the settings icon in the top-right.

- In Quick Settings, press See all settings.

- In the General tab, scroll down to the Default text style section.
- Use the formatting options to change your font, text size, or color, or remove all existing formatting.

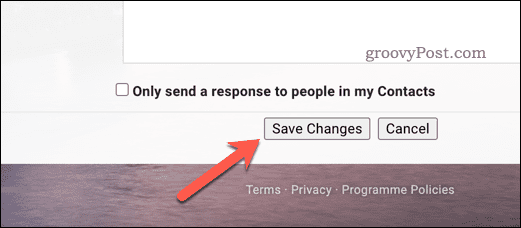
- Scroll down and press Save Changes to apply them to your account.


With a new font style applied to your account, the changes appear when you begin to compose a new email.
Writing Emails in Gmail
Gmail uses a very basic font and text style for emails. If you’re bored of using it, the steps above should help you to change font in Gmail.
If you want access to further tools, you may want to consider using a third-party Gmail app. You can also think about formatting your emails in different ways.