How-To Make a Groovy Orb Icon in Adobe Photoshop
A few weeks back, we reviewed our favorite Photo / image editors out there. The article received so much traffic we decided to continue the series by showing you some simple tips and tricks for using them! So, to kick things off, let’s review a groovy How-To tutorial using Adobe Photoshop.
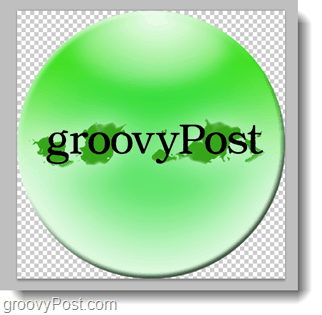
Have you ever wondered how people make those ORB icons like the one on the left or perhaps the Windows 7 ORB icon? Today I’m going to going to show you just how easy it can be using my favorite tool – Adobe Photoshop. If you prefer learning via video, see my video on YouTube for those instructions.
Step 1 – Choose The Size Of Your Orb
This tutorial should work for any edition of Photoshop – even Photoshop CS). First, go ahead and pick a resolution for your orb. The width and height should be the same if you want a

perfect circle, and the dimensions of a regular icon would normally be anywhere from 100×100 px to 1024×1024 px. For this tutorial, I’ll make a 500×500 px Orb. Make sure that whatever size you start with for the background content is transparent.

Step 2 – Making Your Orb
Once you’ve got your document ready, grab the Elliptical Marquee Tool (it’s right under the Rectangular Marquee Tool), and while holding Shift, Click and Drag to make a circle. Your selection should fill the document area entirely. If you can’t make it in one go, simply transform your selection, and while holding Shift again, drag the lower right anchor point to increase the size of the circle.
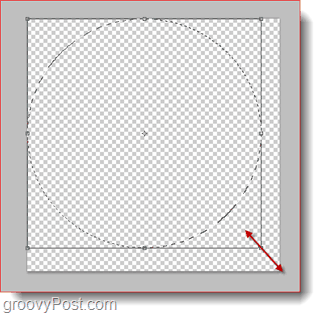
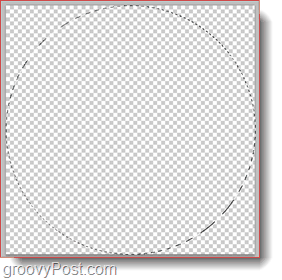
When you’re done, your selection should look something like this:
Right-Click and select Fill. You can use any color, but do keep in mind that the overlays we’ll be doing might need to be a little transparent so the background color does matter. I will use white for this example.
Here’s how it should look:

Step 2 – Applying Blending Options To The Orb
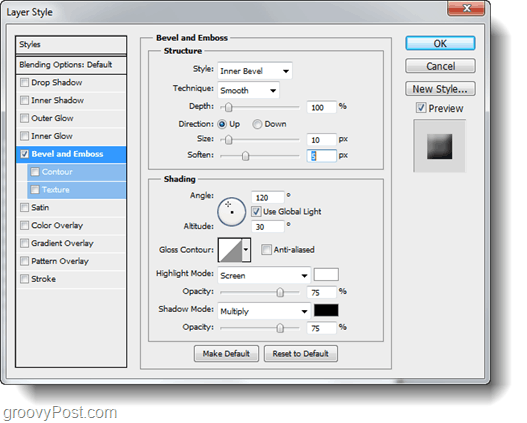
Right-Click on the Orb layer and select Blending Options. From here we’ll begin by applying some Bevel and Emboss. Play around with the sliders until you get the result you’re looking for. I personally like to use the following settings:
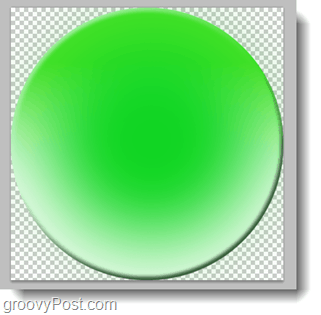
Now, let’s give our orb a Gradient Overlay. Again, play around with the different settings until you get what you want. I personally used this:

Once you’re happy with the results, Click OK to confirm all the changes.
Step 3 – Give The Orb A Groovy Glow
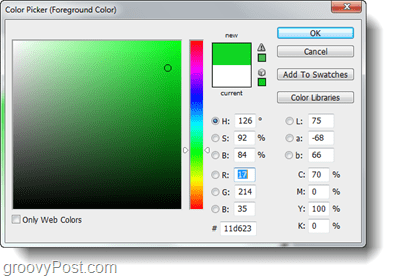
Now change your foreground color to white or to a different shade of one of the colors you used in your gradient overlay. I’ll be using a different shade of green.
Now make a new layer and grab your brush tool. Make it cover about 85% of the orb with a 0% hardness. With one or two clicks in the center of the orb you’ll make a cool glow.
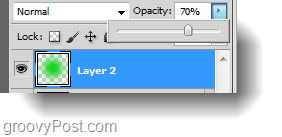
If you want, you can decrease the opacity of the layer on which your glow is on.
Step 4 – Inserting a Logo for the Orb
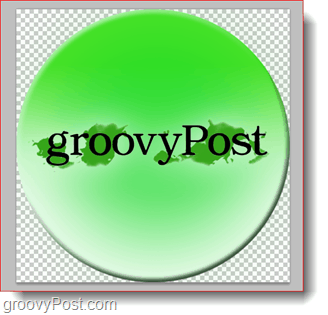
This step is optional. If you want a logo in your orb you can put one in with File > Place. Then just select a file from your computer and place it in. You can also apply blending options to the logo layer to give your orb an even better look. I placed in our logo and gave it some outer glow. Here’s how it looks:
Step 5 – Give Your Orb a Shiny Glow from Above
Create a new layer and grab your elliptical marquee tool. With it, make a selection of the upper part of the orb so that it covers the top edges perfectly.
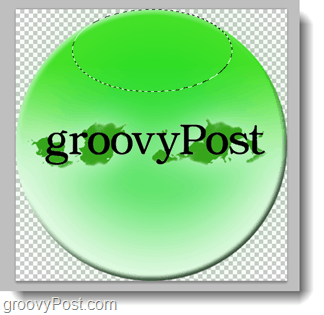
Now Right-Click and select Feather. You don’t want to feather too much and you don’t want to feather too little. For a 500×500 pixel image I will use a 15 pixel feather radius.

Now Change your foreground color to white and Select the gradient tool. Set the gradient to Foreground to Transparent from the presets. Now Hold shift while you Slick and Drag to the center of the orb. You’ll get a VERY groovy glow like this one:
Step 6 – Save your Orb
You’re done! Now here’s the easiest part – Press Ctrl + S to save your orb. To keep the transparency, you can choose a PSD file format, but if you plan to post this on a website or share it with friends who might not have Photoshop, you should save it in PNG format.
That’s about it! Now go off and create some groovy orbs and show your friends your new groovy Photoshop skills!


Jordan Austin
August 16, 2010 at 10:57 am
You’re doing PhotoShop tutorials now?
MrGroove
August 16, 2010 at 11:31 am
If it’s technology related and it’s groovy sure! Do you have any requests?
Jordan Austin
August 16, 2010 at 11:33 am
No requests, just wondering. :)
Karen Atanacio
May 21, 2011 at 11:50 pm
Hi just came across your blog and been browsing around, do you perhaps also own another pet site that looks exactly like this one?