How to Add Microsoft PowerPoint Image Captions

By adding captions to your presentation, you can provide context, and credit to the owner of the picture. Here’s how.
Adding Microsoft PowerPoint image captions allows you to provide context and source the materials your audience is seeing on the screen. Here are the steps to do this on both Windows and Mac.
Currently, Microsoft doesn’t offer a native caption solution in PowerPoint as it does in Word. However, this omission provides much more flexibility, as you’ll see below.
Microsoft PowerPoint for Windows
Before getting started, make sure you’ve already added your image to the presentation.
- Select the Insert tab.
- Choose Text Box.
- Draw the text box in the appropriate spot in your presentation to serve as the caption. Highlight the text to make formatting changes such as font and color adjustments.
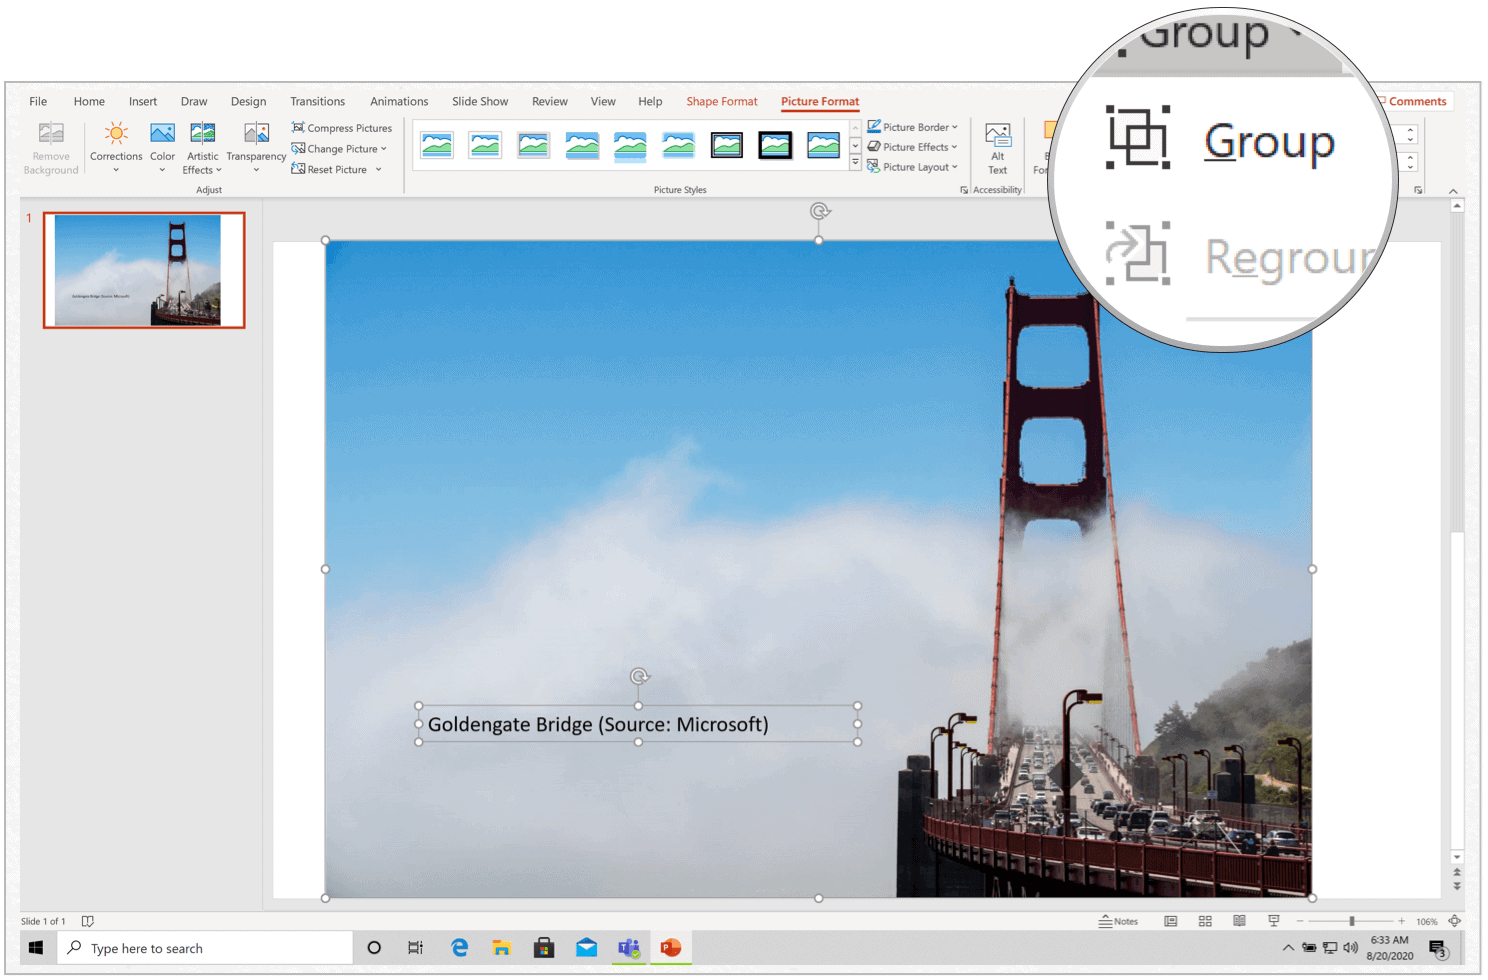
- Select both your image and caption using the CTRL-key.
- Chose the Picture Format tab.
- Click Group, then Group from the pull-down. Now, both the image and text are joined as one, making them easier to use elsewhere in the presentation as needed.
Microsoft PowerPoint for Mac
If you’re using Microsoft PowerPoint for Mac, the steps are nearly the same. Make sure you’ve added your image to the presentation before going further.
- Choose the Insert tab.
- Select Text Box.
- Draw a text box on top of the image at a location of your choosing.
- Add the caption. You can use the Format Shape tools to customize your text. For example, you can change the color of the font, add fill, adjust transparency, and more.
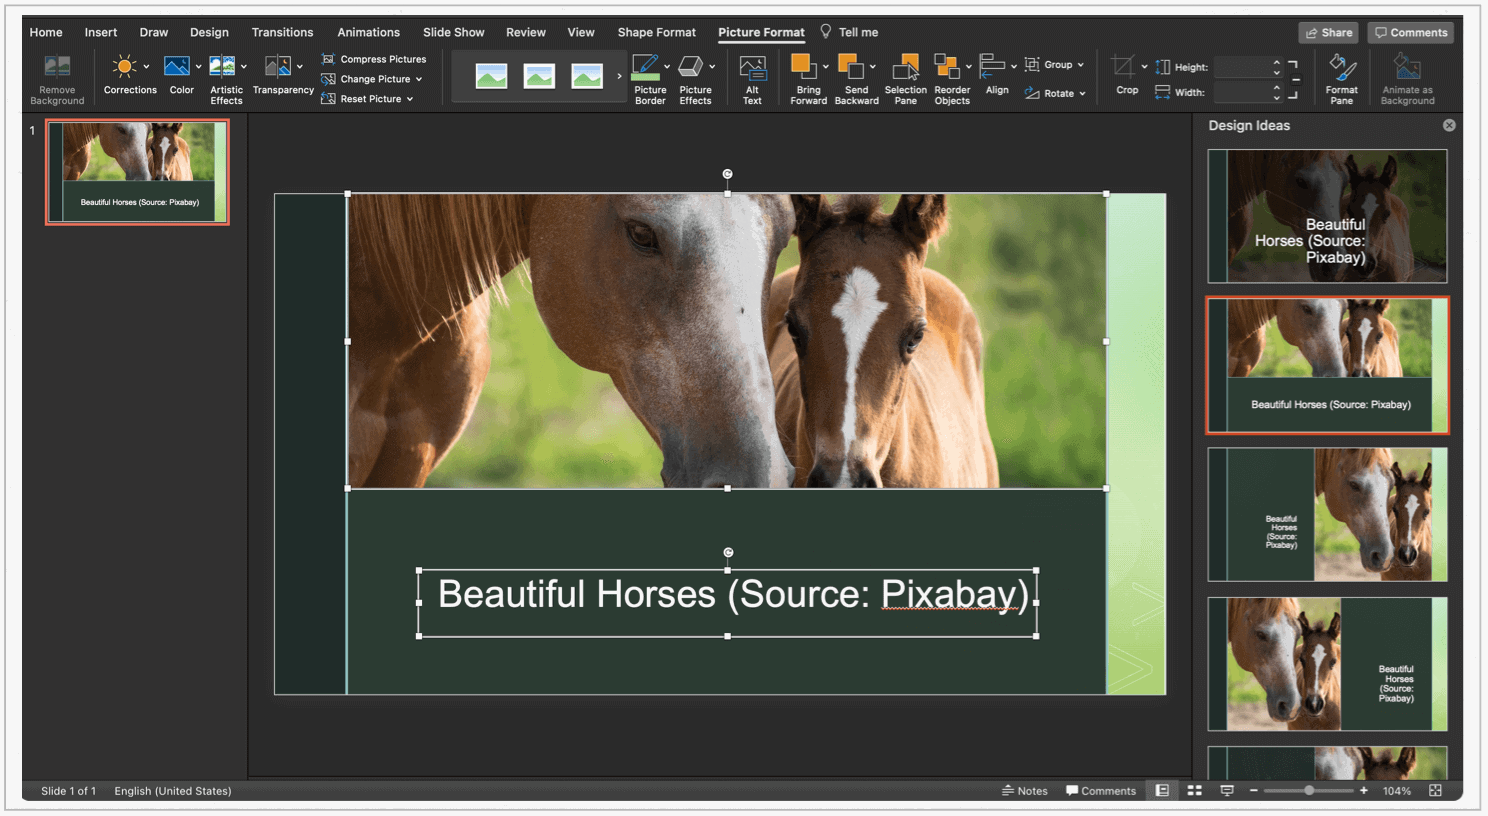
- Select both the image and caption using the CMD-key.
- Chose the Picture Format tab.
- Click Group, then Group from the pull-down. Now, both the image and text are joined as one, making them easier to use elsewhere in the presentation as needed.
Additional Tools
You can copy and delete text boxes on both Microsoft PowerPoint for Windows and Mac. It would be best if you did so before grouping the text with the image, however. Otherwise, you’ll be copying or deleting both the text and image.
To copy a text box:
- Click the border of the text box that you want to copy.
- Press Ctrl+C.
- In the document or location where you wish to paste the text box, press the Ctrl+V keys.
To delete a text box:
- Click the border of the text box that you want to delete.
- Press Delete on your keyboard.
There You Go
Unlike a Microsoft Word document, a PowerPoint presentation is meant to impress your audience through a balanced combination of images, animation, and text. By adding captions to your presentation, you can provide context, and credit to the owner of the picture.


