
 When you’re working on a project, and you want to give it an original feel, a custom font can be useful. In Windows 7, Microsoft added an easy to use user interface for installing and managing fonts which is a nice upgrade over the previous drag and drop method we had in Windows Vista and XP.
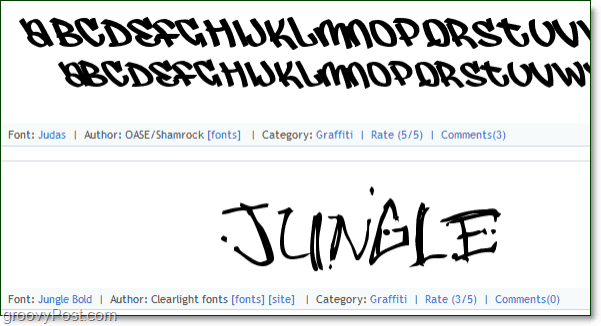
Downloading a custom font is simple, and several websites offer them for free. There are also some paid font sites, but free is the groovy price to pay.
Here are just a few free font sites for reference.
- https://www.1001freefonts.com
- https://www.dafont.com
- https://www.urbanfonts.com
- https://www.fontspace.com
- https://www.free-fonts.com
Once you’ve found a font you like, go ahead and download it. Make sure you grab the Windows version, as some are formatted separately for Mac. The font file should be a .ttf, but it’s likely they compressed it in a .zip file to save on space so don’t panic if you don’t see a .ttf right away.
If you are having trouble seeing file extensions (such as .ttf or .zip at the end of the filename) read up on this groovy article for a solution!
Install Custom Fonts In Windows 7
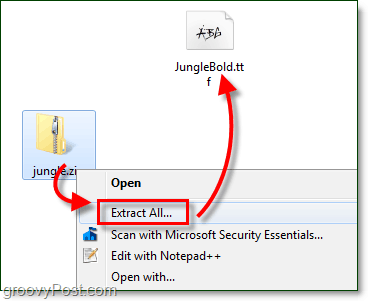
1. Once you’ve downloaded a font you like, you’ll need to Double-Click the .ttf file. If the download is in a .zip format, then you’ll need to extract it first.
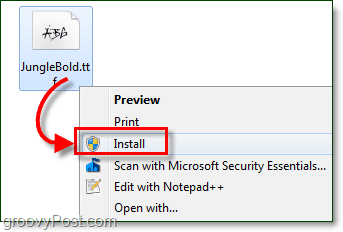
2. The font previewer should open up; take a look at your font and then Click Install.

2.b Alternatively if you want to skip the previewer you can just Right-Click the font .ttf file and Select Install.
Now Windows will install the font! It’s that easy! At this point, we’re done. But if you want to check and confirm that your installation went through correctly all you need to do is open up the font control panel. We can also uninstall fonts from the font control panel too, so it’s worth checking out, so you know where it is.
3. Click the Start Menu Orb and then Type in fonts and Press Enter.
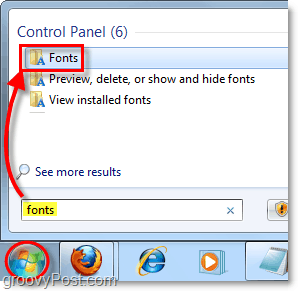
4. The Font control panel should open. Here you can view all of the currently installed fonts. Some appear grayed out because they are for foreign languages. Scroll down the window to find the font you just installed and confirm it worked correctly.

At this point, your font is installed! You can now delete the downloaded .tff and/or .zip file since Windows 7 copied it to the Windows/Fonts folder.
How to Delete a Windows 7 Font
To remove a font you’ll need to do so from the Font control panel.
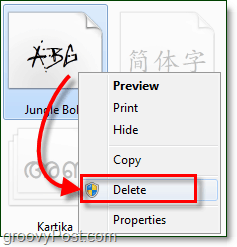
5. To remove any font, just Right-Click the font and Select Delete.
It’s important to keep in mind that when you delete a font from Windows 7, it is permanently removed. You can not reverse this process or restore the font unless you have a separate copy of the .ttf file for the font.
Additional Space Saving Options
While having a huge library of fonts can be handy, it can also take up a lot of storage space on your Windows installation drive. Below I’ll show you how to enable a feature that will allow you to store your fonts in an external location. You can even store them on the network! This option is perfect for you creative power users that want to install every font known to man. It’s also useful for quickly backing up and storing fonts without worrying about creating duplicate files on your system.
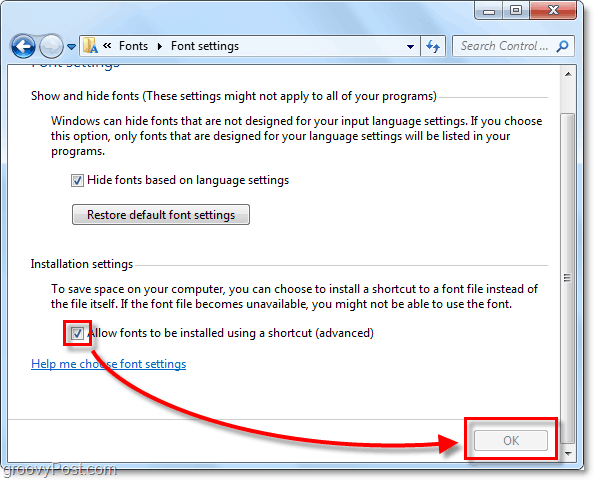
6. Click Font Settings from the Fonts control panel.

7. Click the checkbox for Allow fonts to be installed using a shortcut (advanced.). Be sure to Click OK to save changes.
8. Now when you Right-Click the font .tff file you’ll see a new option to Select called Install as shortcut.

Whenever you want to add a new shortcut you can simply install it as a shortcut rather than copy your font to the Windows folder. Instead, it will just point Windows 7 to look for the font at its current storage location.
If you look in your fonts folder, the newly installed font will display a shortcut icon over its thumbnail, so you’ll know that’s its external storage location.


Nuksie
February 1, 2012 at 10:38 pm
Thank you so much for this post! Really appriciate it!
Angela
June 16, 2012 at 7:18 am
Thank you so much for the info on storing fonts in an external location! I recently upgraded to Windows 7 and this is just what I needed.
siddheshwar
February 20, 2013 at 10:15 pm
Hi,
I have installed my custom font, these all font display as you say in Font folder
“C:\Windows\Fonts\” .
But I’m not able to use it. they are not accessible in my apps Visual studio 2010.
What’s the prob?
Br,
Siddheshwar
julia
January 28, 2015 at 4:40 pm
This is nice, but I’m looking for a way to upload my personal handwriting so I can use it as a font in documents later. I’m writing a book that contains excerpts from letters and want it to “look” authentic.