How to Show Hidden Files on Mac

You’ll find Apple hides a number of files and folders from view for protection. If you know what you’re doing, here’s how to show hidden files on Mac.
There are some files (complete folders, in fact!) that Apple hides from you on your Mac. When you need to, though, there are ways to make your Mac show hidden files.
We’ll explain how you can view hidden files on your Mac, but first, let’s cover a few important details.
Why Should Your Mac Hide Files From You?
Some files on macOS need to stay safely where they are—unaltered. You could even go so far as to brick your Mac if you accidentally delete or change one of these files. These include directories, libraries, and files that keep macOS running smoothly. Mess something up, and you could find yourself forced to restore or complete a fresh macOS install.
If you don’t know what you’re doing, it’s all too easy to render your Mac unbootable or otherwise unusable if you play around with these files. Apple hides these files and folders so you don’t need to worry about ruining your Mac and having to restore everything.
This does have the unfortunate side effect of making things a bit of a challenge when you do need to access these files. Perhaps you need to relocate a program directory, troubleshoot a misbehaving driver, or do something similar.
If you know what you’re doing, that’s a good reason to unhide these files, at least temporarily. There are a few ways you can show hidden files on Mac.
How to View Hidden Files on a Mac
If you prefer to work via point and click, you can show hidden files on macOS using the Finder app. Here’s how to do it.
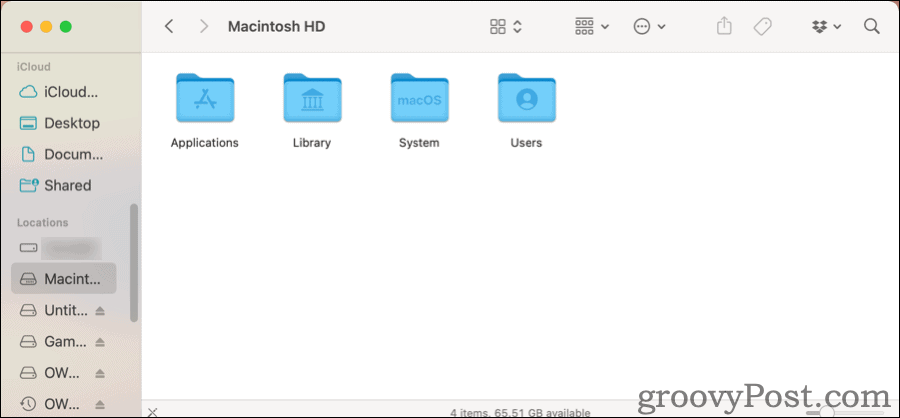
- Under Locations, click on your hard drive folder, probably named Macintosh HD.

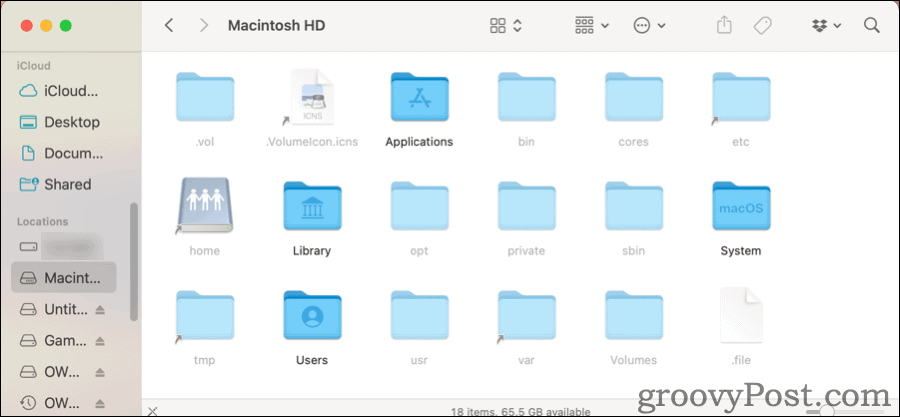
- You won’t see much there when you first open it, so press Command + Shift + Period. You’ll see a number of additional files and folders, slightly grayed out to mark them as being hidden.

- Press the same key combination, and those files and folders will disappear again.
This same key combination will work no matter what folder you have opened in Finder.
How to Access macOS Library Folder
Now, let’s say you just need to access your Mac’s Library folder, ~/Library. You don’t need to navigate through all of your computer’s folders to get there.
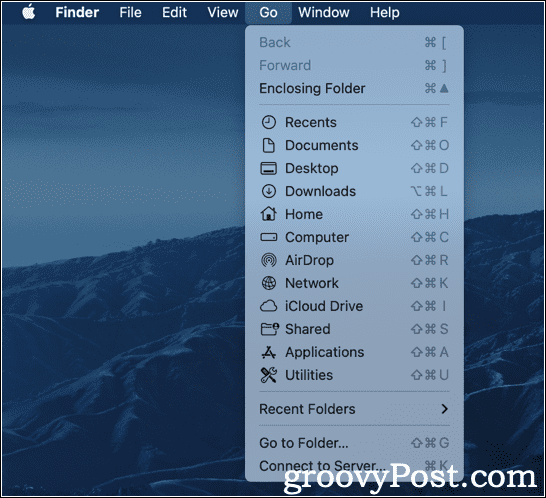
- In Finder’s top menu, click Go.

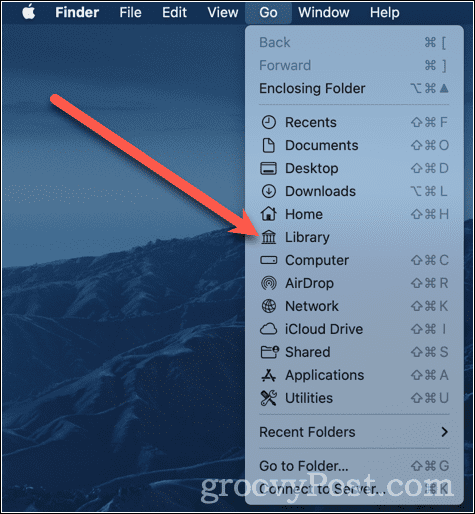
- At first, you won’t see Library listed at all. Hold down the Option key, and a new Library option shows up. Click that, and your Mac’s ~/Library folder opens in a new Finder window.

How to Show Hidden Files on Mac Using Terminal
If you prefer working in Terminal, you can enable showing hidden files there. Just type the following commands:
defaults write com.apple.finder AppleShowAllFiles true
killall Finder
Once those commands have run, a couple of things will happen. The Finder app will quit and relaunch itself. You’ll probably see your desktop icons disappear and then reappear. After that, you’ll be able to see all of your hidden files in Finder, along with any temporary files saved on your desktop.
When you want to hide them again, you repeat the commands, replacing the value true with false.
defaults write com.apple.finder AppleShowAllFiles false
killall Finder
Again, Finder will quit and relaunch. Those hidden files will once again be hidden from view.
How to Hide Files On Mac Using Terminal
You might think this is less helpful than just doing everything in Finder. However, Terminal can be great if you have files and folders on your Mac that aren’t hidden, but you want them to be.
To pull this off, here’s what you need to do.
- Open Finder to the directory with the files you want to hide.
- In Terminal, type
chflags hidden, followed by a space, but don’t press Enter. - Drag the file or folder you want to hide from Finder to the Terminal window.
- The file or folder name will appear at the end of your
chflagscommand. - Now press Enter.
That will hide your file or folder from view. You can use the Terminal commands above to show it again, just to be sure.
Quickly and Temporarily Show Hidden Files in Terminal
If you don’t need or want to change how Finder displays your hidden files, you can list them in the Terminal. You do this using the command ls, list, appropriately enough.
- From Terminal, type
ls -a - You’ll see all of the files in your present directory, including hidden files and folders.
It’s the -a flag that makes the difference here. It tells the list command to display all files. If you want to execute this on a different folder, that’s easy.
- From Terminal, type
ls -a ~/.config - Just replace
~/.configwith the folder you want to view.
If you need this file or folder opened in the GUI, you can accomplish that using the open command. Here’s an example:
open .not_visiblewill launch the file called .not_visible, assuming there’s an app associated with it.
This same method works to open hidden folders in Finder, too.
open ~/.configwill open the hidden folder .config in a Finder window.
Manipulate Hidden Files With Caution
Remember, those hidden files and folders are kept out of view for a good reason. If you accidentally delete or move a folder or file macOS depends on, you can cause some major problems. You could find yourself having to restore the operating system, then the rest of your files and apps from Time Machine.
That’s not to say don’t try to work with hidden files and folders, mind you. Just use your best judgment, be cautious, and double-check what you’re doing before you commit to it.
Want to learn some more cool tricks to do in Terminal? These macOS Terminal tricks should be a good place to start.


