How to Install Windows 10 On Mac OS X Using Boot Camp

If you’re a Mac owner and need the functionality and features included in Windows 10, you can install it on OS X using Boot Camp. Here’s a walk through.
Apple has created a loyal user base, but some Mac users still need to use Windows programs and the OS in general. Since Apple transitioned to the Intel processor for the brains of the Mac, the company provided an easy way to set up and install Windows in a dual boot configuration with OS X with its Boot Camp technology. In this article, we take a look at doing that.
Preparing your Mac to install Windows 10
Before you can install Windows on your Mac, there are some pre-requisites tasks you need to complete.
- A Windows license – Windows is not free for Mac; just like any PC, you need to purchase a license for it if you don’t own one. If you are a college student, you should be able to get a free license under your Microsoft Campus Volume License program, such as Dreamspark (check your Library/Book Store or Faculty) or get a significant discount for students from the Education Store. Also, under volume license programs where companies install Windows in bulk, OS X is considered an appropriate base license. So check with your IT department for assistance with getting a copy. If you are interested in just trying Windows 10 on your Mac, you can download the Windows 10 Enterprise 90-day trial here. Otherwise, you can purchase a physical retail version, too. You can buy a Windows 10 flash drive from Amazon or get it directly from the Microsoft Store. Please note that you can download an ISO file for Windows 10 directly in OS X using the Microsoft TechBench website if you are performing a digital download.
- Have an empty thumb drive ready, 8 GBs or larger, or a blank DVD or Blu-ray if you still use optical media.
- Determine which version and architecture of Windows that your Mac supports. By default, you need to choose a 64-bit version of Windows 10 since that is all that Apple supports on most models these days. Apple’s Boot Camp page provides a list of models and versions and architectures of Windows that are supported. Also, make sure you select the appropriate edition; you can compare versions here.
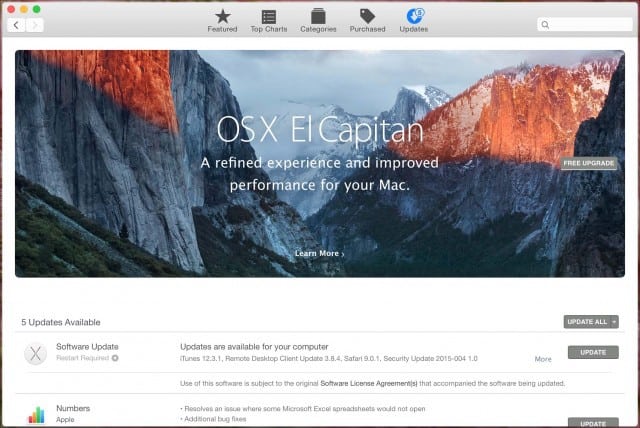
- Make sure the latest version of OS X is installed. Click the Apple menu, then click App Store, then install the latest updates for your Mac. This will provide access to the latest Boot Camp drivers, especially if you want to install the latest version of Windows on your Mac. Since OS X versions are free, if your Mac is supported, then it is probably best you upgrade to the latest version, which is OS X El Capitan – 10.11.2 (as of this writing).
- Download Boot Camp drivers in advance – Although the Boot Camp wizard takes care of this for you, it’s very unreliable based on my testing. Download it in advance from here.
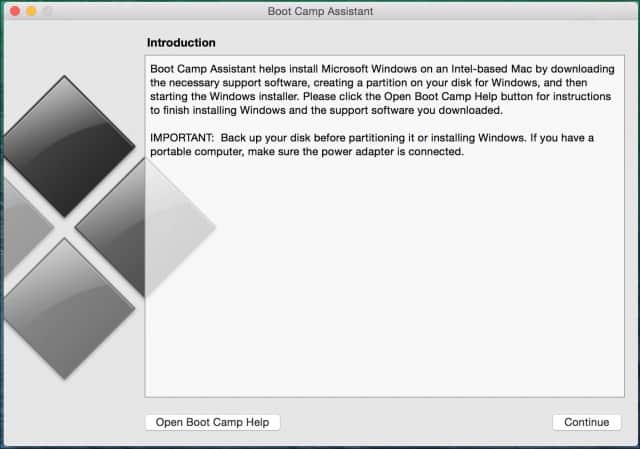
Once these pre-requisites are out of the way, the next step is to set aside some space to install Windows 10. Open the Finder in the Dock, then click Applications, then scroll down, then open Utilities. Double-click Utilities, then open Boot Camp. Or press the Command and space keys, then type Boot Camp, then press the Enter key.

The Boot Camp software is a simple wizard that guides you through downloading drivers, partitioning your SSD/hard disk, and starting Windows installation.
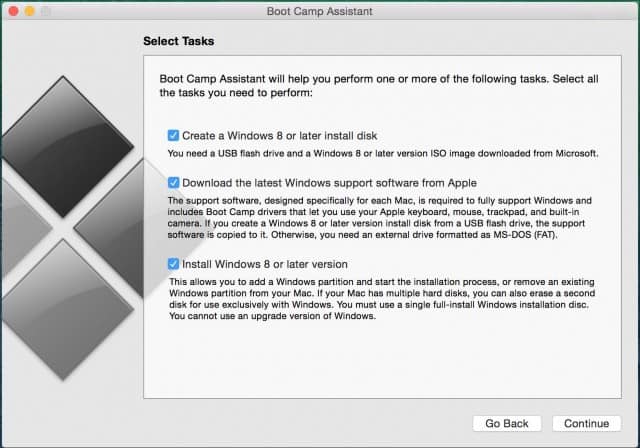
Check all of the following options, then click Continue:
- Create a Windows 8 or later install disk
- Download the latest Windows support software from Apple
- Install Windows 8 or later version
Click Choose, then browse, then select the Windows ISO file downloaded from Microsoft TechBench.
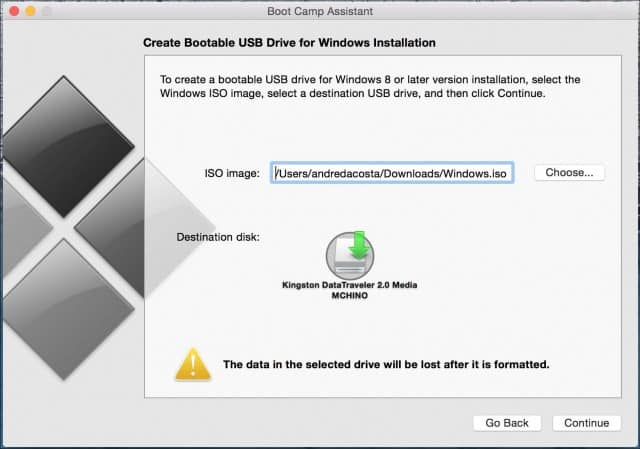
If you have any relevant data on the thumb drive, it will be erased. Click Continue.

Wait while Boot Camp begins copying files to the thumb drive.
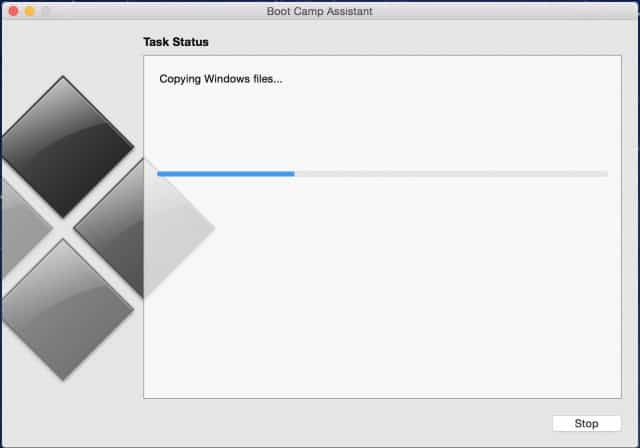
During the Boot Camp wizard, drivers for your Mac will be downloaded. This can take a very long time, so be patient.

If you get an error downloading drivers, see a troubleshooting section of this article for what you can do.

Determining Disk Space for Windows 10
After Boot Camp downloads your drivers, the next step is to identify the amount of space you will allocate to Windows 10, depending on individual factors. Future needs must be taken into account. Do you plan always to have Windows around? If so, consider giving Windows 10 a fair amount of space to operate. Consider the following:
- Updates for Windows that use disk space. Windows 10 is being delivered as a service, so apps built into the OS and updates will use up space over time. Windows 10 requires a minimum of 16 GB (32 bit) 20 GBs (64 bit) of space to facilitate the installation. Windows 10 uses about 9 GB of space on disk.
- Apps – if you plan to download and install modern apps on Windows 10, you need to consider this. Apps can use a significant amount of disk space; let’s not forget about traditional desktop apps that will require updates too.
- Data – personal files like documents, music, pictures, videos. If you plan to store any such content, you need to consider it is worth keeping locally or maybe invest in an external hard disk or keep only the key files you need or work on regularly. This might be a perfect time to consider storing some files in the cloud if necessary. If you plan to use your Mac at work, your employer might configure your credentials to store files on their network instead of locally. For my purposes, I am using a Mac with 256 GB of disk space; since Windows 10 will only be used for key apps and some files will be stored on an external drive, I will be allocating 56 GBs. You might be using a Mac with limited storage; consider your needs carefully now and in the future. If you don’t, you might have to back up and start over. If you work mostly with Office apps, you can go with the bare minimum; if you are working with video and pictures, think big. The bare minimum I recommend these days is at least 50 GBs for Windows, and that’s cutting it short.
Once you have determined how much space you will allocate, use the mouse pointer to drag the knob to the left to assign the appropriate amount of space you will give to Windows.
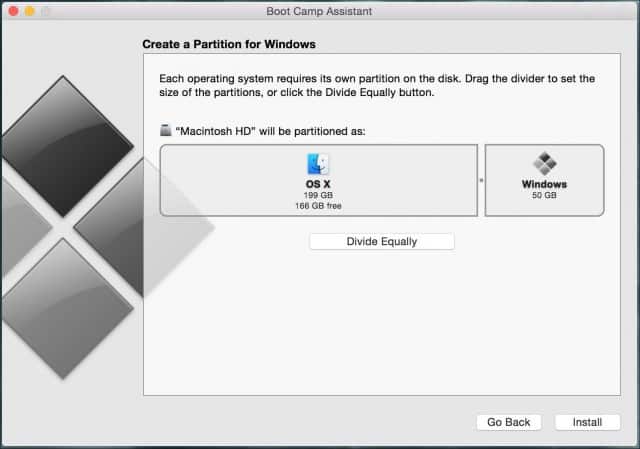
Click Install, Boot Camp will prepare the partition, then automatically restart your Mac.

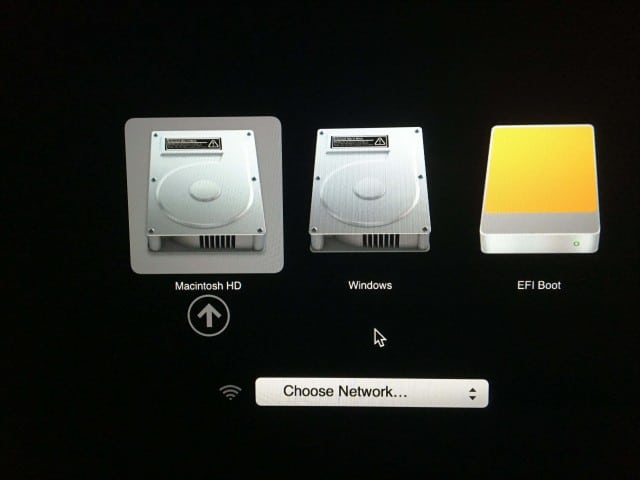
On-screen, I am presented with two options, I will boot from the EFI Boot drive (yellow drive icon) where my Windows 10 installation files are stored. This is an important part of the setup. Depending on the model Mac your using, you might have to hold down C or Option keys to present the boot options. In my case, I will hold down the Option key that will present options for the volume I want to boot from. Use the left and right arrow keys to select it, then press Enter.
It will take a short while, then eventually boot into Windows setup. The setup wizard will look tiny on-screen; you will need to bear through this for the time being. With Microsoft’s new policy when it comes to revisions of Windows 10 regularly, it would be a good idea if they could work with Apple to at least include some basic class drivers into the latest builds of Windows. (I can keep dreaming).
Installing Windows 10 on OS X
Windows 10 will boot into the setup as it does on a regular PC. Now you can go through the process of installing Windows 10 following the onscreen instructions.

When you get to this point in the install process, select Click Custom: Install Windows only (advanced).

You will see several partitions on the screen. Be very careful here. Only select the partition named BOOTCAMP, then click Format and then click OK to the format verification message.

Windows Setup will then begin copying files. During this time, the Windows setup will automatically restart and reboot into setup several times.

Complete Out of Box Experience
Depending if you are connected to the Internet or not, you will see different options on the screen. Click Use Express settings.
- Setup a user account.
- Connect to a network if presented
- Wait while apps are installed and configured.
- Log into your account.

Install Boot Camp Drivers
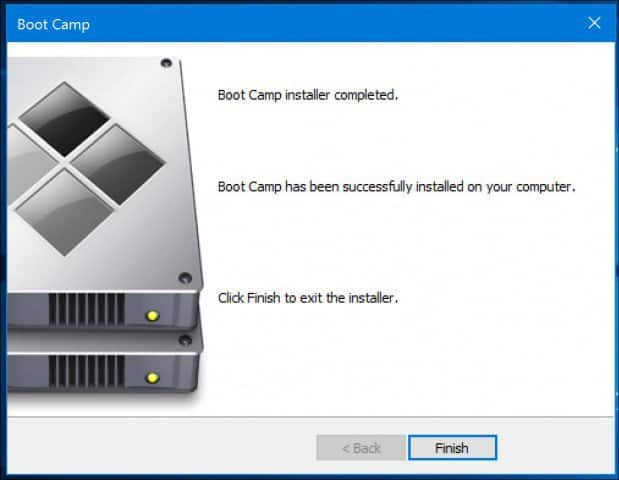
For Windows 10 to function properly on your Mac, you will need to install the Boot Camp drivers. Click Start then File Explorer, then open the thumb drive. Open the Boot Camp folder, then double-click Setup, follow the onscreen wizard to install the Windows drivers for your Mac.

When complete, click Finish, then restart when prompted.
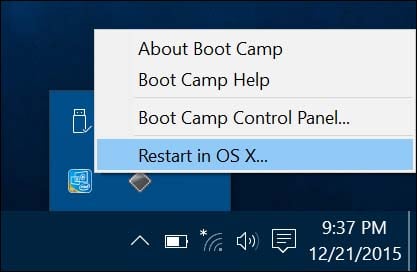
Restart in OS X
When you wish to boot into OS X, click the Show hidden icons button in the Notification Area, click Boot Camp, then click Restart in OS X or Click Start then Restart; immediately as you hear the startup chime, press hold down the Option key. Use the left or right arrow key to select Macintosh HD, then hit Enter.

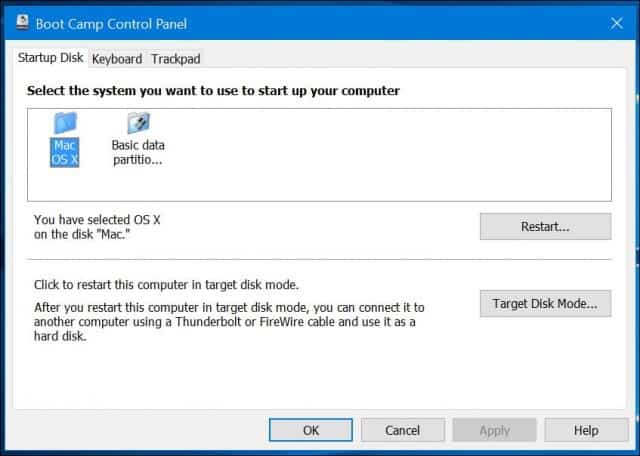
If you want to set your default operating system, click System Preferences in the OS X Dock. Click Start-up Disk, then select either Macintosh HD or Windows Bootcamp. You can open the Boot Camp Control Panel in Windows 10 (press Windows key+X then click Control Panel) then make similar changes.
Troubleshooting
The following link provides a direct link to the Boot Camp 6 drivers for Windows 10. Apple is not providing a dedicated location, but the official source was found on Apple’s Content Delivery Network. It’s quite large, around 1.2 GB, and it takes some time to download. If you encounter problems downloading Boot Camp drivers, then you can try downloading them manually.
Once you download the drivers, they will be packaged in a compressed format. You will need to use a free compression utility such as WinRAR or 7-Zip to extract it. Please note, you need to do this from a Windows PC.
Once extracted, copy both the $WinPEDriver$ and BootCamp folder to the root of your thumb drive containing the Windows 10 install files.
I noticed the Boot Camp driver wizard would hang up at Realtek driver installation. I restarted the Mac, browsed to the Boot Camp folder on the thumb drive, open the Drivers folder then deleted the Realtek folder; setup continued without a hitch.
Overall, installing Windows 10 on your Mac is a bit involved, but it works exceptionally well. Because of Mac’s keyboard layout, will have to memorize some commands, such as the Command key will replace the Windows key. Ctrl+C for copy and Ctrl+V for Paste is the same. Apple has a page with a list of commands for using your Apple keyboard in Windows here.
If you believe this might be too involved just for a few apps, then setting up Windows in a Virtual Machine might a better option. This is especially true if you need to run older apps that do not work with 64 bit Windows.


Daniel
January 16, 2016 at 9:01 am
The problem with boot camp driver wizard is solved, thanks
Andre Da Costa
January 17, 2016 at 5:56 am
Glad you got it working Daniel!
Brendan Hepner
May 28, 2016 at 5:05 am
im stuck, it only will let me check the first one or the second one, not all of them, plz help me
Rob Corbitt
September 26, 2016 at 12:48 pm
Didn’t work for me. Boot Camp says I need an ISO file, but I have one. Very frustrating.
Kim stroud
August 21, 2019 at 10:24 am
Installed great but when going back to the Mac OS everything is so slow. Is there anyway to remove the windows partition
JohnIL
February 4, 2020 at 10:51 am
Works OK on my 2019 Macbook Air with Catalina Mac OS. But be prepared for Windows 10 to use up around 22 plus GB of space just for Windows 10 and its pre installed apps. Personally, I found the biggest issue was the bad Apple drivers that are for the TouchPad. Almost no ability to adjust any feature for the TouchPad and it doesn’t work nearly as well in Windows as in Mac OS. Battery life of course is pretty much cut in half or worse then Mac OS. That tells you that the drivers are nowhere close to being properly tweaked for Windows. Everything works though and its a native Windows 10 running on a Mac so I guess it is what it is. Some have said, Parallels 15 works better now then Boot Camp?