Hide Your Name, Photo and Email from Windows 10 Logon Screen

If you’re a Windows 10 user, you know the logon screen displays your username, account photo, and email address. For better security here’s how to hide it.
If you’re a Windows 10 user, you know the logon screen displays your username, account photo, and email address. Whether you’re using a Microsoft account or creating a local account, the information displayed makes it easier to log into your system.
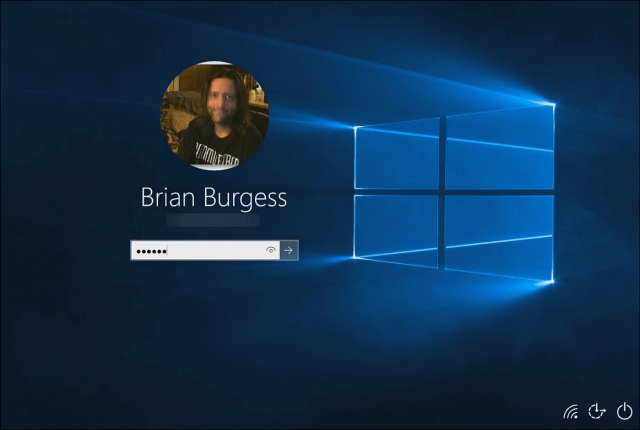
When you reach the login screen in Windows 10, your photo, email, and name appear on it.
However, if you want a more secure system, especially on shared PCs, one thing you can do is hide that data. Hiding that data makes it much harder for another person to gain access to your data. Currently, Windows 10 doesn’t have a way to do it in its native settings. But you can hide the data by using Group Policy in Windows 10 Pro or a registry hack in the Home version.
Use Group Policy in Windows 10 Pro or Enterprise
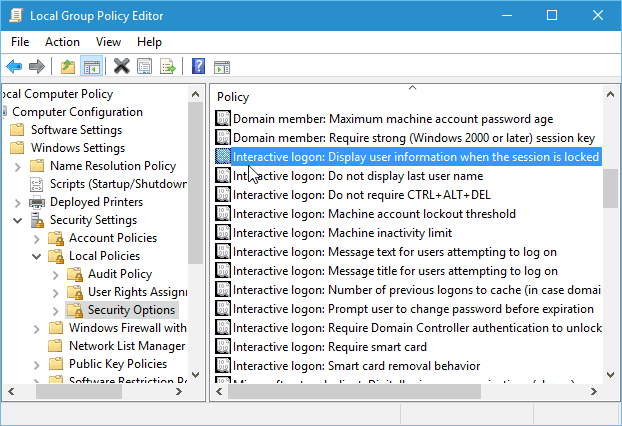
Launch Group Policy and head to Computer Configuration > Windows Settings > Security Settings > Local Policies > Security Options. Then double-click on Interactive Logon: Display user information when the session is locked.
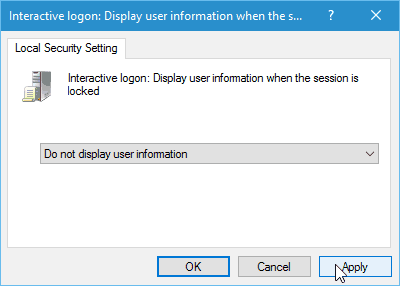
Then under the Local Security Setting tab, change the dropdown to Do not display user information and click Apply.
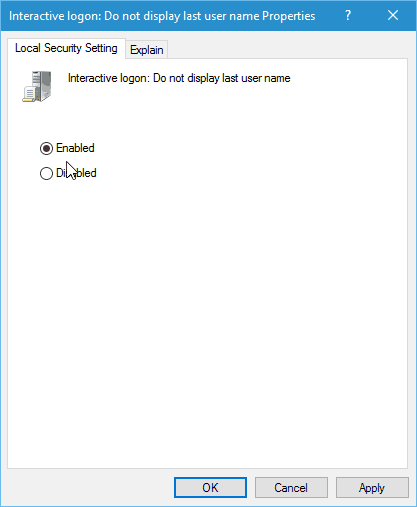
Next, in the same section, double-click on Interactive logon: Do not display last user name. Then under the Local Security Setting tab, set it to Enabled and click Apply.
Hide Username and Email from Login Screen Windows 10 Home
Group Policy isn’t available in Home versions of Windows, but you can still do this with a registry hack.
Important! Tweaking the registry isn’t for the faint of heart. If you do something wrong, you could mess up your computer and make it unstable. Before making any changes to the registry, make sure to back it up, or for something more user-friendly, create a Restore Point first.
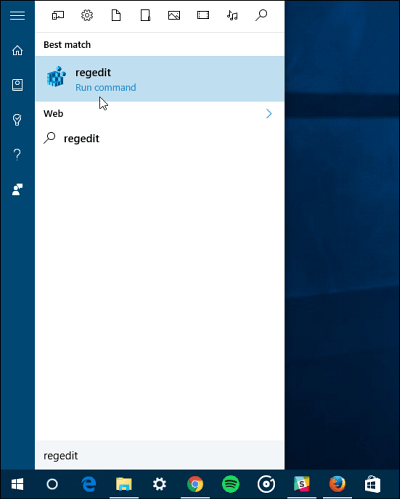
Click the Start button and type: regedit and hit Enter or select the registry editor from the search results.
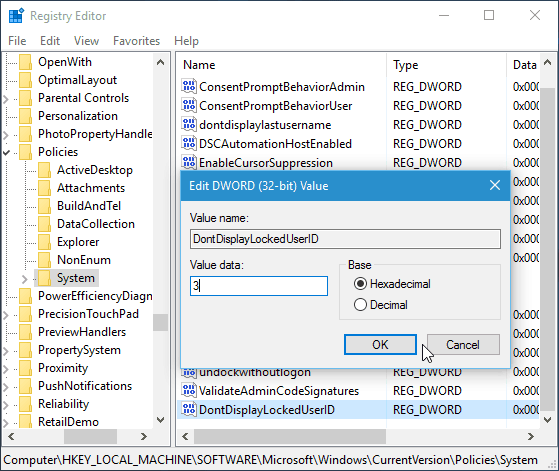
Now head to HKEY_LOCAL_MACHINESOFTWAREMicrosoftWindowsCurrentVersionPoliciesSystem. Then double-click on the dontdisplaylastusername entry and change the value from 0 to 1 and click OK.

Next, in the right panel, create a new DWORD 32-bit value and give it the name DontDisplayLockedUserID and make the value data of 3.
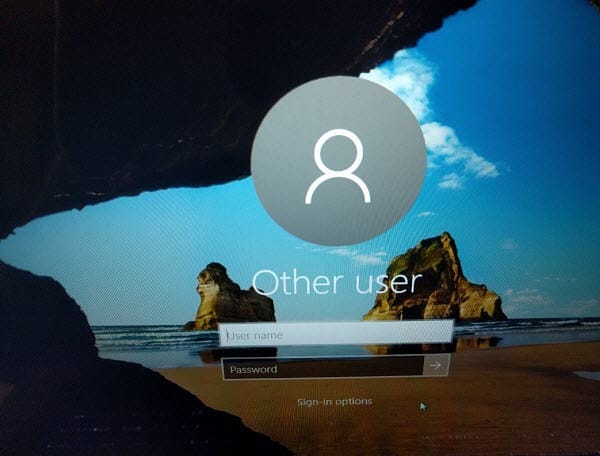
After you’re done, close out of Registry Editor and restart your computer. Now, instead of seeing your photo, email, and name on the login screen, you’ll see that your photo is now a generic logo. In addition, your name has been replaced by “Unlock the PC,” and you’ll need to type in your email address and then your password.
It’s also worth noting that if you’ve added other users to your computer, those accounts will no longer be displayed in the lower-left corner either. Instead, each person will have to log in to their respective accounts manually.


preston
March 14, 2016 at 2:48 pm
does this work in 8.1?