How to Get Google Reverse Image Search in Windows File Explorer

Do you often do a reverse image search using an image on your computer? Learn how to use a free tool to do this directly in Windows File Explorer.
Google’s reverse image search allows you to use an image as the search input and get results related to the image, like the source location for the image and other sites where it was used.
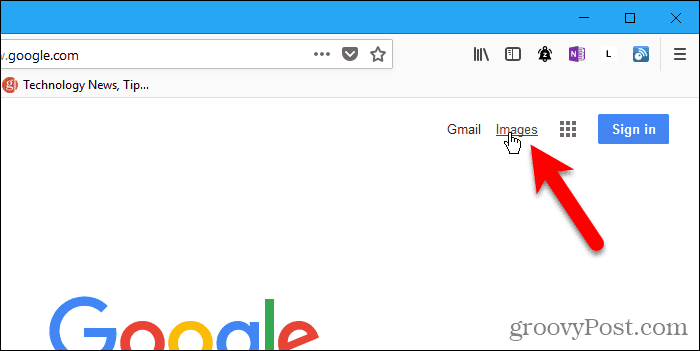
You can do a reverse image search in your browser using the Images link on the main Google search page. But this method requires you to upload the image you want to search for manually.
A quicker and easier way to do a reverse image search using an image on your computer. GoogleImageShell is a free tool that adds Google’s reverse image search to Window’s File Explorer as an option on the right-click menu. The option automatically uploads the selected image to Google’s reverse image search and displays the results in your default browser.
Why Use Reverse Image Search?
So, what would you use Reverse Image Search for? Besides locating the source of an image, here are some practical uses of reverse image search:
- Find information about unlabeled products and other objects.
- Track down wallpapers and higher resolution versions of images.
- Find recipes from images of the prepared dishes.
- Find out the name of a celebrity from an image.
- Tell whether an image is real or fake.
- Identify unknown plants, animals, and more.
Install GoogleImageShell
GoogleImageShell is not installed like a full program, nor is it a portable program. It makes some changes to the Windows registry. If you move the app to a different folder, it won’t work.
Download GoogleImageShell and put the .exe file in a folder you’re unlikely to move or delete.
GoogleImageShell requires Windows 7 or above and .NET 4.6.1.
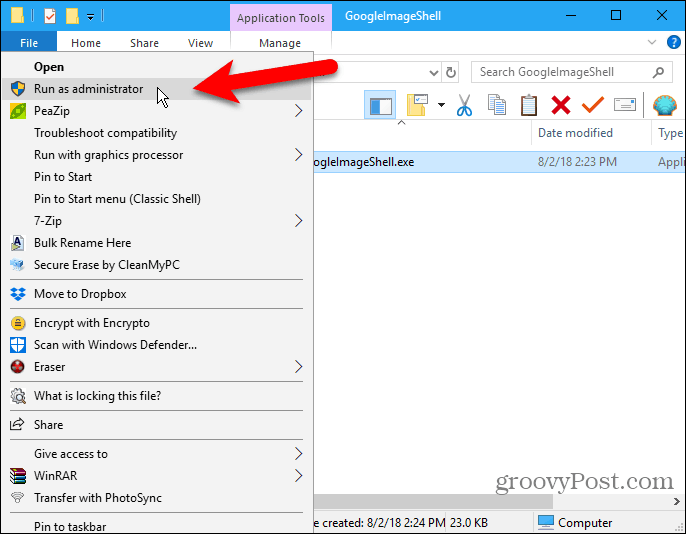
To install GoogleImageShell only for the current user, run the .exe file. If you want to install GoogleImageShell for all users, right-click on the .exe file and select Run as administrator.
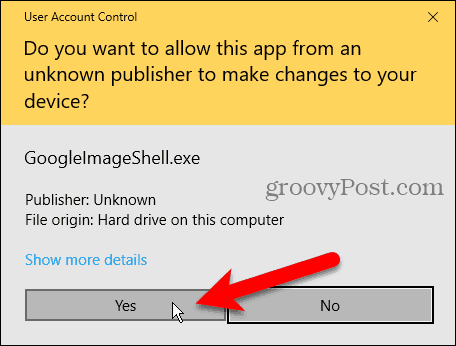
If the User Account Control dialog box displays, click Yes to continue.
You may not see this dialog box, depending on your User Account Control settings. We don’t recommend disabling UAC entirely, however.
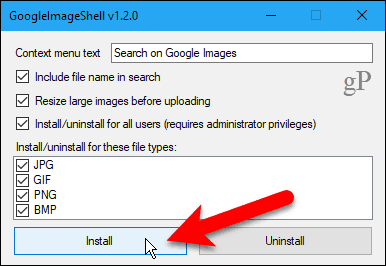
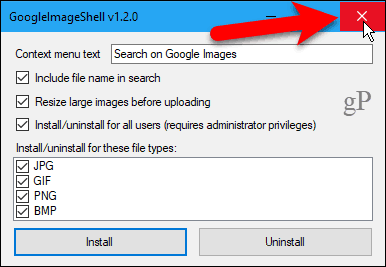
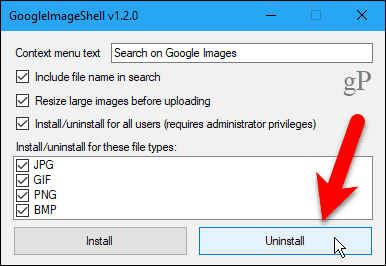
On the GoogleImageShell dialog box, you can change the default Context menu text.
Then, select whether you want to Include file name in search and Resize large images before uploading.
If you installed GoogleImageShell for all users, check the Install/uninstall for all users box.
GoogleImageShell works with PNG, JPG, GIF, and BMP formats. Select which of these formats you want in the Install/uninstall for these file types box.
Click Install.
The Installation succeeded dialog box tells you that the context menu entries were added to File Explorer.
Click OK to close the dialog box.
Close the GoogleImageShell dialog box by clicking the X in the upper-right corner.
Do a Reverse Image Search in Your Default Browser Using an Image on Your Computer
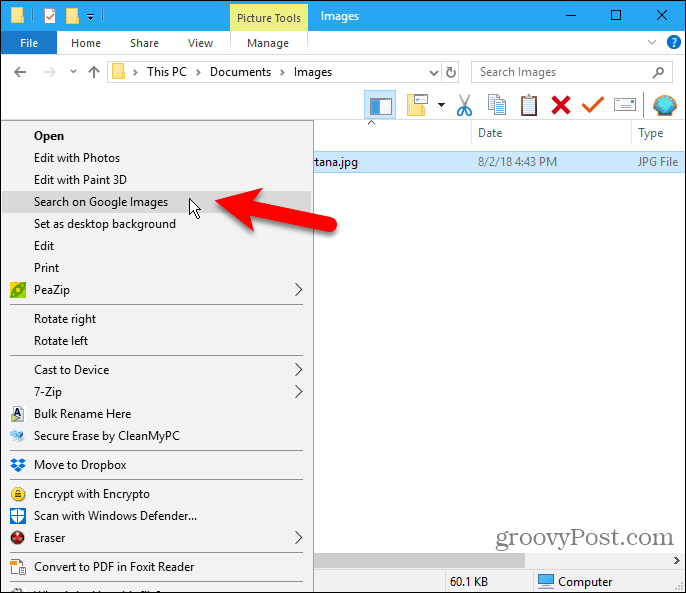
To search using an image on your computer, open File Explorer and navigate to where the image is you want to use in a reverse image search.
Right-click on the file and select Search on Google Images (or whatever you named the option).
You can also select multiple images for the reverse image search.
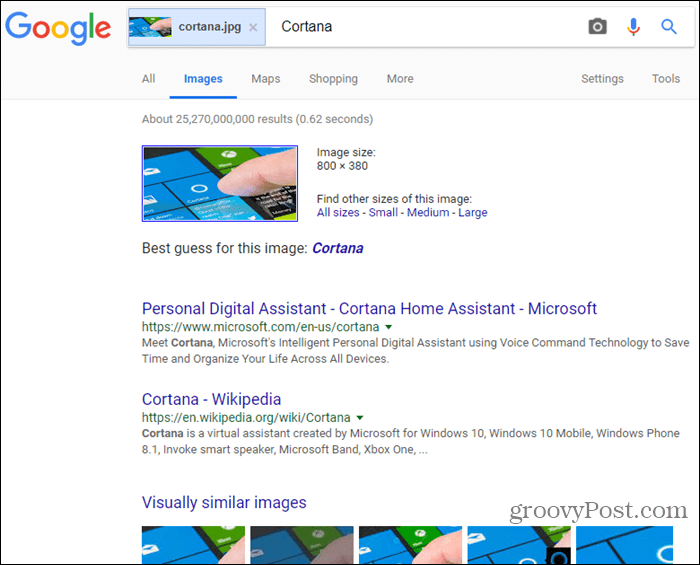
Your default browser opens with the results, which may include similar images, sites that include the image, and other sizes of the image.
If you selected multiple images, the results for each image display on separate tabs in the browser.
Uninstall GoogleImageShell
To remove GoogleImageShell from the File Explorer context menu, rerun the .exe file. If you installed for all users, run the .exe file as administrator as described in the “Install GoogleImageShell” section above.
Do not delete, move, or rename the .exe file before uninstalling the program.
Click Uninstall.
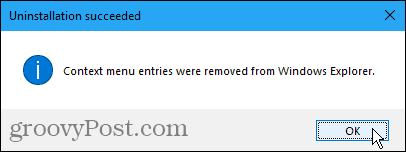
The Uninstallation succeeded dialog box tells you that the context menu entries were removed from File Explorer.
Click OK to close the dialog box. Then, close the GoogleImageShell dialog box by clicking the X in the upper-right corner.
Reverse Image Search Works Best on Commonly Found Images
Searching using a personal image like a family photo or a friend’s photo will most likely not come up with many results.
You’re better off using an image that’s likely to show up in other places online. You’ll get more results.


ron
August 26, 2018 at 3:50 pm
Nice idea, but it does not appear to work.
I ran the install, the entry appeared in context menu.
But it did not invoke IE, it asked what app I wanted to use to open the file I pointed it to IE. Then it just opened the file in IE, but no google search …
Justin
November 6, 2020 at 10:23 am
So this just saves you hassle of going to the google site yourself? That seems pointless. I was hoping this would search local files.
Steve Krause
November 8, 2020 at 7:28 pm
For that to work, you would have to allow Google to search for your home system and then make the results public on google.com. Probably not a good idea… ;)
GrannyGeek
November 28, 2022 at 2:36 pm
This does not show up at all in the context menu of Windows 11.