How to Fix Video and Photo Orientation on iPhone
Is the video or photo you’ve taken on your iPhone the wrong orientation? You can easily fix it. We explain how in this guide.
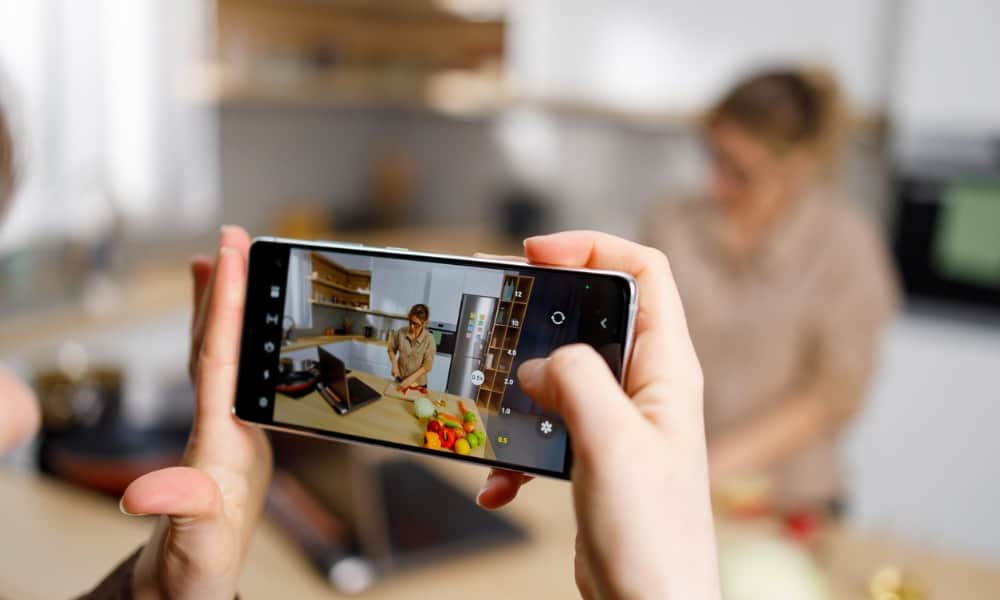
It’s annoying to shoot a video vertically on your iPhone, but find out that the recording is horizontal instead. The wrong orientation can ruin the impact of your video.
Sure, you can flip your phone while recording, but that won’t help. The iPhone locks the video orientation from where you started. Frustrating–so, what do you do?
Luckily, it is easy to fix video orientation on an iPhone after you’ve taken a video. You can do the same for photos with the wrong orientation, too. We’ll explain how below.
How to Fix Video Orientation on iPhone
Even after recording that memorable video vertically, you don’t need to retake it. That’s good because you may have only recorded a moment while it was happening. Apple includes an editing feature that allows you to fix your video orientation with a few screen taps.
Note: Apple added this feature with iOS 13, so if you are on an older iPhone running a lower version of iOS, you won’t be able to fix a video’s orientation. Plus, if you are running iOS 13 or above, you can fix any video orientation you have previously recorded.
How Do I Fix the Orientation of a Video on My iPhone?
- Launch the Photos app on your iPhone.

- Locate and select the video you want to fix.
- Tap the Edit button in the top right corner.

- A toolbar will appear at the bottom of the screen.
- Tap the Crop button on the right side of the toolbar.

- Tap the Rotate tool (square with an arrow pointing left) at the top left corner of the screen.

- The video will rotate each time you tap the tool.
- Once it’s in the orientation you want, tap the Done button in the lower right corner of the screen.


Once you complete the above steps, the video will be displayed in the orientation you set.
How to Rotate Photos on an iPhone
It’s important to ensure your videos display in the correct orientation, but what about photos? The good news is that you can also change photo orientation; the process is virtually identical.
To rotate a photo on an iPhone:
- Open the Photos app on your iPhone and select the picture you want to rotate.
- Tap the Edit button in the top right corner.

- When the editing toolbar appears at the bottom of the screen, tap the Crop button on the right.

- Tap the Rotate tool at the top left corner and flip it until you get the desired orientation for the photo.

- Once you have the orientation you want for the photo, click the Done button under the toolbar.


After completing the steps, the photo will display in the orientation you selected. Note that the orientation and other edits will sync with iCloud. So, you might want to duplicate the picture first.
Getting More from Photos and Video on iPhone
If you thought you recorded the perfect video or took a picture on your iPhone, but it ended up in the wrong orientation, following the steps above will allow you to fix the problem. Of course, while you’re in edit mode, you can improve other aspects of the video, like adjusting brightness or trimming and resizing the video.


