How to Change Folder Color on Mac
While it isn’t impossible to change folder colors on Mac, it isn’t easy. If you want to customize your folder colors, you’ll need to follow these steps.
A Mac is designed for simplicity, but that doesn’t mean that every feature is simple. Even the most basic-sounding features, like changing folder color on a Mac, can be tricky to find and use.
Folder colors are a neat way to color-code your important files and folders in the Finder app. That is, of course, if you know how to do it. There isn’t a quick or simple way to change your folder color on a Mac, but it is possible—if you know the workarounds.
If you want to know how to change your Mac folder colors, follow these steps.
How to Change Folder Color on Mac
If you want to change folder color on a Mac, you’ll need to follow a particular set of steps. Beginners might find this tricky, but if you really want to bring some vibrancy to your folders, it’s the best (and only built-in) method.
To change your folder color on Mac:
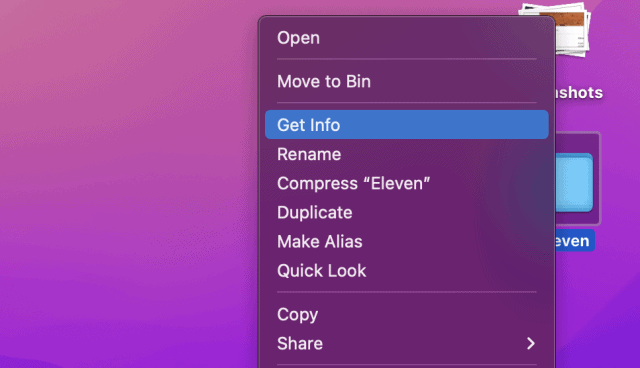
- Right-click on the folder you want to change in the Finder app or on your desktop.
- In the menu, select Get Info.

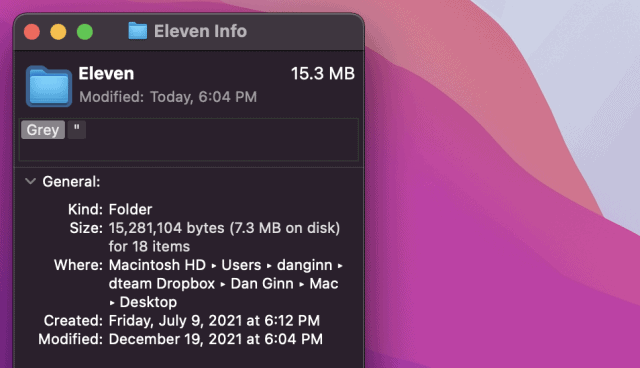
- In the Info window, select the folder icon in the top-left.
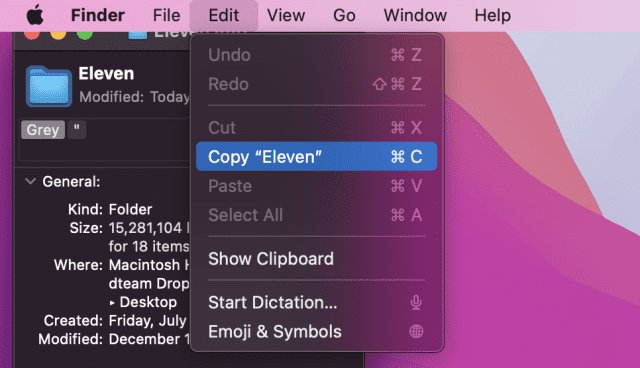
- From the menu bar, select Edit > Copy.
- Next, open the Preview app via the Applications folder. Alternatively, launch it by accessing the Launchpad on the Dock.
- In Preview, select File > New from Clipboard.
- A copy of your folder image will appear. In the top-right, select the Show Markup Toolbar button.
- Next, select the Adjust Color icon in the top menu.
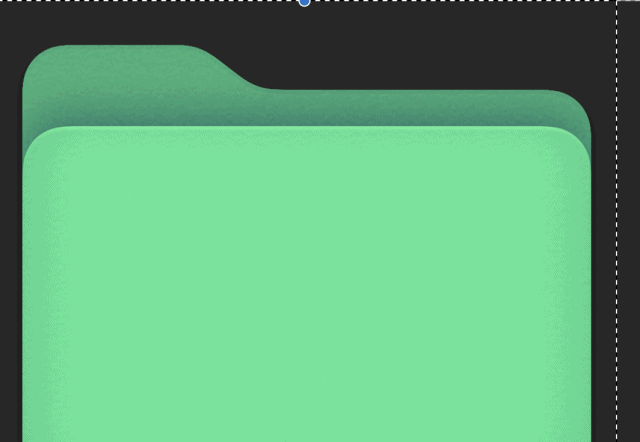
- In the Color editor, you can move the tint slider to adjust the color of the folder’s image.
- Once you’re done, use your mouse to highlight the folder image, then press Command + C.

- Return to the Info window for your folder. If you’ve closed it, locate the folder, right-click it, then press Info.
- In the Info window, select the folder icon in the top-left and press Command + V. The folder image icon will update to show the new color scheme.

- Repeat these steps for any additional folders you wish to change.


How to Color Code Your Folders on Mac Using Tags
The step above is great for single folders or a small batch of them. If you have a large number of folders to deal with, however, you’ll need to spend a lot of time changing the color scheme.
What you can do instead is color-code your folder using the tags feature. Tags allow you to apply several different colors to your folders. Tags will appear as colored circles next to your folder name, but you can also search or filter your folders based on the tag you apply.
To color-code a folder on a Mac using tags:
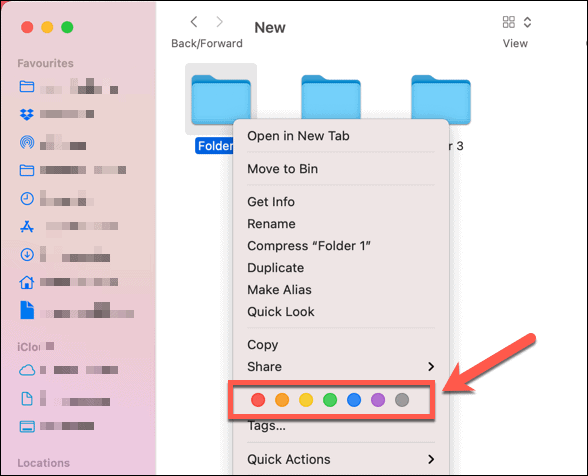
- Locate a folder in Finder or on the desktop.
- Right-click the folder, then select one of the default tag icons.
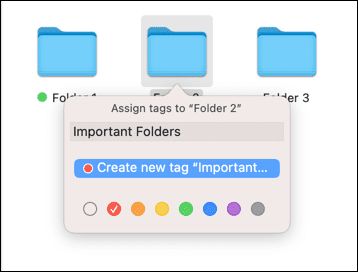
You can also create custom tags with a custom name and color by following these steps:
- Locate a folder in Finder or on the desktop.
- Right-click the folder, then select Tags.
- Add a new tag name and select a color.
- Select Create new tag, then press Enter to apply it to your folder.
Can I Change Folder Color with Third-Party Apps?
If the steps above are too time-consuming, you’ll need to consider using a third-party app to change your folder color on Mac.
Plenty of apps are available in the App Store for this purpose, including Folder Colorizer and Color Folder Master. Many of these apps are paid apps, but if you want to save time, a few dollars might stretch a long way.
While it’s difficult to change this particular feature of the macOS experience, there are other things you can try. For example, you could change the cursor color to make it stand out better. If you want something more practical, you can also customize your notifications so you don’t miss any important messages.


Ryan
March 28, 2023 at 8:41 pm
That was a lot. But thank you so much. This made my whole desktop look so much better!!
Steve Krause
February 21, 2024 at 11:02 pm
Excellent. Thanks for the comment. I’m glad the tip worked out well for ya.
Steve
groovyPost
Fede
June 29, 2023 at 3:13 am
This is awesome! And not too tricky. It’s kind of silly it’s not possible to change colour as an option offered directly in the “info” but this is totally doable and surprising. Thank you!